172 PI-MAX/PI-MAX2 System Manual Version 5.F
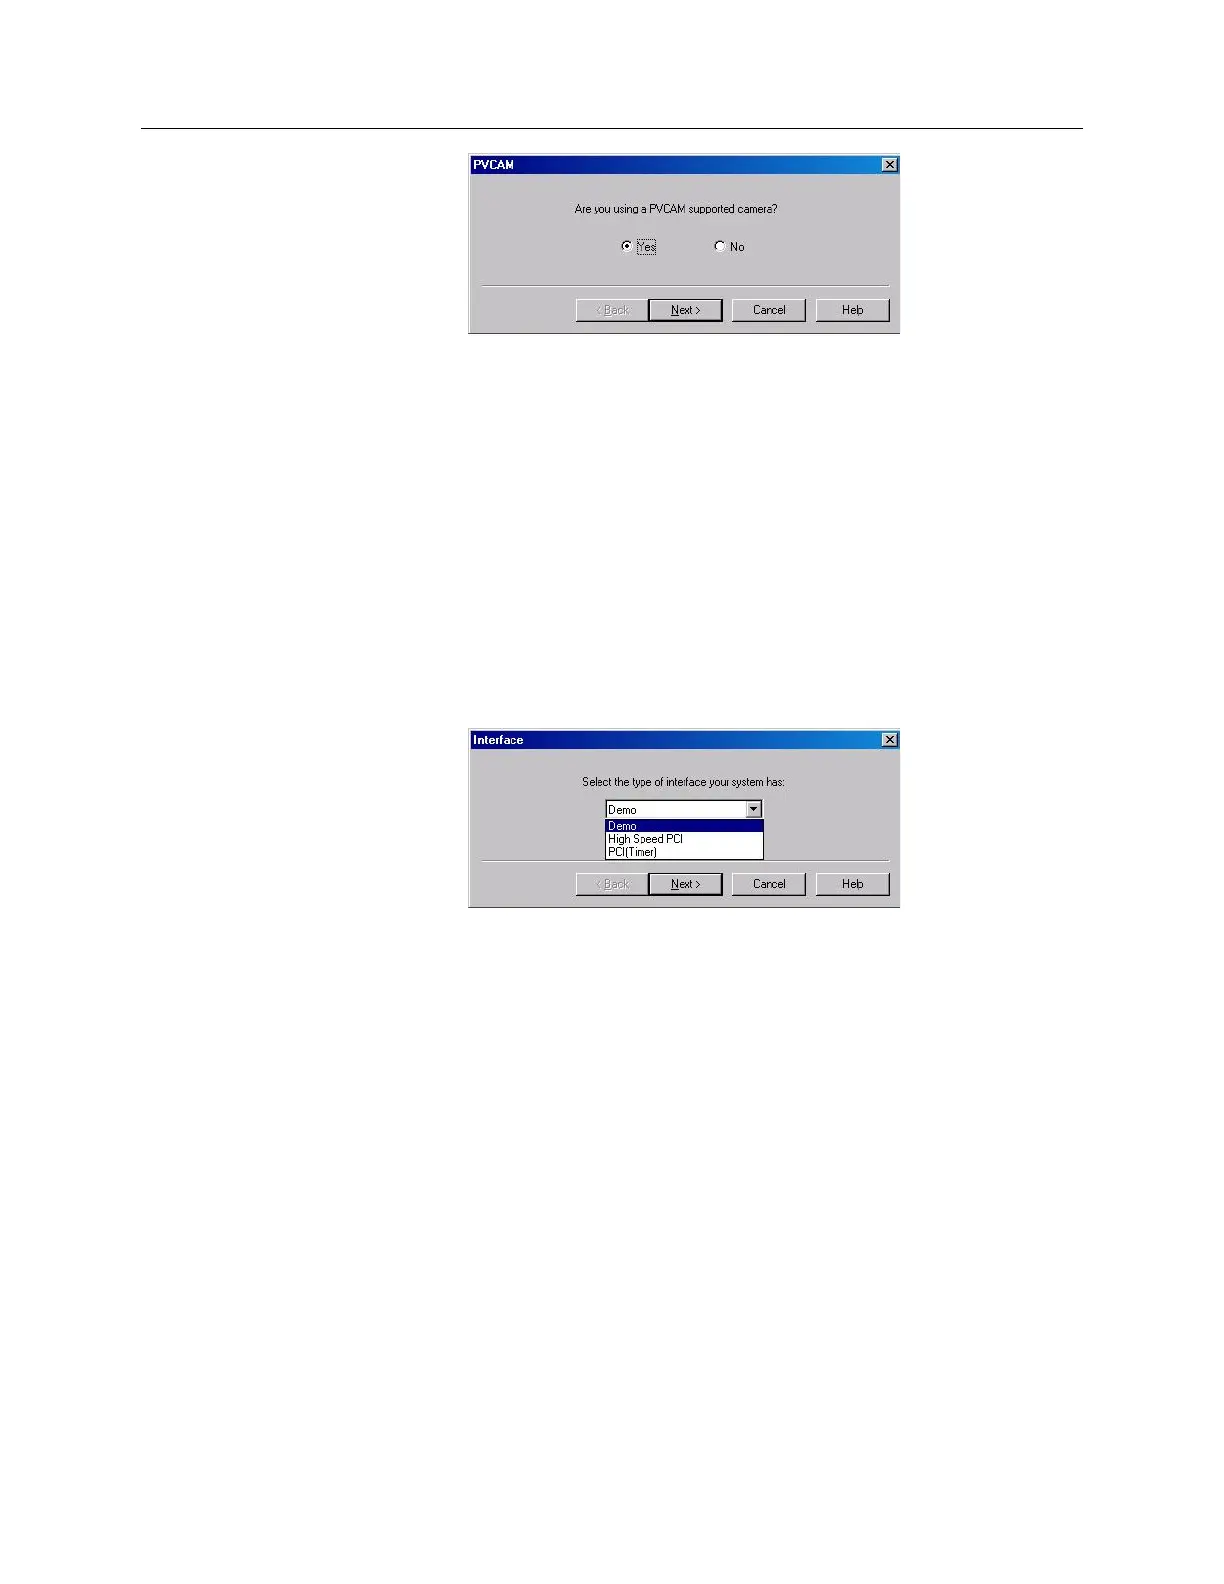
Figure 99. Hardware Wizard: PVCAM dialog box
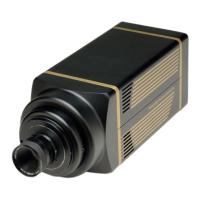
Demo, High Speed PCI, and PCI(Timer) are Choices on Hardware
Wizard:Interface dialog (Versions 2.5.19.0 and earlier)
If there is an installed Princeton Instruments (RSPI) high speed card in the host computer
and you want to operate a camera using the USB 2.0 interface, the PVCAM.INI file
(created by RSConfig.exe) must exist and the USB 2.0 supported camera must be
[Camera_1]. PVCAM.INI, which contains information required to identify the
interface/camera, is referenced by the Hardware Wizard when you are setting up the
WinX application software (WinView/32 or WinSpec/32) with USB for the first time. If
the Wizard did not find a PVCAM.INI file or if RSConfig.exe was run but the USB 2.0
camera is [Camera_2] in the PVCAM.INI file, "Demo", "High Speed PCI", and
"PCI(Timer)" will be selectable from the Wizard's Interface dialog box.
Figure 100. Hardware Wizard: Interface dialog box
At this point, you will need to run the RSConfig.exe program:
1. If you have not already done so, close the WinX application software.
2. Make sure the ST-133 is connected to the host computer and that it is turned on.
3. Run RSConfig from the Windows|Start|Programs|PI Acton menu or from the
directory where you installed the WinX application software.
4. When the RSConfig dialog box (Figure 101) appears, you can change the camera
name to one that is more specific or you can keep the default name "Camera2".
When you have finished, click on the Done button. You will next edit the
generated PVCAM.INI file.