Chapter 3 System Setup 37
To Check the Controller's Voltage Setting:
1. Look at the lower righthand corner on the rear of the Controller. The current
voltage setting (100, 120, 220, or 240 VAC) is displayed on the Power Module.
2. If the setting is correct, continue with the installation. If it is not correct, follow
the instructions on page 168 for changing the voltage setting and fuses.
Mounting the PI-MAX
Imaging Applications
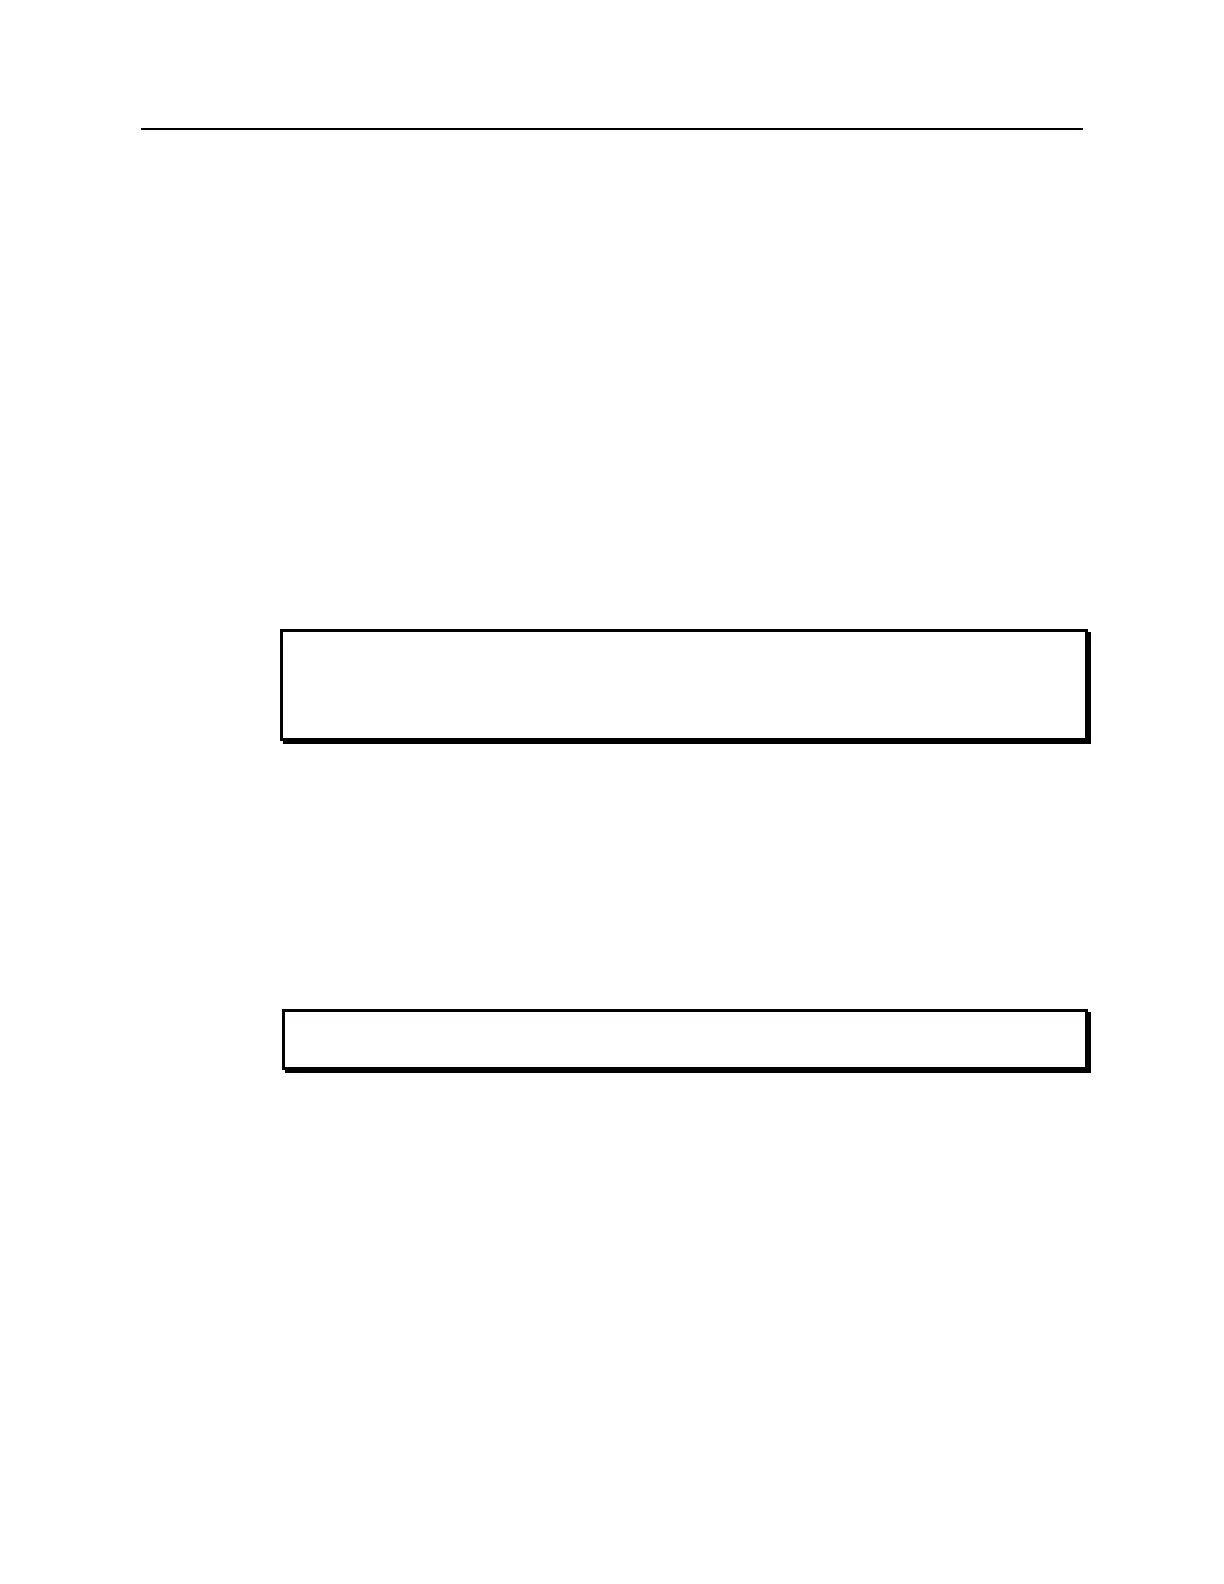
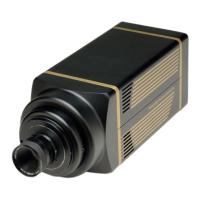
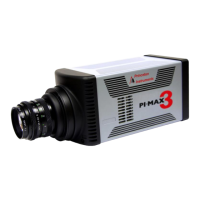
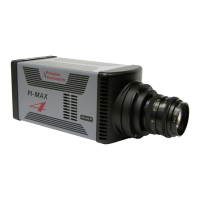
The PI-MAX is supplied with the lens mount specified when the system was ordered,
normally either a screw-type C-mount lens or a bayonet type F-mount lens, allowing a lens
of the corresponding type to be mounted quickly and easily. The installed mount is secured
by three setscrews, which must be loosened to remove it. Appendix D illustrates the mounts
and also discusses focusing.
The PI-MAX can be mounted at any attitude or angle. The camera can rest on any secure
surface. Take care not to block the ventilation openings.
In the case of cameras equipped with F-mount, do not mount the camera in the nose-up
operation where the lens mount would be required to hold the camera’s weight. The
F-mount is not designed to sustain the weight of the camera in this orientation and the
camera could pull free. You must provide additional support for the camera.
Should the camera be mounted in the nose-up position beneath a table, take care to
protect the mounting components from lateral stresses, such as might occur should
someone accidentally bump the camera with a knee while working at the table. One
solution to this problem would be to install a barrier between the camera and operator to
prevent any accidental contact.
There are no special constraints on nose-down operation. Again, however, good operating
practice might make it advisable to take steps to prevent accidental contact from unduly
stressing the mounting components.
Always begin with the lens stopped all the way down (largest f/ stop number) to
minimize the risk of overloading the intensifier.
Spectroscopy Applications
The PI-MAX detector must be properly mounted to the spectrograph to achieve the
highest resolution. In the correct orientation, the text on the back of the detector should
be right side up. Take care not to block the ventilation openings. Refer to Appendix E for
spectrograph adapter mounting instructions.
Microscopy Applications
If the camera is going to be mounted to a microscope, refer to Chapter 12 for mounting
instructions and other information relating to microscopy applications. Many standard
microscope adapters are available through Princeton Instruments.