Chapter 7 Gated Operation with a PTG 89
Setup and Operation
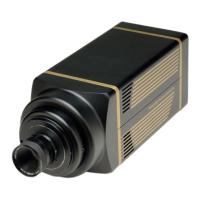
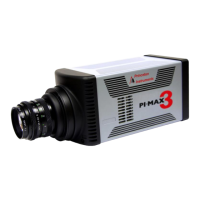
The PI-MAX
MG
is set up in the same way as a standard PI-MAX and is compatible with
the PTG (preferred) and the DG535 timing generators. Note that with a PTG, a width
setting of 37 ns produces a gate width of 37 ns because the gate width selected with the
PTG is the optical FWHM.
1. Start with Shutter Mode operation if possible, to get initial operation, focus, etc.
(see Chapter 4, First Light).
2. Then, switch to Gate Mode and a relatively long gate to acquire the phenomenon of
interest.
3. Finally, narrow down the gate to the desired operation.
When possible in the experiment, it is a good idea to use bracket pulsing to limit the
photocathode ON time. The required “lead time” or pretrigger time for the photocathode
bracket pulse is 300 ns (compared to 500 ns for a standard PI-MAX MCP bracket pulse).
Note: Pulse repetition rate is limited to 1 kHz.
Gain Variation
MCP gain approximately doubles for each 50 V increase in voltage. Therefore, small
ripples in the MCP voltage as a result of the gating waveform will cause gain changes
that vary with time after the rising edge of the gate pulse. A gain overshoot of 20 to 30%
during the first 20 ns of a gate pulse is typical, with smaller variations later in time if a
wider gate pulse is used. For a given gain setting and pulse width, these variations are
reasonably repeatable, and may be calibrated.
Fluorescence Experiment
A typical laser-induced fluorescence experiment might incorporate a pulsed laser that
excites a sample with the laser beam and that additionally provides a trigger to the PTG.
When the laser pulse hits the sample, some atoms are raised to a higher energy state and
then spontaneously relax to the ground state, emitting photons as they do to generate the
fluorescence signal. This signal can be applied to a spectrograph that spreads the
fluorescence spectrum across the photocathode of the PI-MAX. The spectrum would then
be intensified and applied to the PI-MAX’s CCD array.
Cabling for MCP Gated Operation
Figure 36 illustrates the cabling for an MCP gated experiment using a PTG
*
. The laser
trigger output is applied to the Ext. Trig. In connector of the PTG to initiate the timing
sequence. The Start/Stop outputs of the PTG are applied to the PI-MAX via the Timing
Gen cable to gate the MCP on and off. This cable also carries the signal that gates the
photocathode on and off if bracket pulsing has been selected. Another timing generator
output is fed through the back plane to inhibit readout while the timing generator is busy.
Finally, to prevent artifacts from the laser from degrading the data, it is essential that the
timing generator be inhibited during each readout. The handshake for this inhibiting
function is also routed through the backplane. The PTG parameters are set from the
computer by the application software.
Other system cabling would include the Detector-Controller cable that interconnects the
PI-MAX and the controller and the TAXI cable between the controller and the computer.
*
Requires ver 2.4 or later WinView/32 or WinSpec/32 software.