1. AUX — Click AUX at the top of the panel to turn
the Auxiliary Control Panel on or off.
2. Minimize/Maximize — Click these buttons to
minimize or maximize the size of the panel.
3. ROW X — Right-click on the ROW X button to
assign the panel row to a different switcher row.
• Set to Internal Row --> — Point to this item
and click the internal row that you want to assign
the panel row to.
• Set to External Row --> — Point to this item
and click the external row that you want to assign
the panel row to.
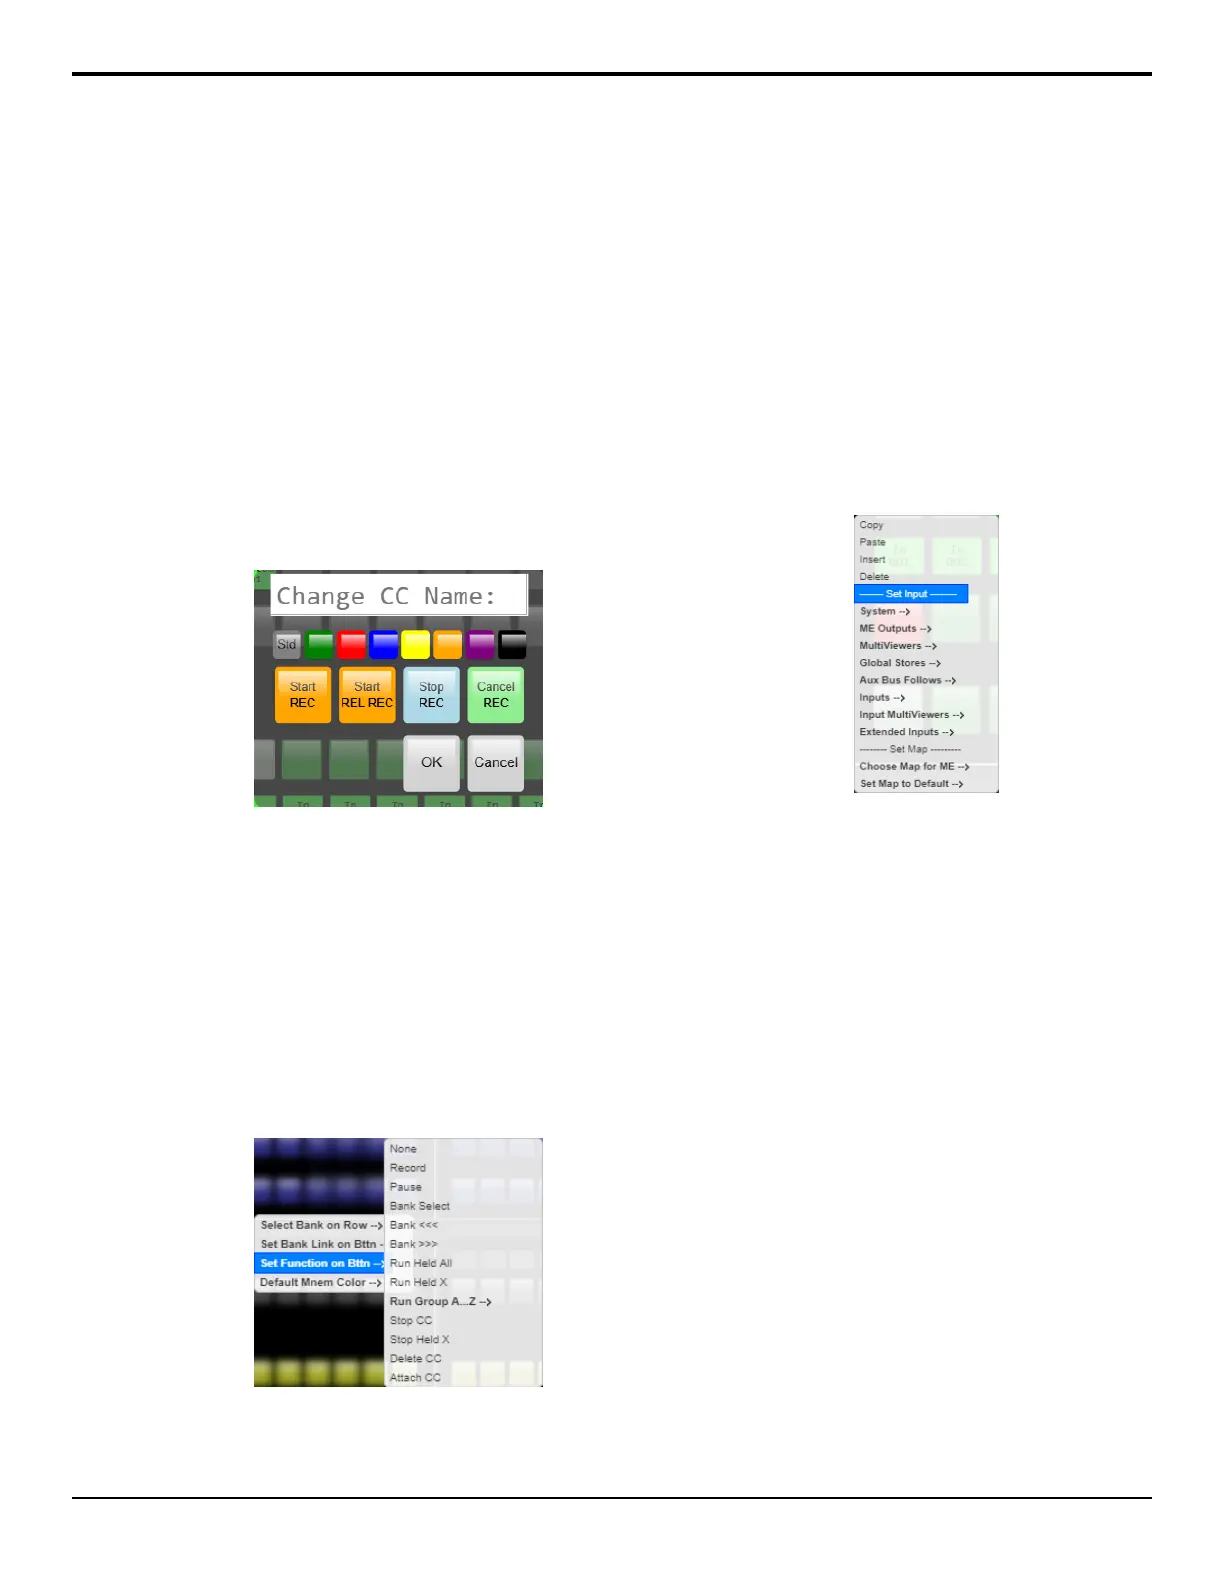
4. Custom Control Setup
• Double-click on a custom control mnemonic to
record to that custom control.
• Start REC – start recording a standard
custom control.
• Start REL REC – start recording a relative
custom control.
• Stop REC – stop recording the custom
control.
• Cancel REC – cancel recording the custom
control.
• Change the name and mnemonic color of that
custom control.
• Right-click on the custom control mnemonic to
assign a bank or special function to the button.
• Select Bank on Row — Point to this item
and click the custom control bank that you
want to assign the row to.
• Set Bank Link on Bttn — Point to this
item and click the custom control bank that
you want to add a selection button for.
• Set Function on Bttn — Point to this item
and click the special command that you want
to assign to the button.
• Default Mnem Color — Point to this item
and click the mnemonic color that you want
to assign to ALL the panel mnemonics.
5. Source Setup
• Double-click on the mnemonic to change the
source name
• Right-click to edit the bus map.
• Copy — Click to copy the button
assignment.
• Paste — Click to replace the button
assignment with the copied one.
• Insert — Click to insert a none source and
shift all the other assignments to the right.
• Delete — Click to delete the button
assignment and shift all the other assignments
to the right.
• System — Point to this item and click the
internally generated source you want to
assign to the button.
• ME Outputs — Point to this item and click
the ME output that you want to assign to the
button.
• MultiViewers — Point to this item and click
the MultiViewer output that you want to
assign to the button.
• Global-Stores — Point to this item and
click the Global-Store that you want to assign
to the button.
• Aux Bus Follows — Point to this item and
click the aux bus follow that you want to
assign to the button.
Acuity Operation Manual (v9.2) — Acuity Virtual Panel • 109