Setting Mode Setting Using Calibration Password
5.4.7 Legal-For-Trade Identification, Sealing Locations and
Type
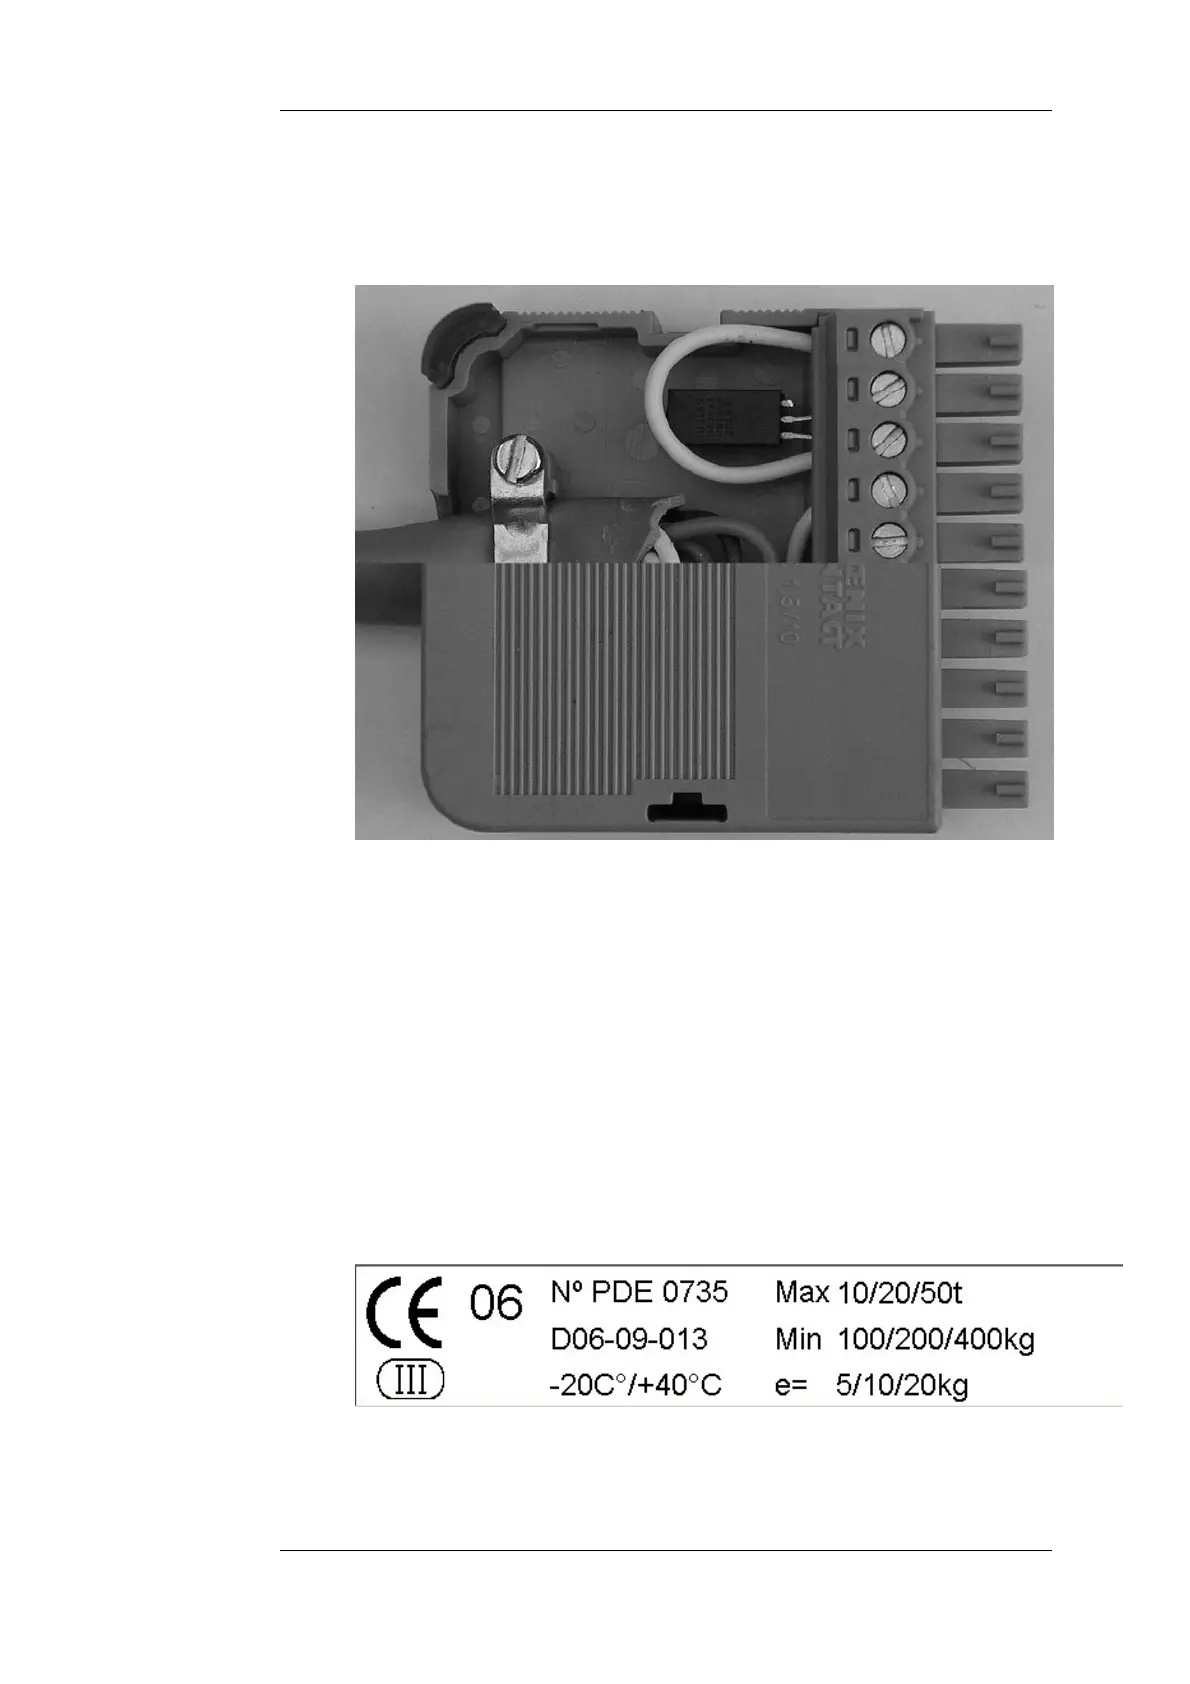
1. After completing adjustment, insert the write lockout jumper in the load cell
dongle (contacts 1-3; see the photograph):
2. The dongle is locked and protected via an adhesive label.
3. The scale casing is protected without locking.
4. A verification plate is placed on the outside of the casing (preferably on the
front side above the keyboard) with the data below:
Min Minimum Load
Max Maximum Load
e Resolution
III or IIII Scale Accuracy Class
D06-09-xx No. of EC Type Approval
CEyy with yy = Year of Initial Verification, last 2 figures (06->2006)
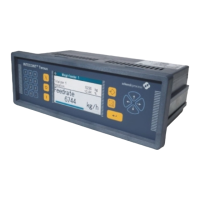
The easiest way to make a varification plate is with Schenck's DISOFORM software.
The picture below shows a sample print-out:
If the verification plate is not made of material that is destroyed when detached, it has
cation stamp (the green M) is also applied.
to be protected by an adhesive label.
5. The EC verifi
DISOMAT
®
Opus – Operating Manual 0630 BV-H2313 GB
© Schenck Process GmbH, Darmstadt - 91 -