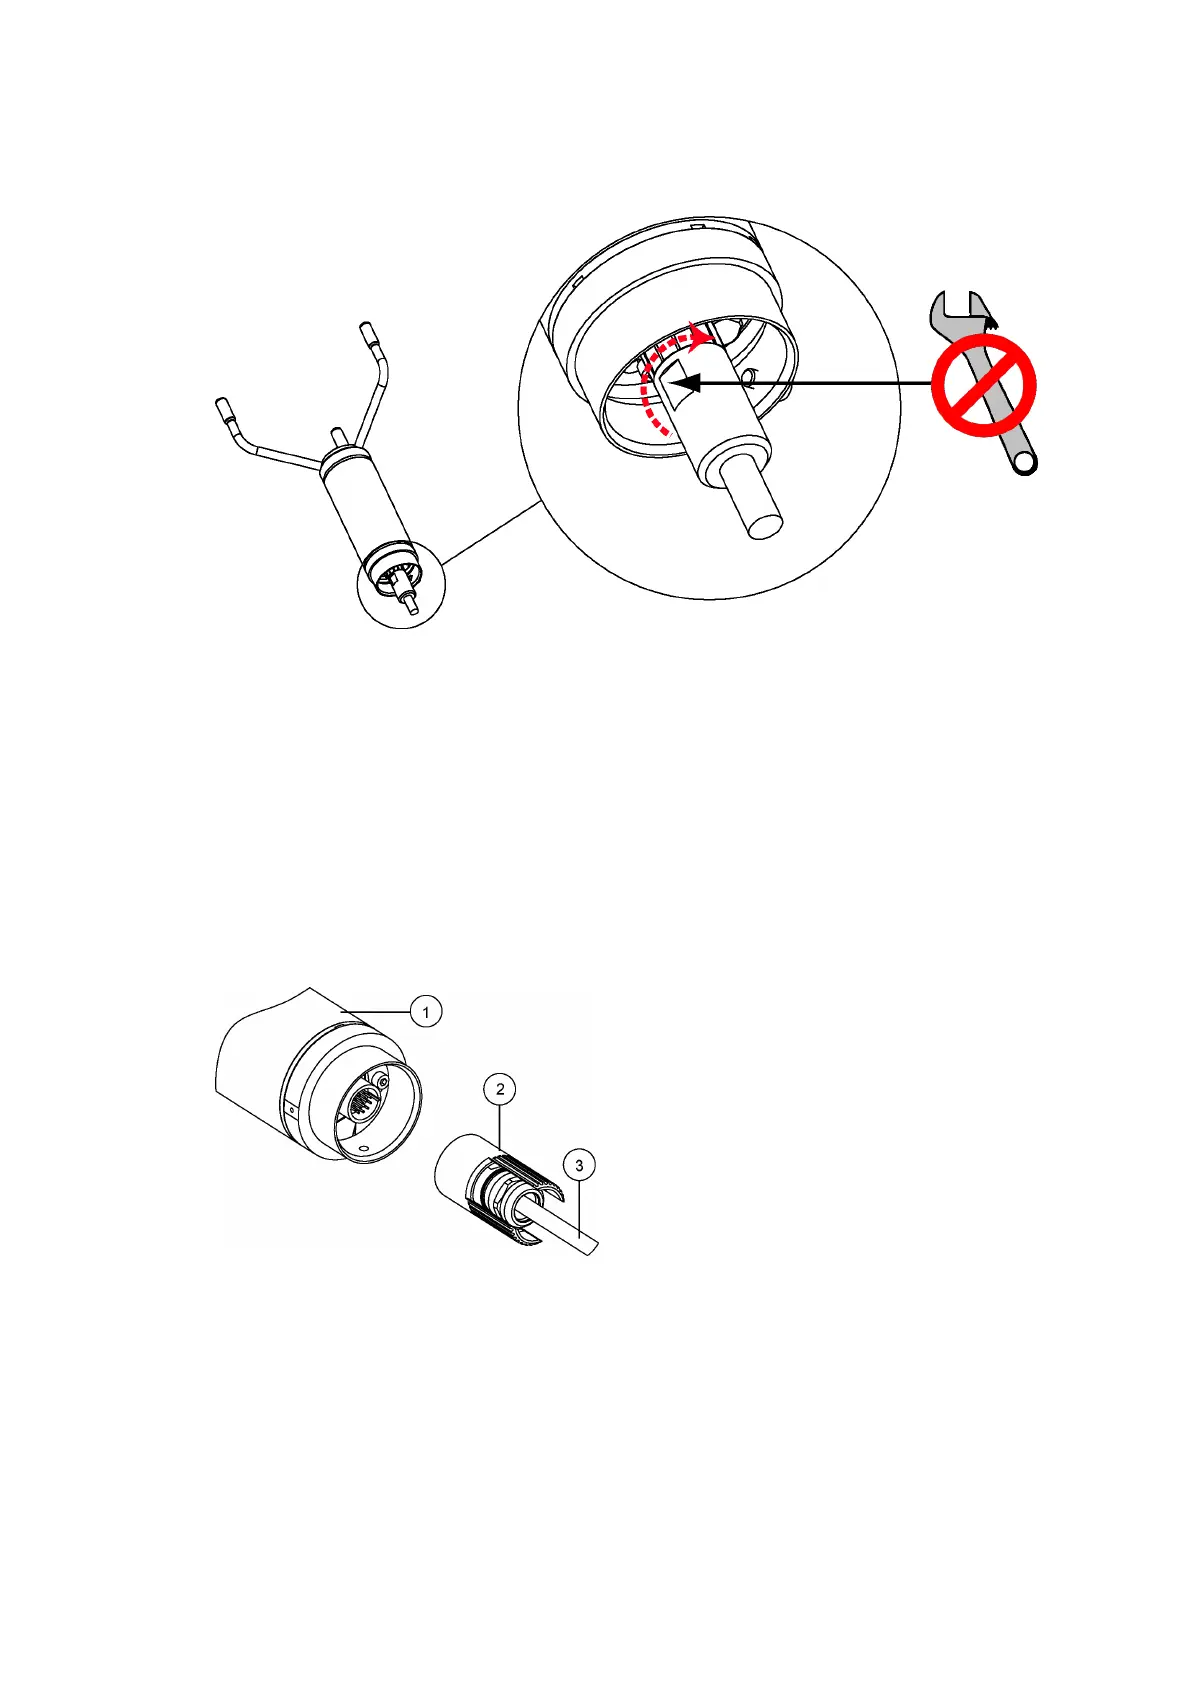
3. Tighten the connector by rotating the connector by hand clockwise.
Make sure that the connector is properly tightened before proceeding to the next step.
If you cannot tighten the connector, loosen the mounting adapter fixing screws, remove
the mounting adapter, and connect the cable. Reattach the mounting adapter.
4. Attach the WMT700 sensor body to the WS425 mounting kit and tighten the bolt.
5. Remove the transportation damper protecting the array and store it for future use.
6. Connect the cable to the data acquisition system and power supply.
Vaisala recommends that you use the cable tightening tool. The ribbed part of the tool
oers a better grip of the cable when tightening the connector. Insert the cable in the
cable tightening tool and rotate the ribbed part of the connector by hand. You can
leave the connector in place.
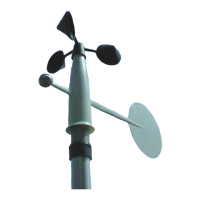
1 WMT700
2 Cable tightening tool
3 Cable
7. Connect the wires.
WMT700 is now ready for operation.
More Information
‣
Wiring (page 72)
Chapter 4 – Installation
89

 Loading...