GP3 Drum-Maintenance
WARNING
When performing this drum maintenance,
do the following:
• Ensure that there Is adequate
ventilation in the area.
• Use protective gloves at all times.
« Do not smoke.
• Wash your hands when the procedures
are completed.
CAUTION
These procedures must be completed in the
shortest possible time in order to reduce the
effects of light shock.
Washing Procedure
Washing Materials:
• Drum Maintenance Kit
• Film Remover
1. Remove the Drum Assembly from the
Xerographic Module (REP 9.2).
2. Put on gloves.
3. Gently remove any dry ink/toner and
developer from the surface of the drum,
using a dry polyurethane pad.
4. Apply Film Remover to a clean
polyurethane pad.
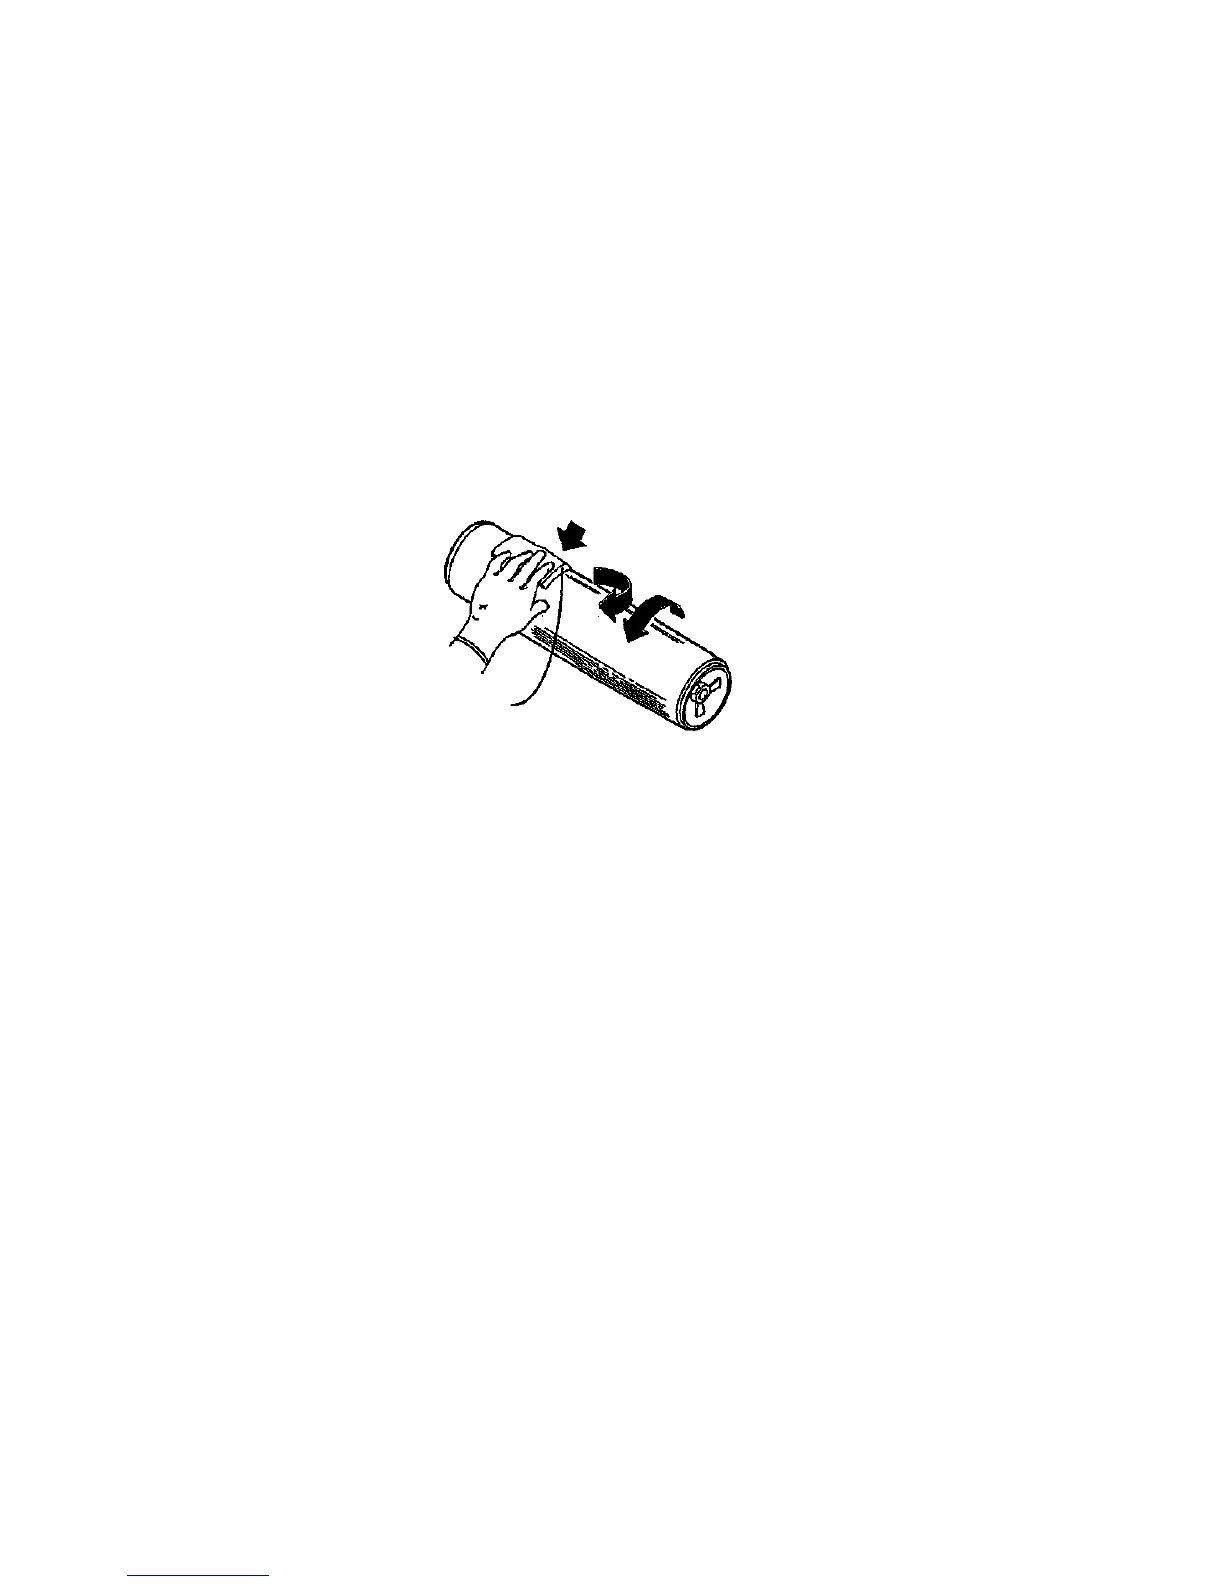
5. (Figure 1): Wash the drum from end to
end, using a circular motion.
NOTE: Ensure that the ends of the drum are
washed.
6.
7.
8.
9.
Minimum
pressure
Polyurethane
pad
Figure 1. Washing the Drum
Using the clean side of the polyurethane
pad, continue washing the drum until the
entire surface of the drum is covered with
film remover.
Allow enough time for the air to dry the
surface of the drum.
Use the dusting pouch to apply a thin layer
of Zinc Stearate (8R181) over the entire
surface of the drum.
Buff the surface of the drum using the
clean side of the dry polyurethane pad.
NOTE: Ensure that the ends of the drum are
buffed as well as the center of the drum.
10. Continue to buff the surface of the drum
for three complete revolutions of the drum.
11. Apply a final thin layer of Zinc Stearate
over the entire surface of the drum.
12. Reinstall the drum.
13. Enter the diagnostic mode. Enter test
[1004} and allow the printer to run for five
more minutes.
14. Place the used washing materials in the
disposal bag.
15. Wash your hands.
GP3 Drum Maintenance
1/98
6-12
8830

 Loading...


