February 2013
4-245
ColorQube® 9303 Family
REP 62.1
Repairs/Adjustments
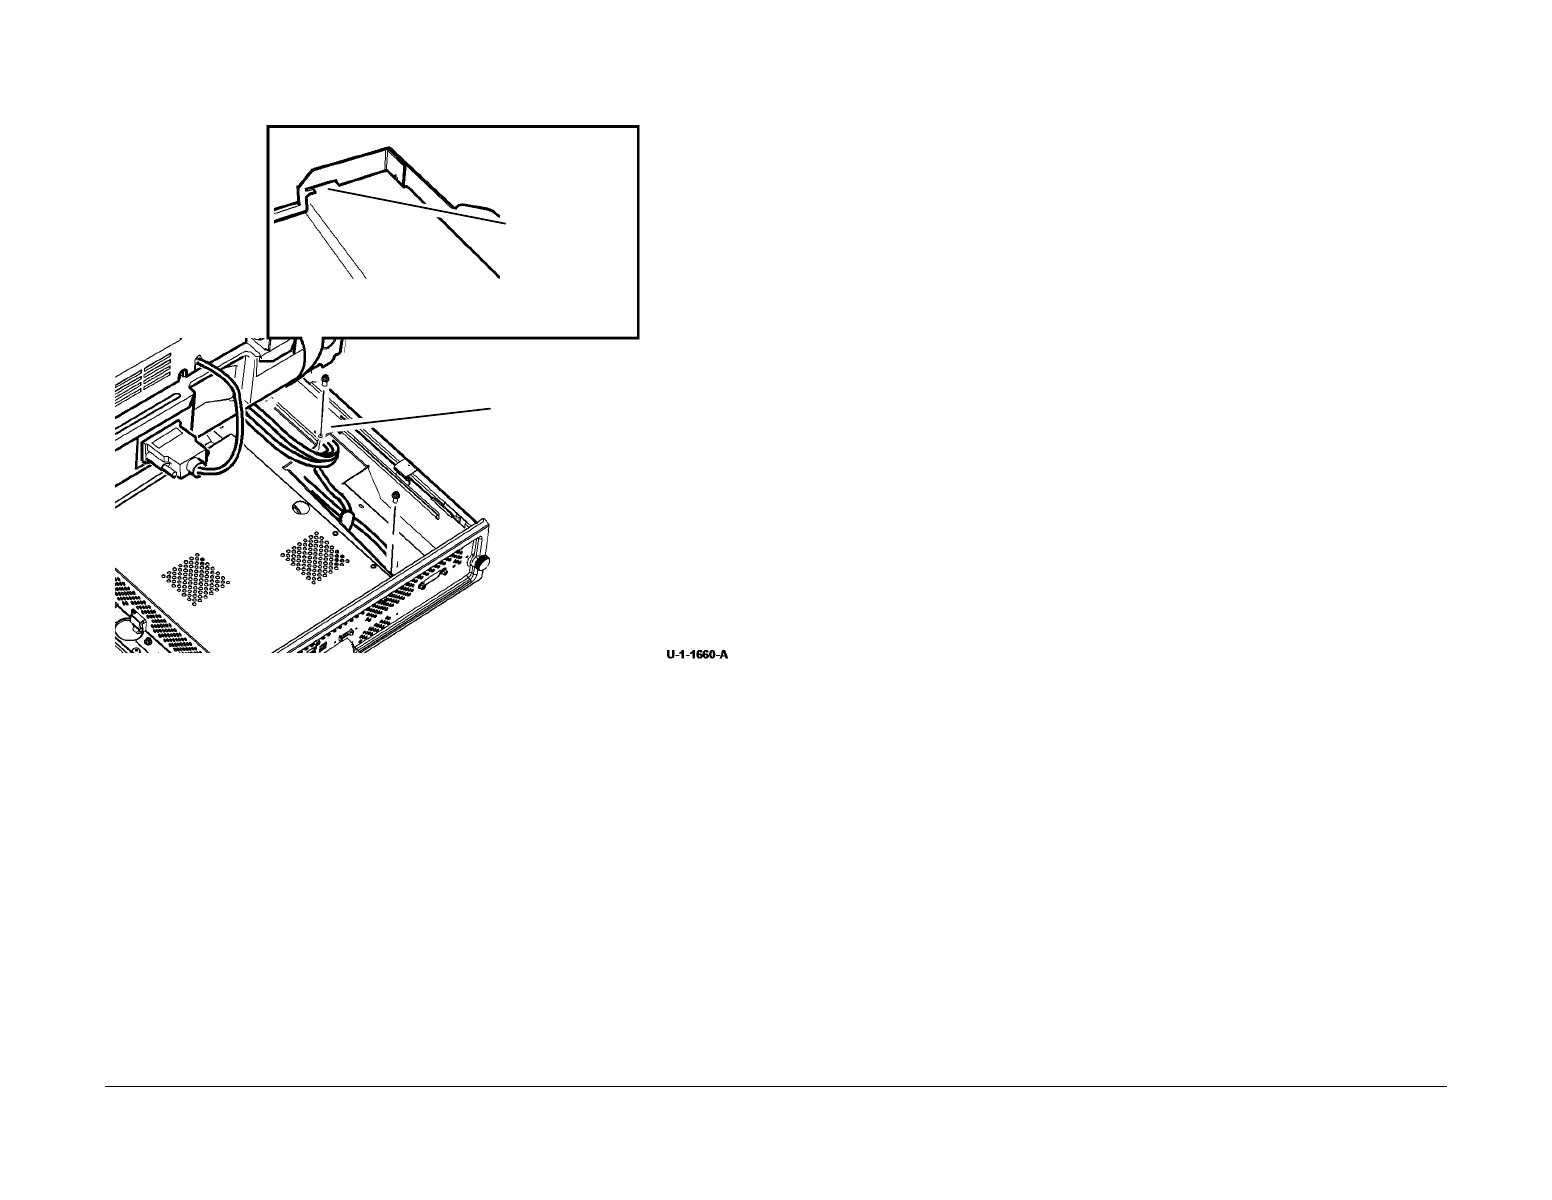
3. Re-install the harness guide plate. Ensure the harnesses are correctly positioned, Figure
4.
Figure 4 Guide plate replacement
4. Check that the image processor module opens and closes smoothly without trapping the
harnesses. If necessary, repeat replacement steps 2 and 3.
5. If a new scanner module has been installed, perform the following:
a. dC608 Document Feeder Registration.
b. dC609 Document Glass Registration.
c. Enter dC131 NVM Read/Write. Make sure the following IIT DADH NVM settings are
set to default:
• 800-005
• 800-006
• 800-007
• 800-008
• 800-009
• 801-005
• 801-006
• 801-007
• 801-008
• 801-009
• 801-010
• 801-011
• 801-012
• 801-013
• 801-014
• 801-015
• 801-016
• 801-017
• 801-018
• 801-019
• 801-020
• 801-021
• 801-022
• 801-023
• 801-024
• 801-025
• 801-026
2
Install the guide plate as shown.
The scanner end of the harnesses
must be routed above guide plate.
The connector end must be
routed below the guide plate. Re-
install the 2 screws.
1
Locate the rear
of the harness
guide plate in
the slot.

 Loading...


