February 2013
4-284
ColorQube® 9303 Family
REP 75.10
Repairs/Adjustments
Replacement
1. The replacement is the reverse of the removal procedure.
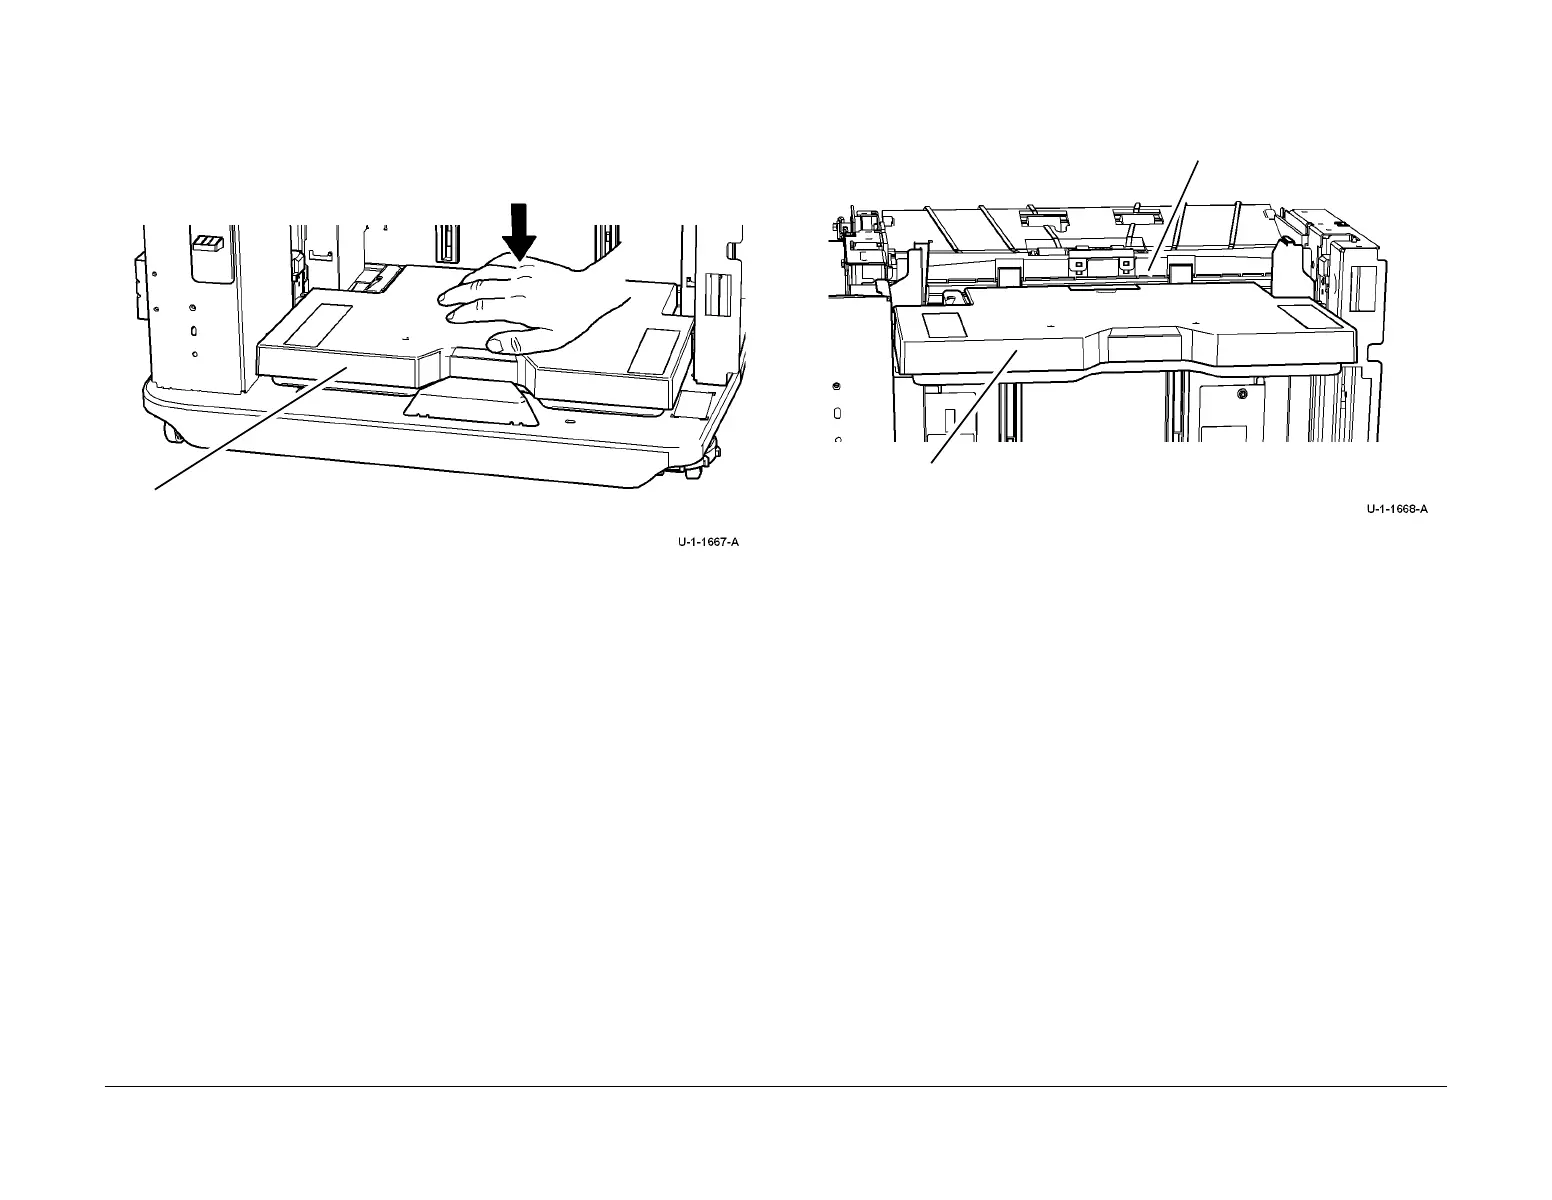
2. After the front and rear drive gears are re-installed ensure that the tray assembly is re-
installed in the same horizontal plane as the base of the tray 5 module, Figure 5.
Figure 5 Install the tray
3. Keep the tray assembly against the base of the tray 5 module, then reinstall the elevator
motor shaft.
4. Raise the tray to ensure that it is in horizontal alignment with the lower feeder assembly,
Figure 6. If necessary remove the elevator motor shaft then repeat the replacement pro
-
cedure from step 2.
Figure 6 Tray alignment
1
Lower the tray.
2
Press the tray down firmly onto the base of the tray 5 module.
Lower feed assembly.
Tray assembly.

 Loading...


