February 2013
4-105
ColorQube® 9303 Family
REP 12.5-110
Repairs/Adjustments
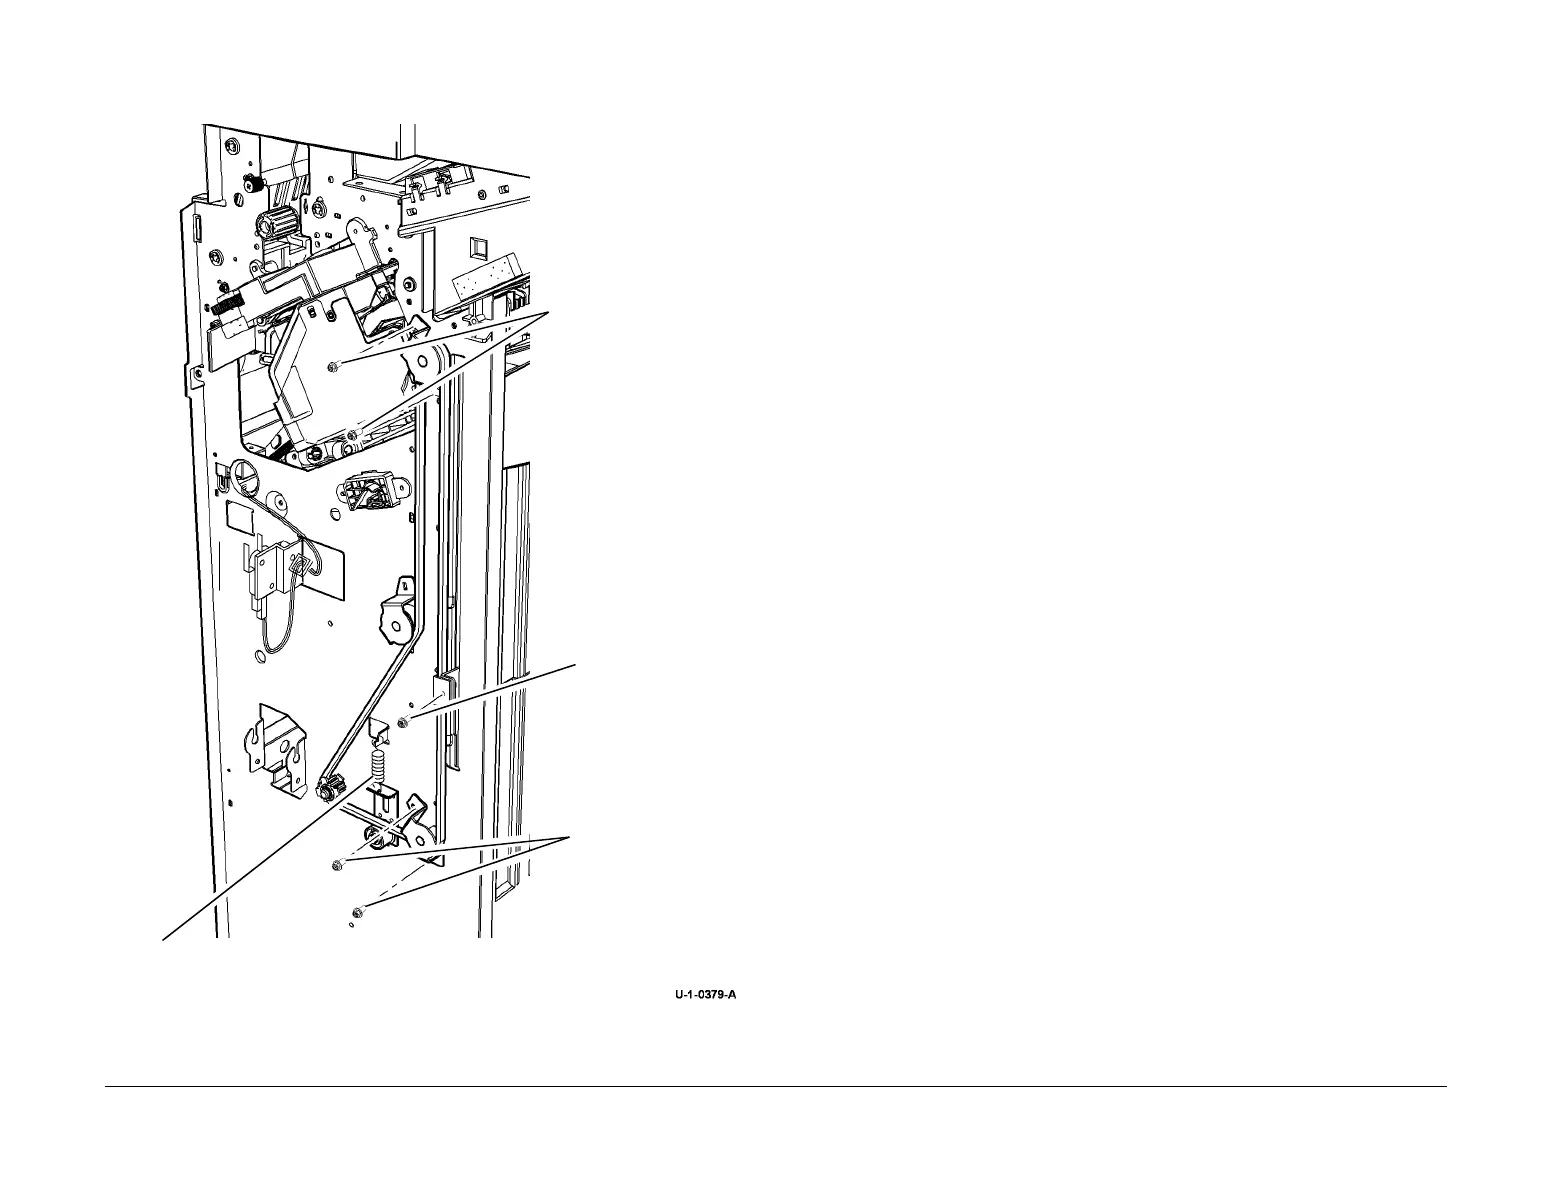
3. Remove the bin 1 drive belt (front) Figure 2.
Figure 2 Bin 1 drive belt (front)
Replacement
NOTE: Ensure the correct set of components are used for each side of the LCSS.
1. Reverse the removal procedure to replace the bin 1 drive belts.
NOTE: The bin 1 level can critically affect the overall stack registration. Refer to ADJ
12.1-110 if adjustment is necessary.
2. Install the front and rear covers REP 12.1-110.
1
If not already lowered,
fully lower bin 1, refer to
figure 1.
2
Release the tensioner spring.
3
Remove two screws
and lower pulley.
5
Remove 2 screws, upper
pulley and drive belt.
4
Remove screw and
front belt clamp.

 Loading...


