IMPORTANT NOTE: The HOST NAME and STAR Network Port are configured at the ABB factory
and should not be changed.
3. Enter the Primary NIC and Secondary NIC addresses.
4. Enter the Subnet Mask addresses.
5. Enter Multicast addresses. Default Multicast addresses are provided.
6. Set up routing tables as needed.
The multicast addresses allow messages to be passed through network gear (switches/routers) from
subnet to subnet.
⎯ Network Routing: The PGC5000 series can route through different networks using routing
tables. Up to four routes can be configured per network interface.
Configure the routing tables by selecting the Routing Table Configuration icon. The popup
entry form allows the creation of a routing table for each network.
⎯ Network Addressing: Check with the network administrator to establish IP addresses and
network masks to assign to the analyzer. Ensure all network information needed for
redundancy and routing, including the network gateways, are available. Verify communication
via the network. Refer to the RUI in section 0.
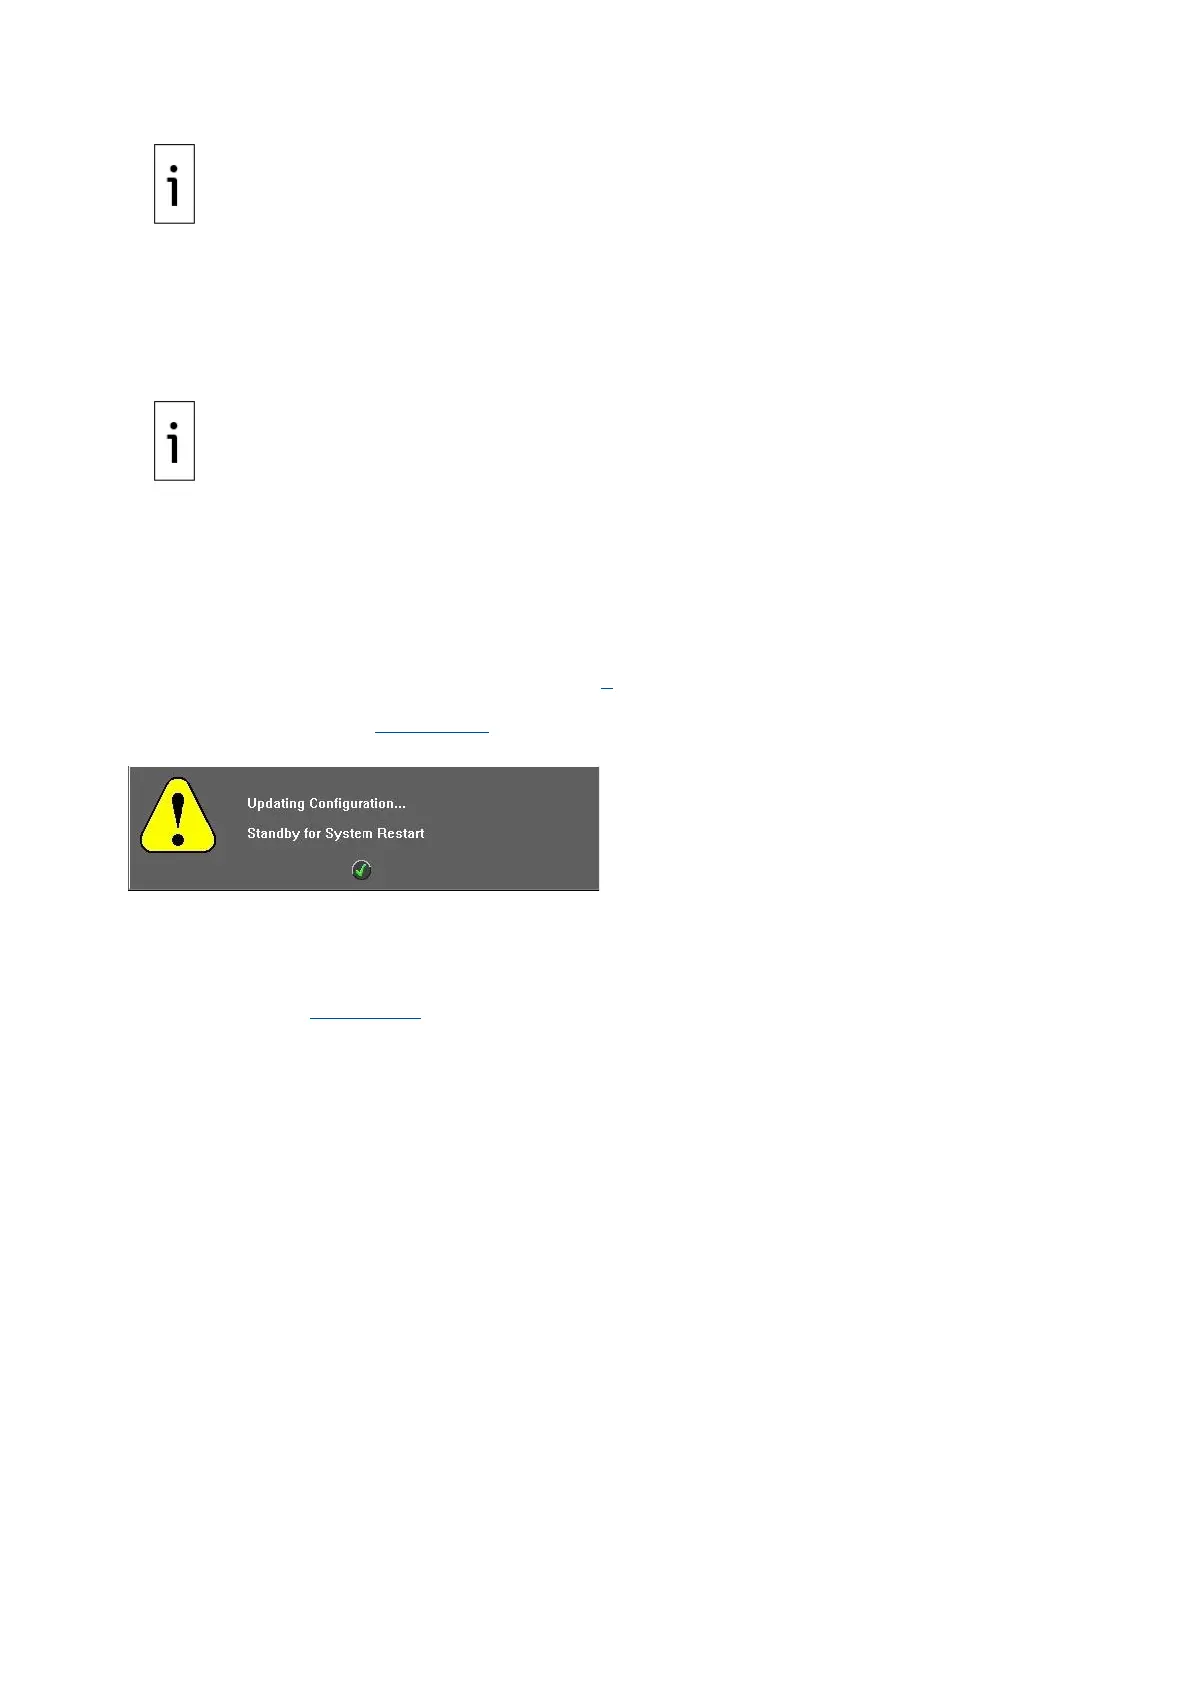
⎯ Saving Network Settings: Saving Network settings will force the Master Controller to re-boot.
A popup message (Figure 4-31) will confirm the procedure.
Figure 4-31: Saving Configuration Message
1. Ensure all schedules are stopped.
2. Press the Save icon to save settings.
⎯ Clock Setup: The system clock is set in the Setup>Master Controller>SBC>Clock>Config
Subtab (see Figure 4-32). The date is displayed in Month/Day/Year format. The clock is
displayed in 24-hour format.