PROGRAM EDIT
S2000 Operator’s Manual - Version 1.30 Page 91
ASSIGNING SAMPLES TO KEYGROUPS
The next group of pages deal with getting samples into a program. The simplest assignment
you may have is one sample spanning the entire keyboard range but, as we have seen, you
often want to map out different samples across the keyboard range using keyspan. However,
as we saw in the introduction to editing a program, you can also layer samples by way of the
keygroup ‘ZONES’. Each keygroup has four zones and these may be used to layer sounds or
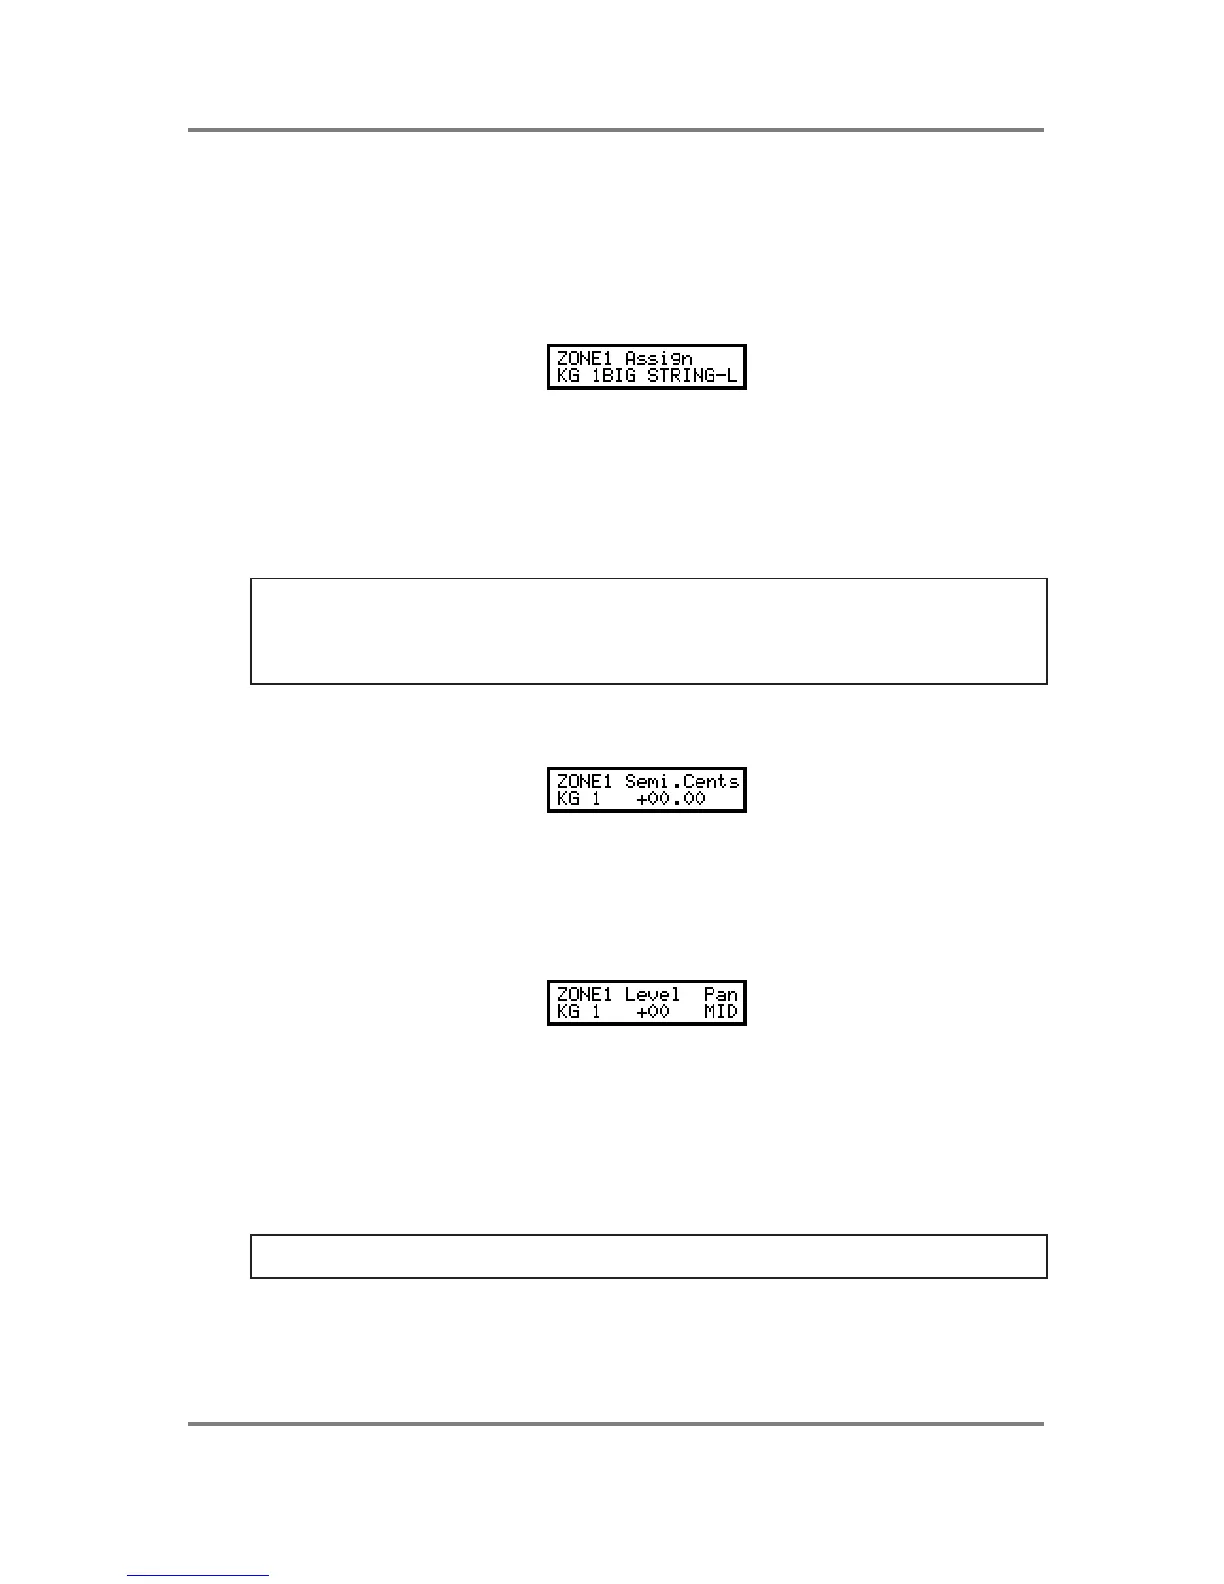
for velocity switching and crossfading. The first page in this group is this:
This shows the ZONE 1 ASSIGN page and in this example, we can see that a sample called BIG
STRINGS-L is assigned to keygroup KG01. You select the sample you wish to assign to the
keygroup using the DATA wheel and you select the keygroup using the outer SELECT wheel.
In this way, assigning a lot of samples is achieved very simply by selecting the keygroup and
assigning the sample, flicking the outer SELECT wheel to select the next keygroup and
assigning the sample with the DATA wheel, etc.. Alternatively, move the cursor to the KG field
and use the DATA wheel to select the keygroup.
HINT: To make life easier, it is best to sample (or load from disk) the samples in a sensible
order. For example, sample your strings (or load them from disk) in the order STRINGS G1,
STRINGS G2, STRINGS G3, STRINGS G4, etc.. In this way you can assign samples very quickly
- select KG01, assign STRINGS G1, flick the SELECT wheel to the right, turn the DATA wheel
one click clockwise; flick the SELECT wheel to the right, turn the DATA wheel one click, etc.).
TUNING THE SAMPLE IN ZONE 1
The next page down allows you to tune the sample in ZONE 1:
Use F1 and F2 as cursor keys to move the cursor around the SEMI.CENTS field and use the
outer SELECT wheel to select the keygroup you want to tune. Alternatively, move the cursor
to the KG field and use the DATA wheel to select the keygroup.
SETTING LEVEL AND PAN FOR THE SAMPLE IN ZONE 1
You may set the level and pan position for the sample in the next page:
Press F1 to select LEVEL and use the DATA wheel to set the value and press F2 to set the
PAN using the DATA wheel. Use the SELECT wheel to select the keygroup you wish to affect
or move the cursor to the KG field and use the DATA wheel. Alternatively, move the cursor to
the KG field and use the DATA wheel to select the keygroup. These parameters allow you to
mix the keygroups in a program. It is particularly useful for drum programs where each drum may
be mixed and panned to a suitable position in a stereo mix. It is also useful for balancing the
respective levels of samples in, for example, a string or piano multi-sampled program, ensuring
an even balance across the keyboard range.
NOTE: You will note that if the master loudness parameter in the OUT page (see below) is set
to 99, this control will only have effect downwards (i.e. when setting a negative value).