MULTI MODE
S2000 Operator’s Manual - Version 1.30 Page 57
SETTING A PART’S MIDI CHANNEL
The default MIDI channel assignment for a multi when you power up is sequential. That is, parts
1-16 use MIDI channels 1-16. There are times, however, when you may want to change this.
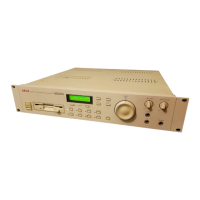
To change the part’s MIDI channel, use the PAGE keys until you see this screen display:
This shows the MIDI channel for PART 1. Use the inner DATA wheel to set the MIDI channel
and the outer SELECT wheel to select the part. Setting parts to channels other than the
default can be used where you wish to layer programs (i..e set the MIDI channel in two or more
parts to be the same). This may also be used to set keysplits using the KEYRANGE function
described below.
SETTING A PART’S LEVEL AND PAN
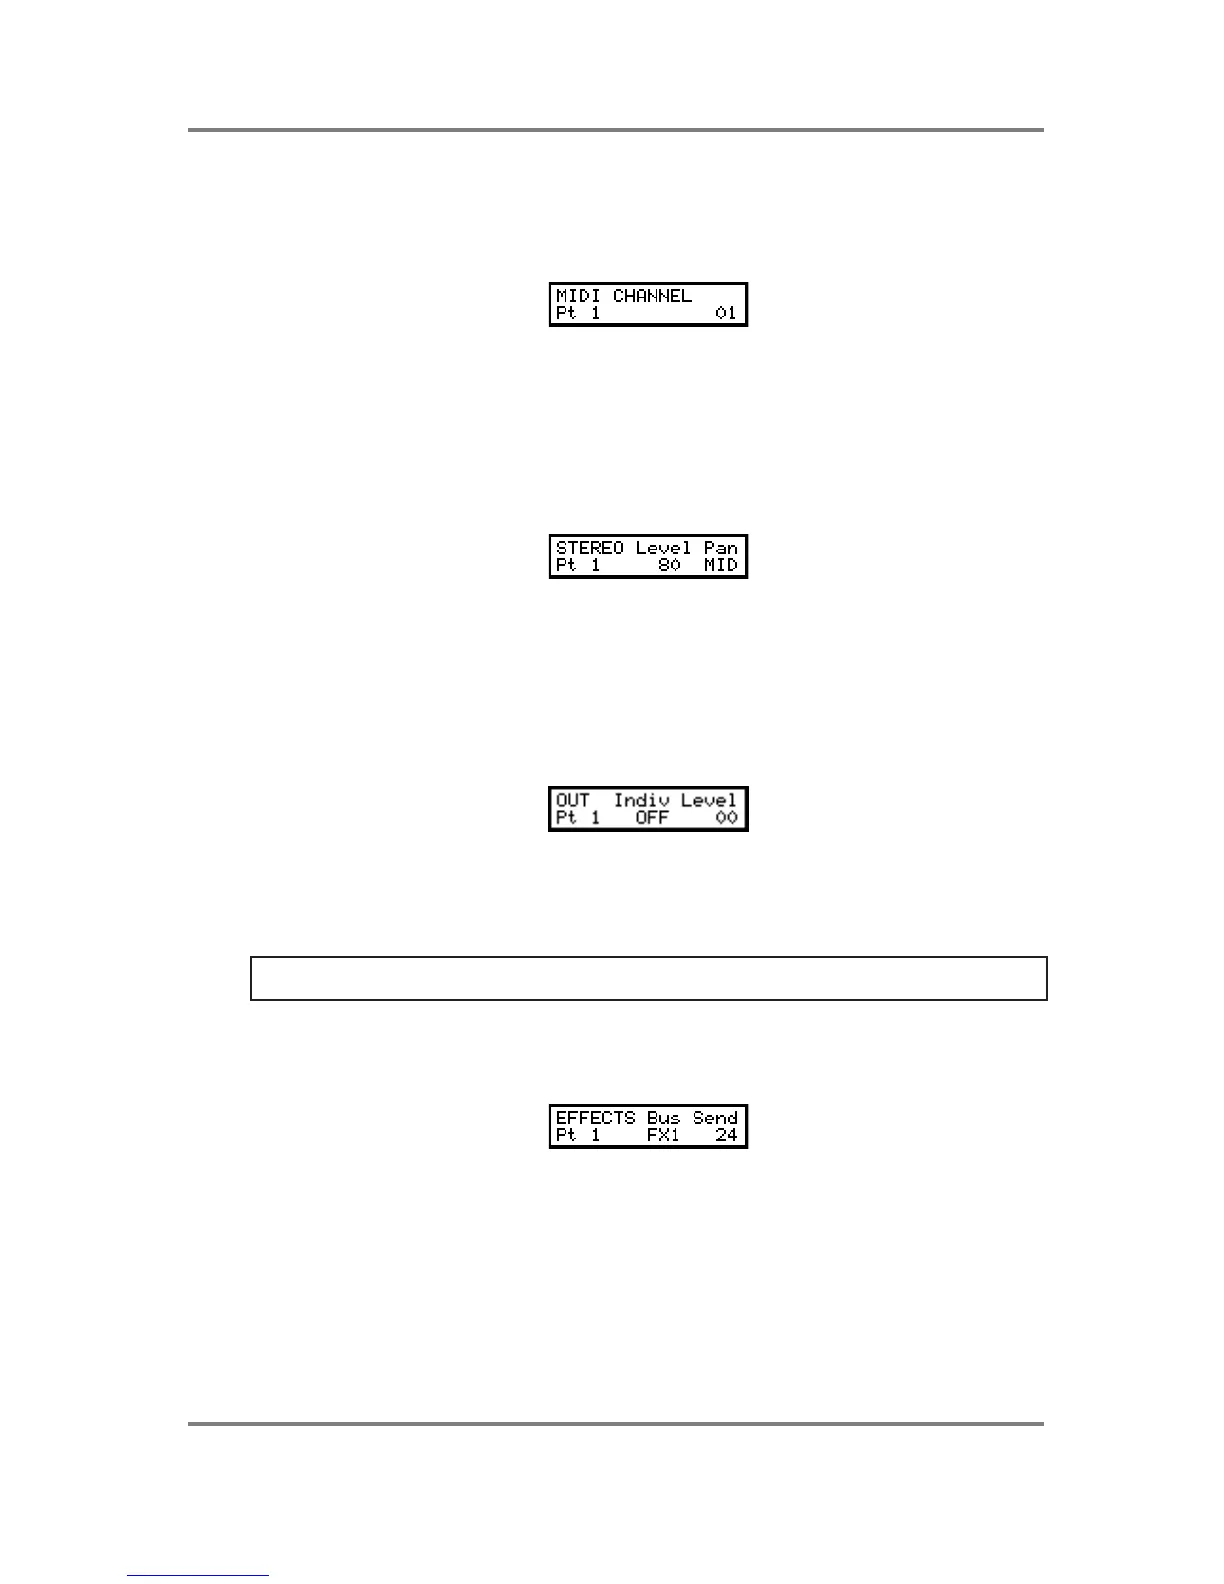
The next page down is the LEVEL page. You will see this screen display:
Here we see the L/R output level for PART 01. Press F1 to select LEVEL and use the inner
DATA wheel to set the level 00-99. Press F2 to select PAN and use the DATA wheel to set the
pan position L50-MID-R50. Use the outer SELECT wheel to select the part.
SETTING A PART’S OUTPUT ASSIGNMENT
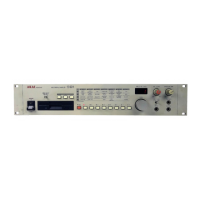
If the optional output expander board is installed, the next page down is the output
assignment page where you may select which of the individual outputs the selected part will be
routed to. You will see this screen:
You can assign the part to an output and set the level at which it will appear at that output.
Press F1 to select the INDIV field and use the DATA wheel to set the output assignment OFF,
1-8 and press F2 to select the LEVEL field and use the DATA wheel to set the individual
output send level. Use the SELECT wheel to select the part.
NOTE: The S2000 can detect the presence of the optional output expander board and so, if
the individual output board is not installed, this page will not be shown.
SETTING A PART’S EFFECTS BUSS ROUTING
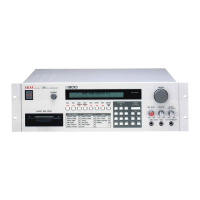
If the optional EB16 effects processor is installed, the next page down is the FX BUSS routing
page so press PAGE DOWN once to receive this screen:
This page selects which of the effects channels the selected part will be routed to. You may
select FX1 or FX2 (the multi effects channels) or RV3 and RV4 (the reverb channels). A part
may only be routed to one effects channel at any one time. Use the DATA wheel to select the
effect you wish the part to be routed to and the SELECT wheel to select the part. You may also
set the effects send level on this page. Press F1 to select the BUS field to select which effects
channel the part will be routed to (FX1, FX2, RV3 or RV4) and press F2 to select the effects
SEND level field. Use the DATA wheel to set the values and the SELECT wheel to select the
part you wish to affect (or should that be ‘effect’!).