EFFECTS EDIT
Page 190 S2000 Operator’s Manual - Version 1.30
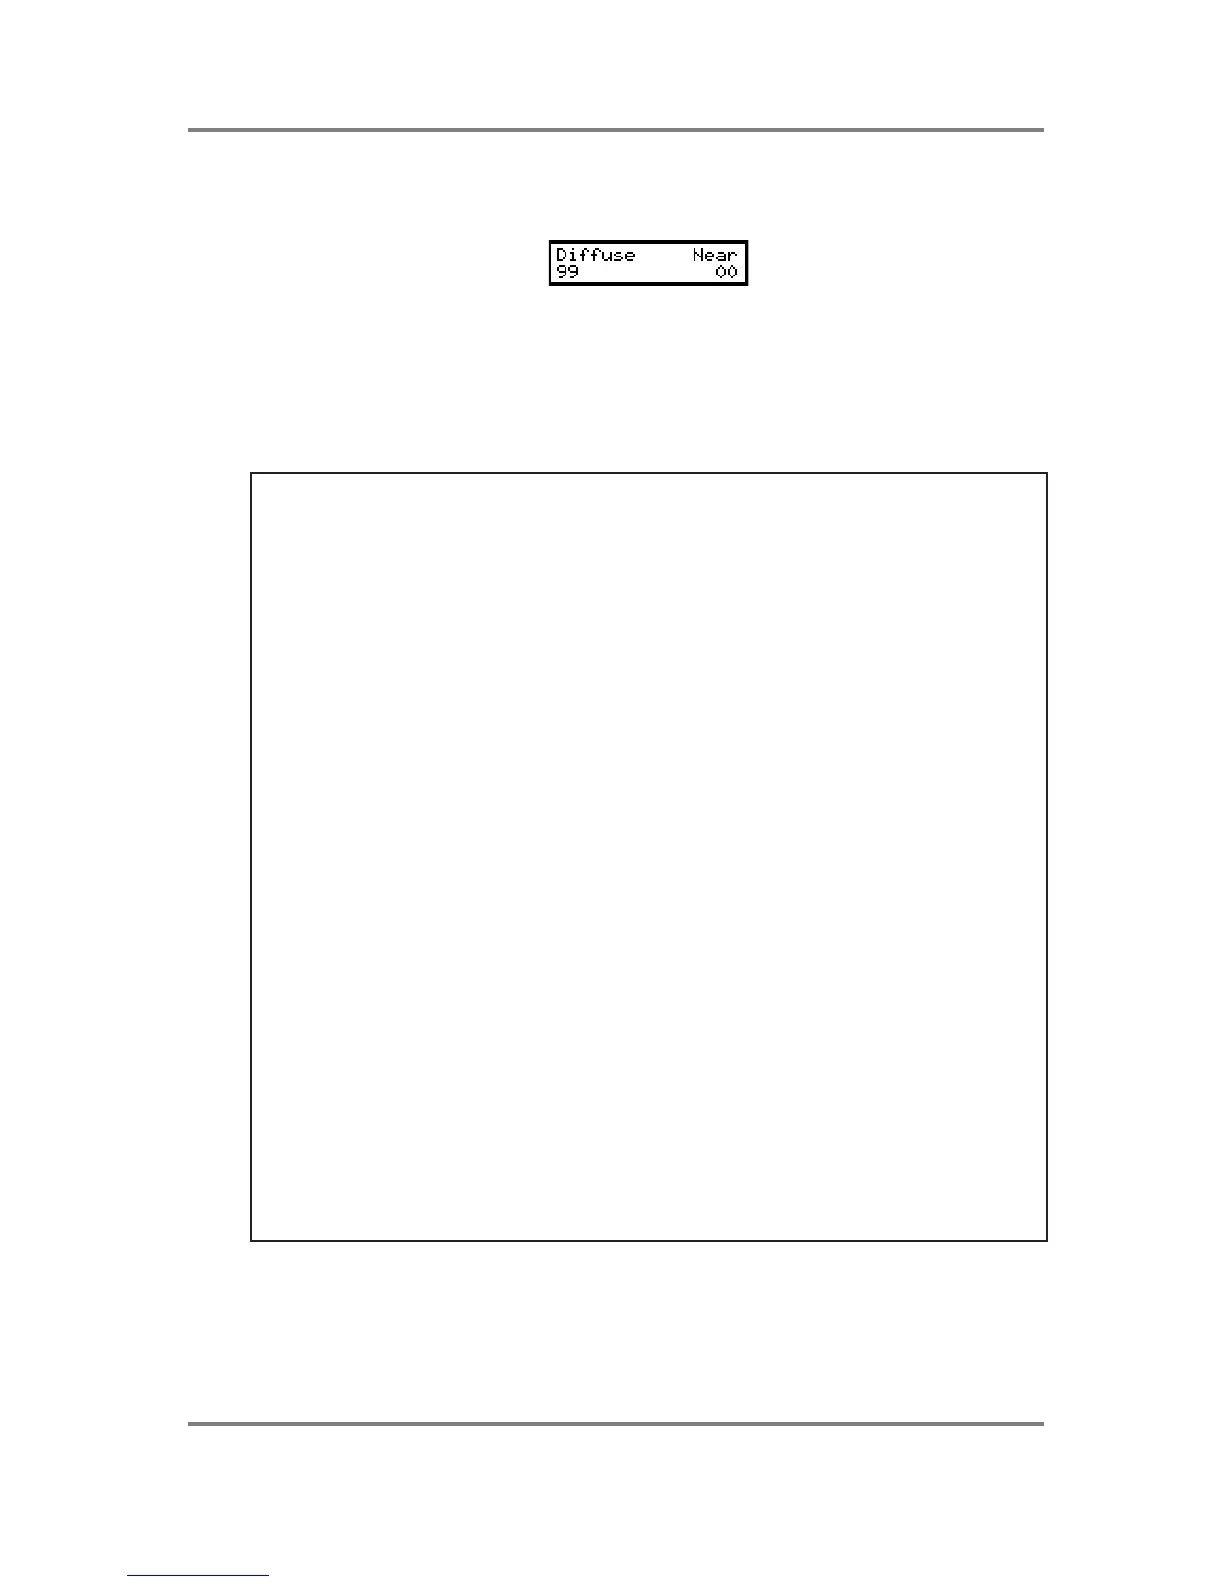
can hear some of the individual reflections. The next page down allows you to control this
aspect of the reverb decay:
High DIFFUSE values offer very smooth reverb decays whilst lower values give the sound a
more ‘bouncy’ or ‘echoey’ quality where you can hear individual reflections in the decay.
The NEAR parameter affects the amount of ‘agitation’ the direct sound will have on the reverb
decay and this has an effect on our perception of how close we are to the direct sound. High
settings give the impression of being closer to the original sound whilst lower settings gives an
enhanced sense of distance.
SOME TIPS ON USING REVERB
• Firstly, don’t overdo it! One common mistake is to smother a sound in reverb. This just
results in an indistinct, ‘mushy’ sound. A lot of reverb can be nice on slow, floating pads
and strings, the musical content of which is fairly sedate but, generally, more reverb does
not guarantee a better sound - often the reverse, in fact!.
• Be aware that using long reverbs on fast moving sounds (i.e. fast sequences or arpeggios)
can cloud the music creating an indistinct ‘blur’ behind the music (unless the reverb is
mixed quite a way back). A nice ROOM reverb on such parts is usually sufficient. If you can,
tweak the decay time so that it doesn’t hang over into adjacent notes too much.
• Small rooms and the like are good on bass sounds. You may also like to try setting the
LFDAMP parameter so that only the high frequency content of the sound is reverberated.
This will keep the ‘straight’ portion of bass end free for the bass to be heard clearly. Avoid
long, boomy reverbs on bass parts as this will clutter up the bottom end of the music.
• To create more space between the reverb and the direct sound, set longer predelay times.
This will allow the attack of the sound to be heard without ‘smudging’ it with reverb. For
example, when applying reverb to a snare drum sound, a bit of predelay can help separate
the direct snare sound from the reverb.
• To make a sound seem further away, send a lot of signal to the reverb and pull the level of
the direct signal back a bit in the L/R outputs. To make a sound VERY distant, pull the
direct sound out completely!
• When putting drum kits through the reverb, watch out for the hi-hat. Fast hi-hats through
the reverb can make the overall mix very ‘splashy’ as the high frequencies get
reverberated. If you get this problem, take the high hat out of the reverb altogether using
the KG FX page function in the drums program.
With drum and percussion programs, use the KG FX function to have more or less reverb
on some drums than on others (for example, snares can take a lot of reverb but bass (kick)
drums usually have less). The KG FX function allows you to send different drum sounds in
a program to different effects types (for example, gated on the bass drum, large hall on the
snare, medium hall on the toms, small room on selected percussion, etc.) although in a
multi-timbral setup this will use up all available effects channels.