Appendix G Excel Macro
G-2
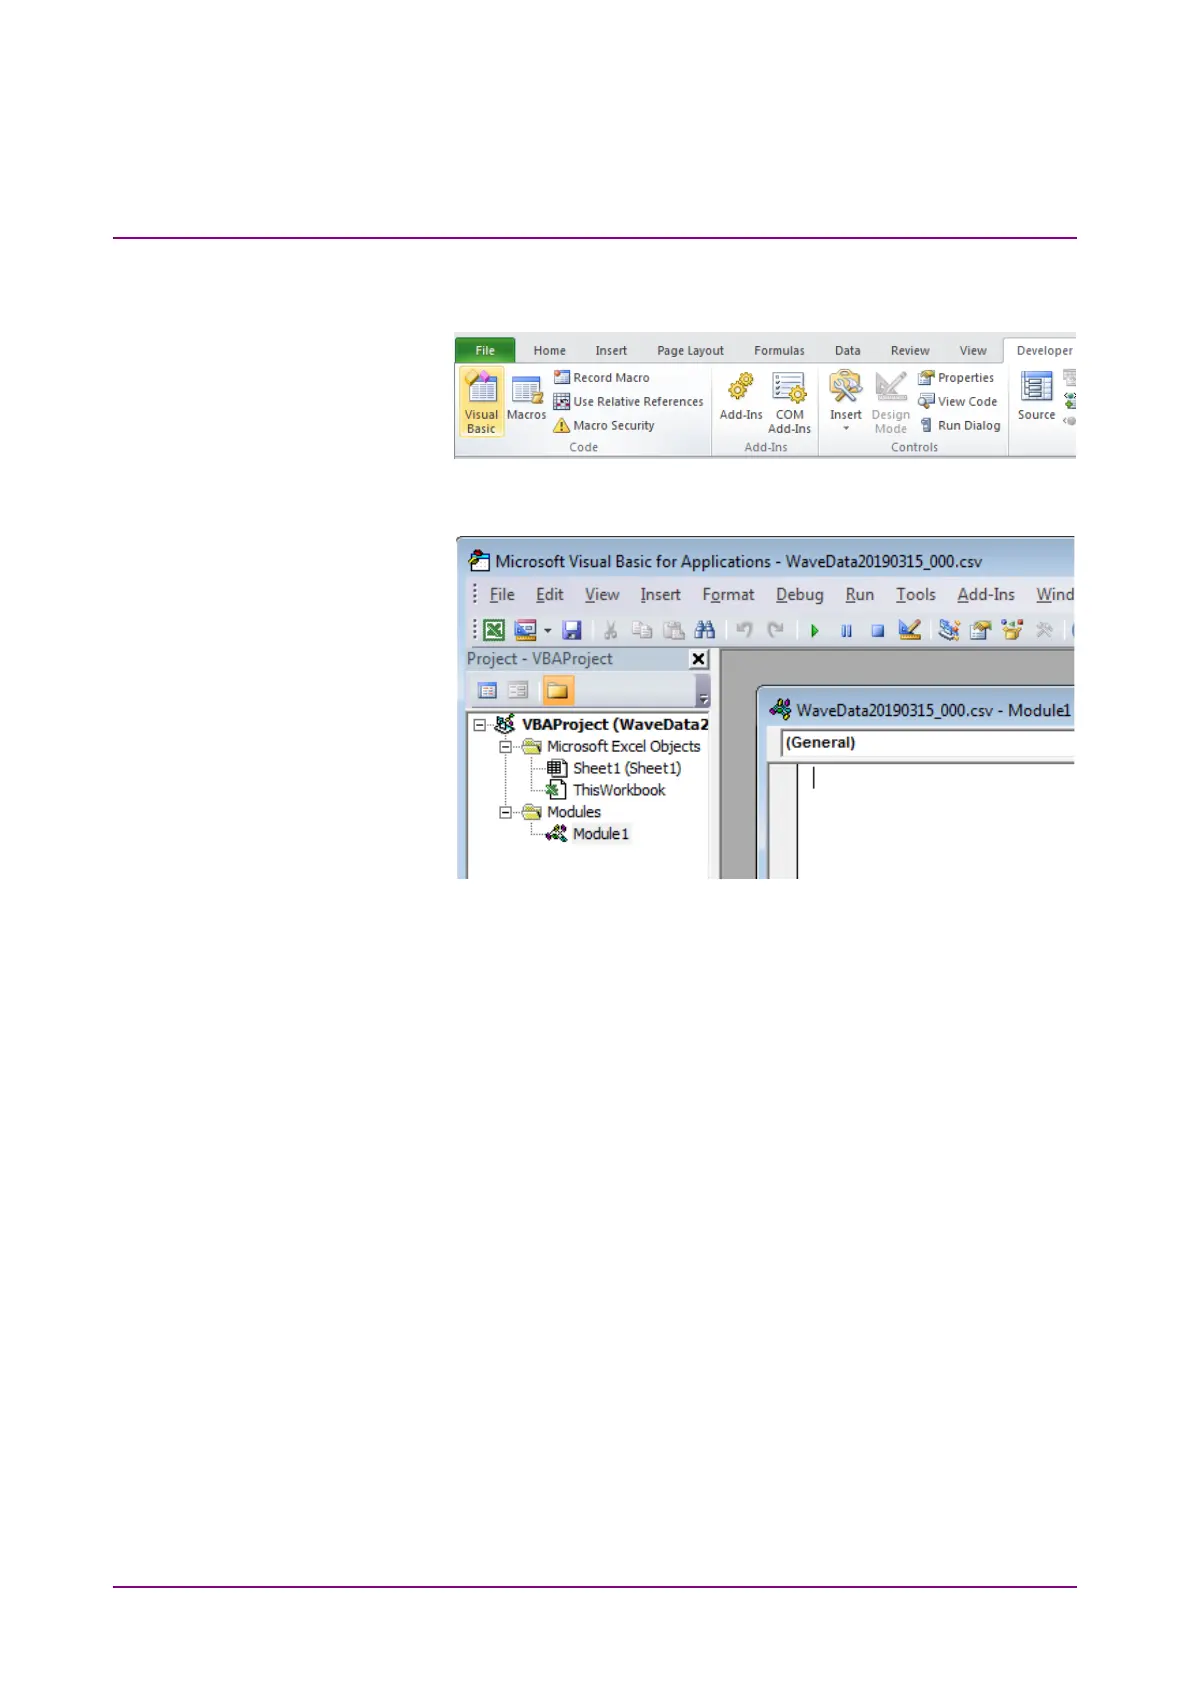
3. Input the macro.
(a) Click
Developer – Visual Basic at the Excel menu.
(b) Click
Insert – Module from the Visual Basic for Application
menu. Module1 is added.
(c) Copy the macro from the following pages and paste it into the
Module1 (code) window.
(d) Click
File – Close and Return to Microsoft Excel from the Visual
Basic for Applications menu.
4. Save the file.
(a) Click
File – Save As… at the Excel menu.
(b) At the Save As… dialog box, change the file type to
Excel
Macro-Enabled Workbook (*.xlsm).
(c) Click
Save.
5. Run the Macro.
(a) Click
Developer – Macros at the Excel menu.
(b) Select Macro1 and click
Run at the opened macro dialog box.
A graph sheet is created and a graph is drawn. An example is
shown in Figure G-3.