12-1
Chapter 12. Calibration and Inspection
CAUTION
Do not switch to calibration/inspection mode while the object of control is in operation.
When this device is in calibration/inspection mode, the state of control outputs and event
outputs is fixed and these outputs do not function. Take this into consideration when
calibrating or inspecting.
Handling Precautions
• It may be necessary to disconnect or reconnect the wiring for calibration and
inspection.
In this case, follow the warnings and cautions regarding wiring given in
Chapter 4. Wiring.
The user can calibrate and inspect the input and output functions of this device.
The following are available:
• PV input calibration
• Current output calibration
• CT input calibration
• I/O inspection (external contact input, control output and event output, key input)
Use the SLP-C1F Smart Loader Package for calibration and inspection.
Starting calibration and inspection
Start the SLP-C1F Smart Loader Package to display the menu screen. Select [Menu]
→ [Calibration and checking] from the pull down menu. A dialog box saying
“Calibrate” will be displayed.
When [OK] is selected, the calibration and checking screen is displayed and this
device enters calibration/inspection mode.
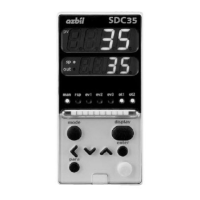
When this device is in this mode, the lower display says tESt.
Handling Precautions
• Azbil Corporation will not be liable for error in measured values or
problems caused by incorrect calibration by the user.
• To restore the settings when the product was shipped during calibration
or checking:
If you select [Command] → [Restore adjustment values] from the pull-
down menu, any current calibration settings will be discarded and
the settings when the product was shipped will be restored. If you
accidentally execute this command during calibration or checking, all the
current calibration data will be lost.