158 SERIAL LINKS
Note.
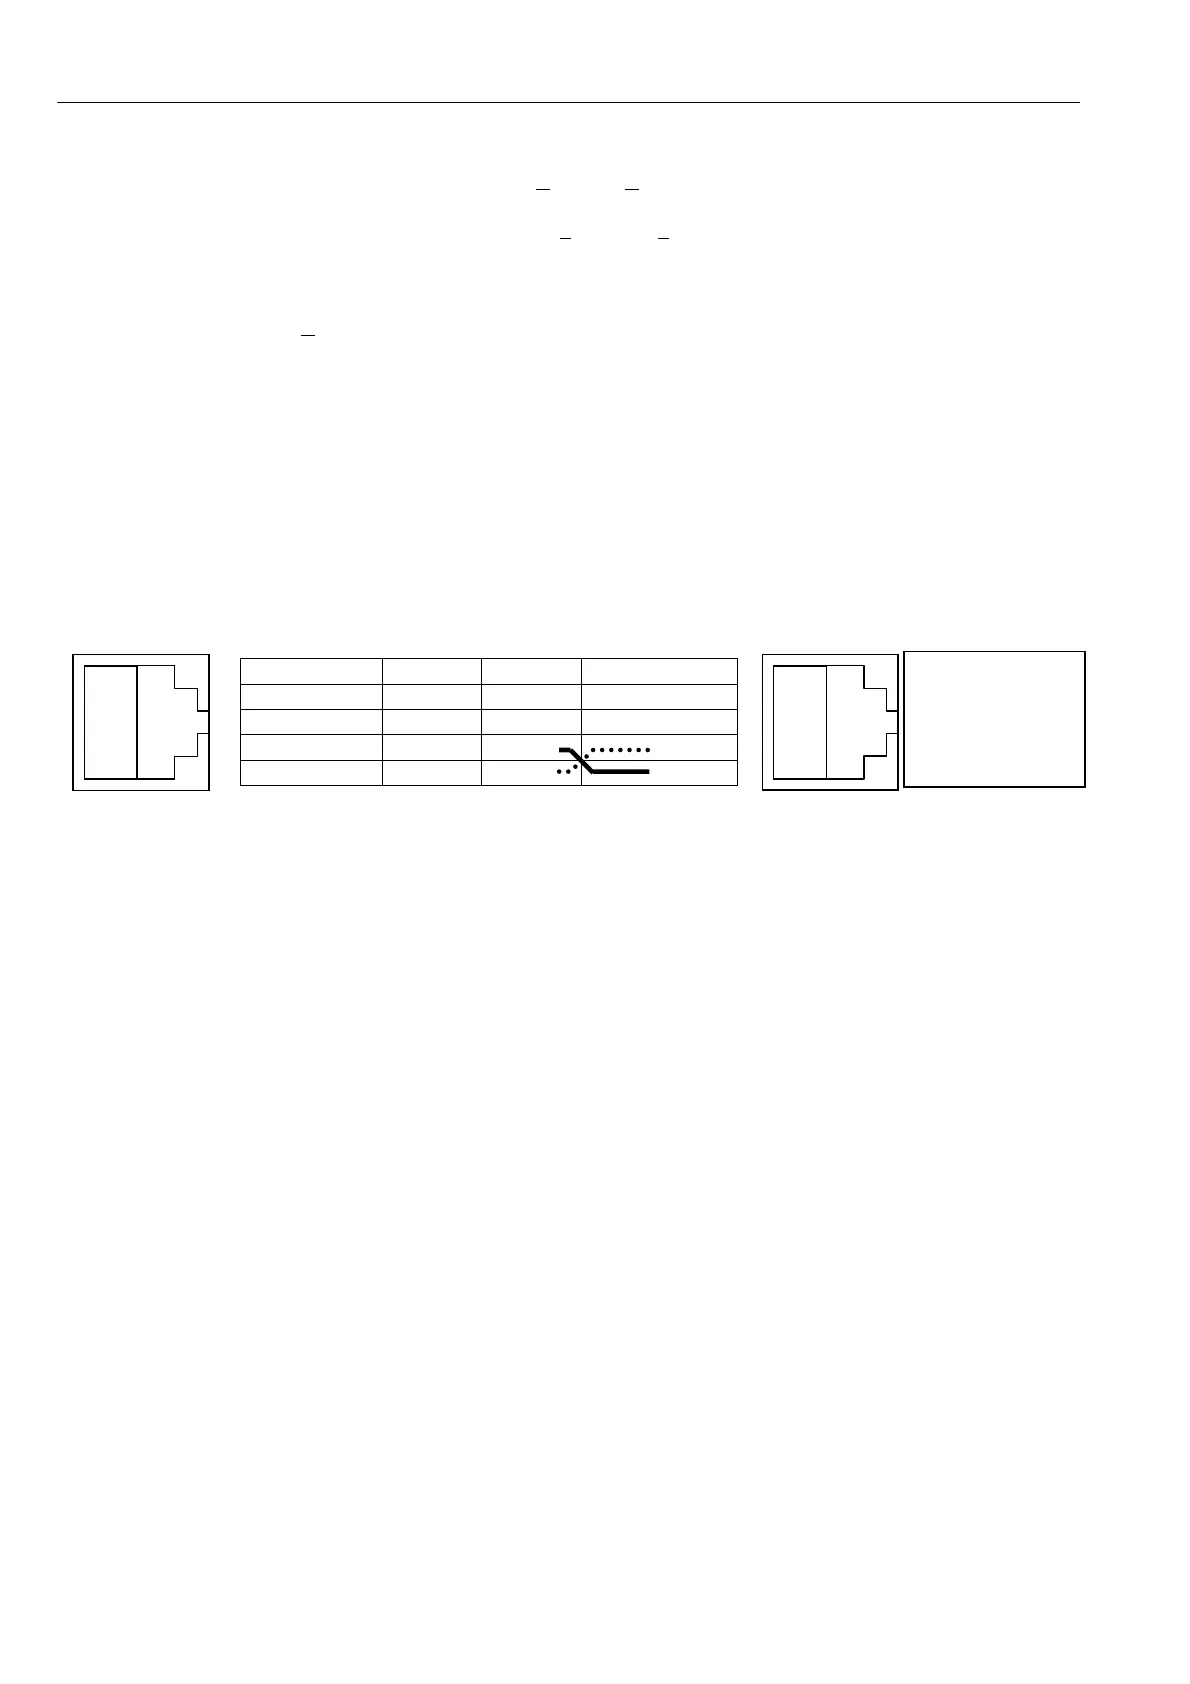
The wires on
pins Y and Z
are transposed
Read only values will show the level pertaining at the time.Once data is received and the drive reports
“Finished”, click on the disconnect icon or click on C
all then Disconnect to finish.
You may no w exit from HyperTerminal by clicking on F
ile then Exit or by pressing Alt and F4 or by closing
the windo w. You will be asked if you wish to save the session, this is not necessary as your personalised
Hyperterminal already exists.
If you previously selected C
apture text, the file of received menu listing can now be loaded into whichever
word processor you are using to be viewed or printed etc.
10.2.3.2 PARA METER EXCH ANGE / Drive to drive
See 10.2.4 Rules of parameter exchange relating to soft w are version.
During maintenance it is sometimes not possible to transfer parameter settings using computers, but may be
necessary to transfer settings from one unit to another.
To overcome this problem the PL/X has a built in ability to exchange parameters between t w o functioning
control cards. This method may be used if there is a problem with the po wer chassis but the unit still
responds to the application of the control supply as normal. For faulty units see 10.2.3.3 PARAMETER
EX CHANGE / Eeprom transfer between units.
Socket pin function Plug 1 Plug 2
W 0 V 0V 0V
X Open Open Open
Y transmit Wire3
Z receive Wire4
(Unit to unit 2 metre cable part number LA 102596. Unit to host, 9 way female Dtype part no. LA 1025 95).
Turn on the control supply to the source and target PL/Xs. The display and keys on both units should be
working in order to proceed with this transfer technique. Connect the RS232 PORT1 of the source PL/X to
the RS232 PORT1 of the target PL/X using an appropriate lead wired between plug 1 and plug 2 as above,
with pins Y and Z transposed, and pin X disconnected. The socket is type FCC68 4 way
The recipe page of the transmitted file depends on the recipe page selection in the source PL/X. See 13.13.2
DRIVE PERSON ALITY / Recipe page PIN 677. Only one page is sent each time. To send all three pages
requires three separate transmission sequences. The recipe page selected on the source PL/X also determines
its page destination on the target PL/X.
Provided the displays and keys are operating on both units you may proceed to 10.1.2 RS2 32 PORT1 / Port1
Baud rate PIN 187 and set the baud rates for each unit to be 9600.
Then proceed to 10.2.1 PARA METER EX CH A NGE / Drive transmit on the source PL/X, followed by 10.2.2
PARA METER EXCH ANGE / Drive receive on the target PL/X.
With the target PL/X in the DRIVE RECEIVE window , press the up key to place it in a RECEIVING mode.
Return to the source PL/X and in the DRIVE TRANSMIT windo w press the up key to commence /
TRA NSMITTIN G.
Note. If the message A UTHORIS A TION NEEDED appears it means recipe page 3 has been locked ON THE
RECEIVING unit and cannot be overwritten. See 13.13.2.1 Recipe page block diagram or refer to supplier.
When the messages change to FINISHED, press the left key on the target PL/X. Look at the cal ibration
parameters and other unique parameters to ascertain with confidence that the configuration has been
transferred, then turn off both the control supplies. Remove the interconnecting lead. The target PL/X is now
loaded with the parameter file from the source PL/X.
W
X
Y
Z
W
X
Y
Z