Setting Admin User Privileges via a Telnet/SSH Connection
c In the Passphrase field, type the password, localadmin. Wait a few seconds,
until the Use rhosts to log in is disabled.
Note: The username and password are case-sensitive. The default username
is admin and the default password is localadmin.
d Click OK.
7 Type lr and press Enter.
Adding a New User
1 At the admin prompt, type pwd add_user and press Enter.
2 At the NEW USERNAME prompt, type a new username and press Enter.
3 At the NEW PASSWORD prompt, type a new password and press Enter.
Note: The new password must follow the rules configured in the Password
Complexity parameter. For more information, see To Change the User Login
Passwords (on page 290) for the web GUI or IP (on page 88) for the Front Panel.
4 At the CONFIRM NEW PASSWORD prompt, type the new password again and
press Enter.
Note: The New Password and Confirm New Password should be identical.
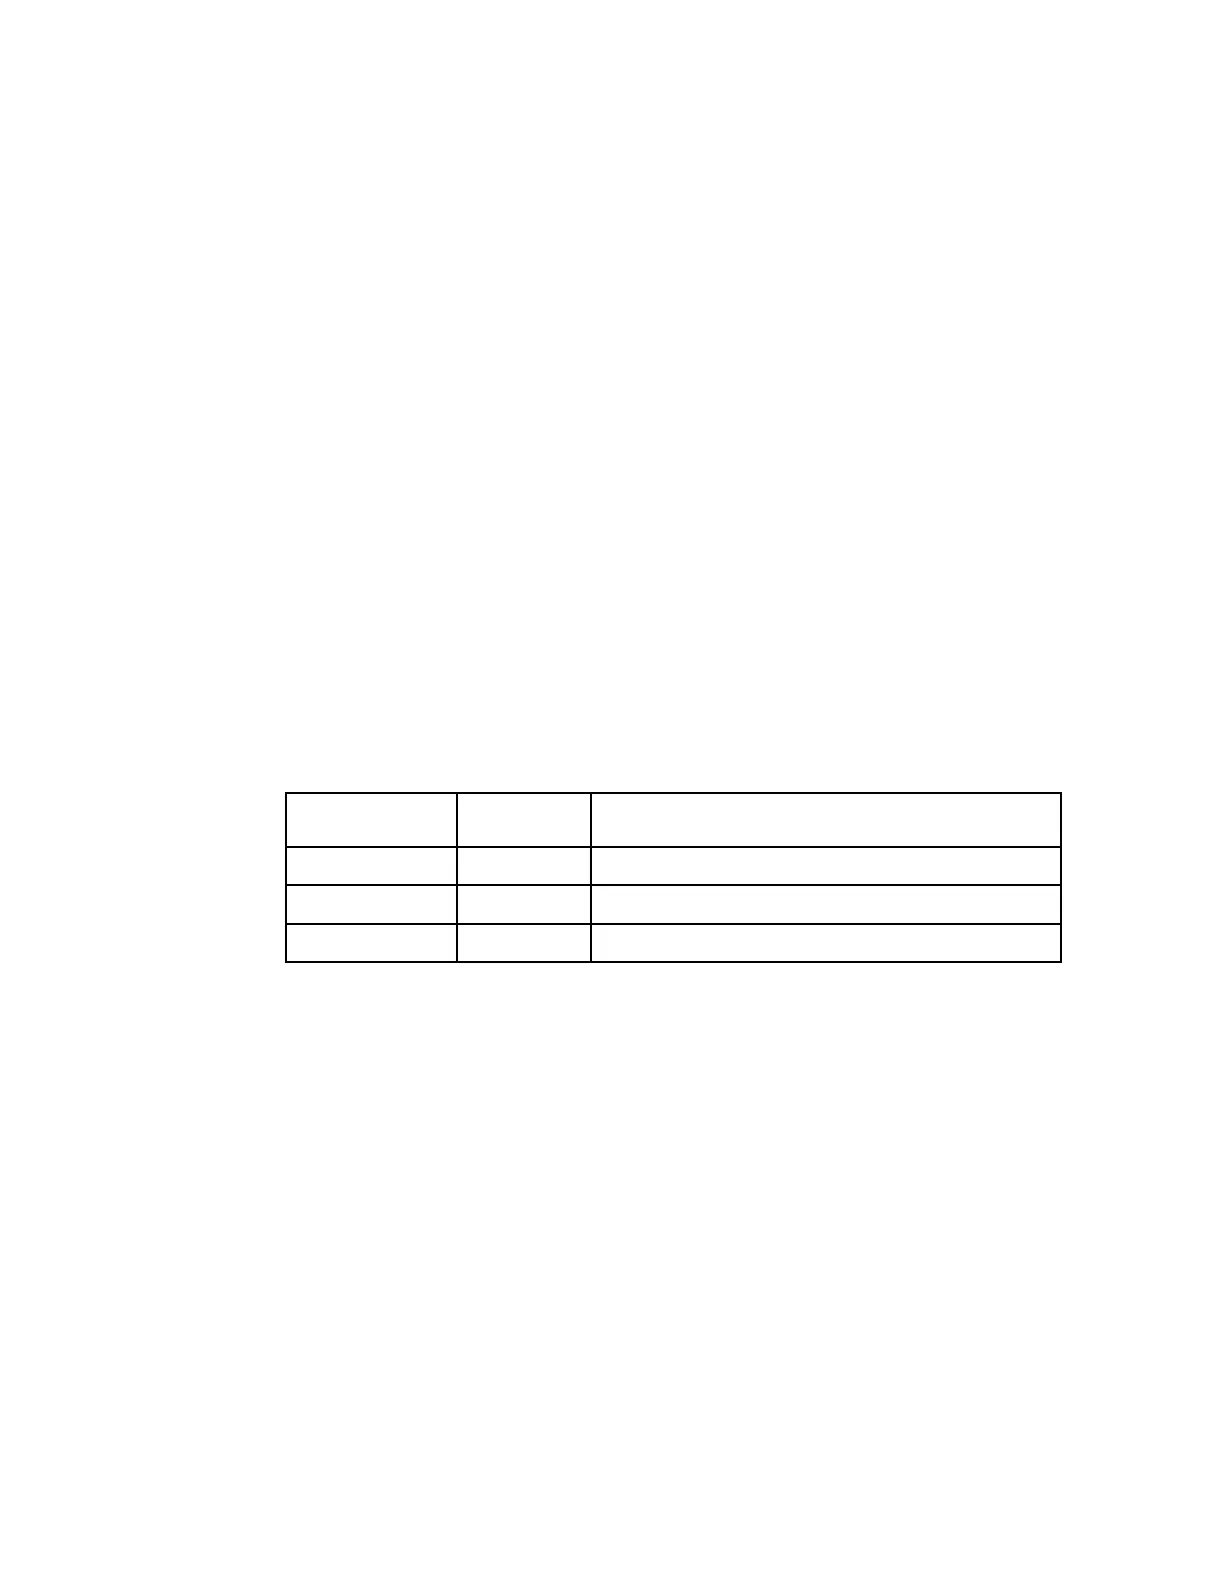
5 At the NEW USER PRIVILEGES prompt, enter the type of account you want to
assign the user. The following table illustrates the different login types:
View, edit settings, and add/delete user accounts.
6 At the ADMINISTRATOR PASSWORD prompt, type the administrator's
password and press Enter.
Deleting a User
1 At the admin prompt, type pwd del_user and press Enter.
2 At the USERNAME prompt, type the username you want to remove and press
Enter.
3 At the ADMINISTRATOR PASSWORD prompt, type in the administrator's
password and press Enter.
Changing a Username
Proceed as follows to modify a username:
1 At the admin prompt, type pwd username_change and press Enter.
 Loading...