5-39
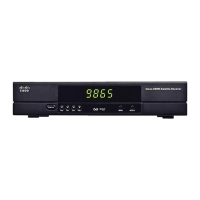
Cisco D9865 Satellite Receiver Software Version 2.20 Installation and Configuration Guide
OL-31085-01
Chapter 5 Setup and Monitoring via Web GUI
Configuring Time/Clock Information
diagnostics traps/alarms. The default community string is public. To set a custom community string,
enter an alphanumeric character string up to 31-characters in length identifying the password for the
device.
Note The community string is case-sensitive.
Step 3 In the System Name, System Location, and System Contact fields, enter the name location, and contact
information of the D9865. The system information is sent to the MIB browser, if applicable. The MIB
Browser is a third party software used to manage SNMP requests. For more information, contact Cisco
customer support.
Step 4 The Trap Destination Configuration area displays a list of trap destination address and the associated
community string.
To Add a Trap Destination:
1. Click Add in the Trap Destination Configuration area.
2. In the Trap Destination IP Address field, enter the destination for SNMP trap messages for events
(for example, fault messages).
3. In the Community String field, enter the community string for the associated trap IP address. You
can enter public or a custom string, up to 31 characters. The default is public.
4. To edit/delete an existing trap destination, select the trap destination entry by clicking on the radio
button. Make the necessary changes, or click Delete to remove the address from the Trap Destination
Configuration list.
Step 5 Click Apply.
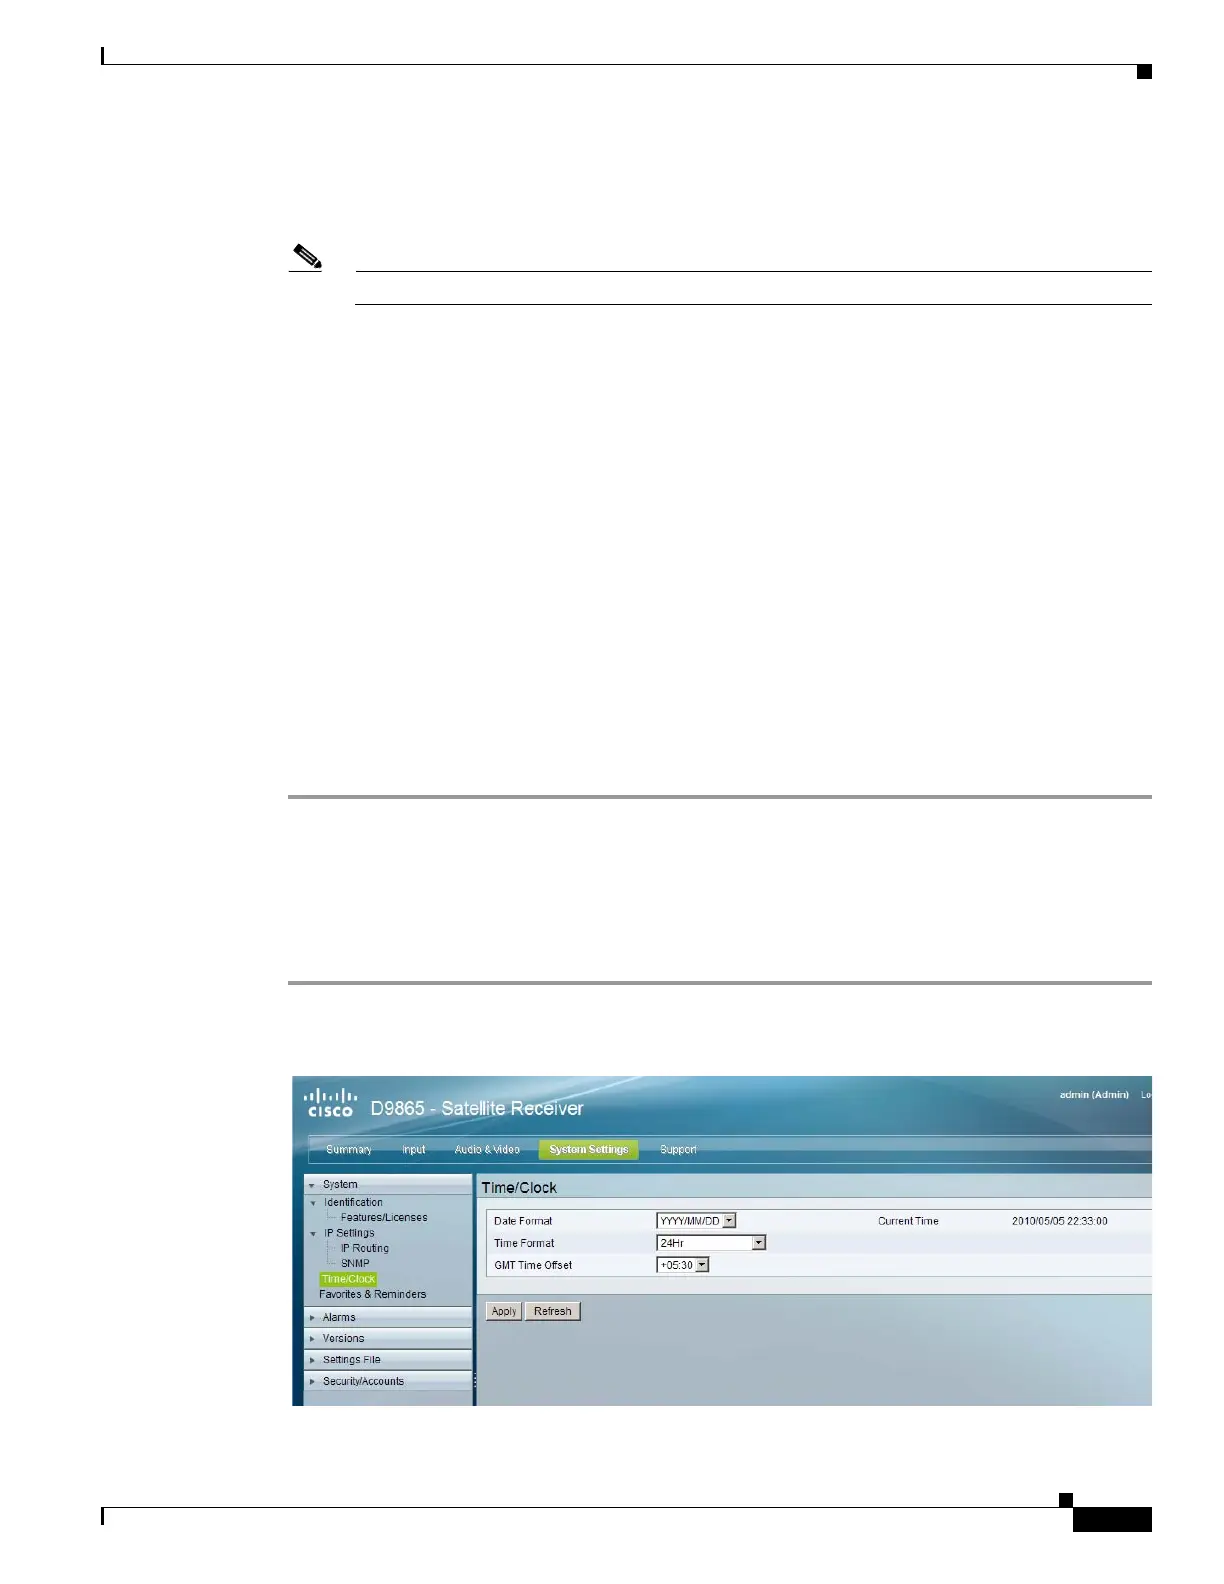
Configuring Time/Clock Information
Proceed as follows to configure the time/clock settings of the D9865 satellite receiver:
Step 1 From the user interface of the D9865, choose System Settings > System > Time/Clock. The Time/Clock
page is displayed.