Rapid Configuration
4
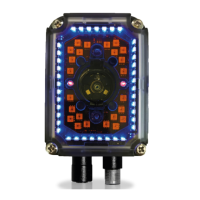
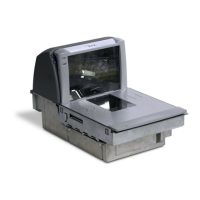
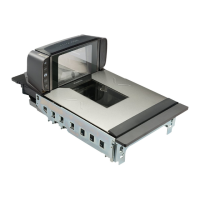
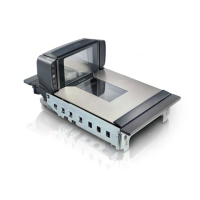
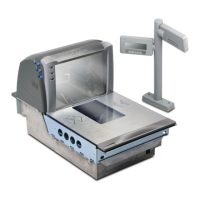
Matrix 300N
Step 3 - Aim and Autofocus the Reader
(Liquid Lens Models only)
Matrix 300N provides a built-in laser pointer aiming system to aid reader
positioning. For Liquid Lens models, the autofocus feature is also incorporated
into this function. The aiming system is accessed through the X-PRESS Interface.
1. Power the reader on. During the reader startup (reset or restart phase), all
th
e LEDs blink for one second. On the reverse side of the reader near the
bracket, the “POWER ON” LED (blue) indicates the reader is correctly pow-
ered.
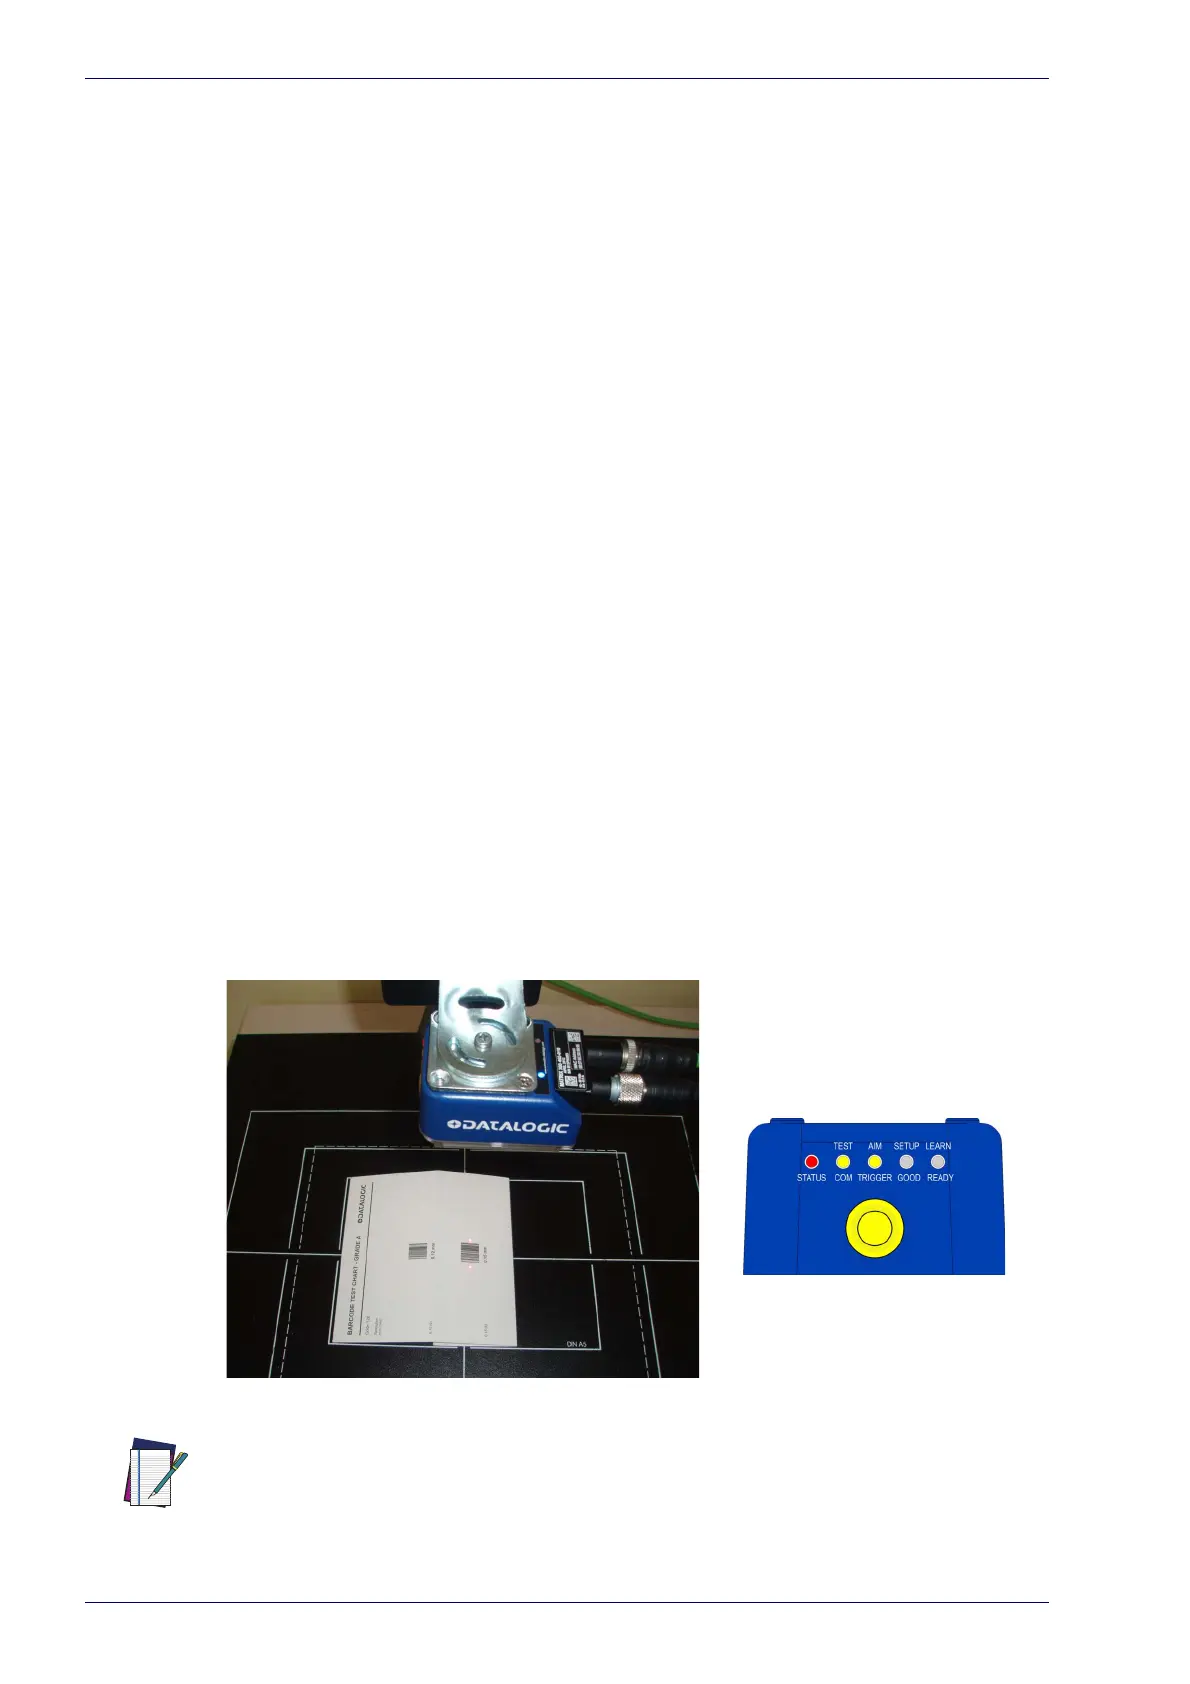
2. Place the Grade
A Barcode Test Chart in front of the reader at the correct
reading distance for your application. See the Global FOV Diagrams for ref-
erence.
3. Enter the Aim/Autofocus function by pressing
and holding the X-PRESS
push button until the Aim LED is on.
4. Release the button to enter the Aim function. The laser pointers turn on,
an
d the Autofocus procedure begins, see Figure 4. The Aim LED will blink
until the procedure is completed.
Within 3 seconds (before the reader flashes), center one of the larger codes
o
n the aiming system pointers (the code must not move during this proce-
dure).
The Autofocus procedure ends when the Reading Distance and PPI values
a
re successfully saved in the reader memory, the Aim LED will stop blinking
and Matrix 300N emits 3 high pitched beeps.
If the Autofocus cannot be reached after
a timeout of about 3 (three) min-
utes, Matrix 300N will exit without sa
ving the parameters to memory, the
Aim LED will stop blinking and in this case Matrix 300N emits a long low
pitched beep.
Figure 4 -
NOTE
X-PRESS Interface; Aim/Autofocus Function
You can exit the Aim/Autofocus function at any time by pressing the X-PRESS push
button once. After a short delay the Autofocus procedure is canceled and the laser
pointers turn off.