TX140 S2
Upgrade and Maintenance Manual 105
Power supply
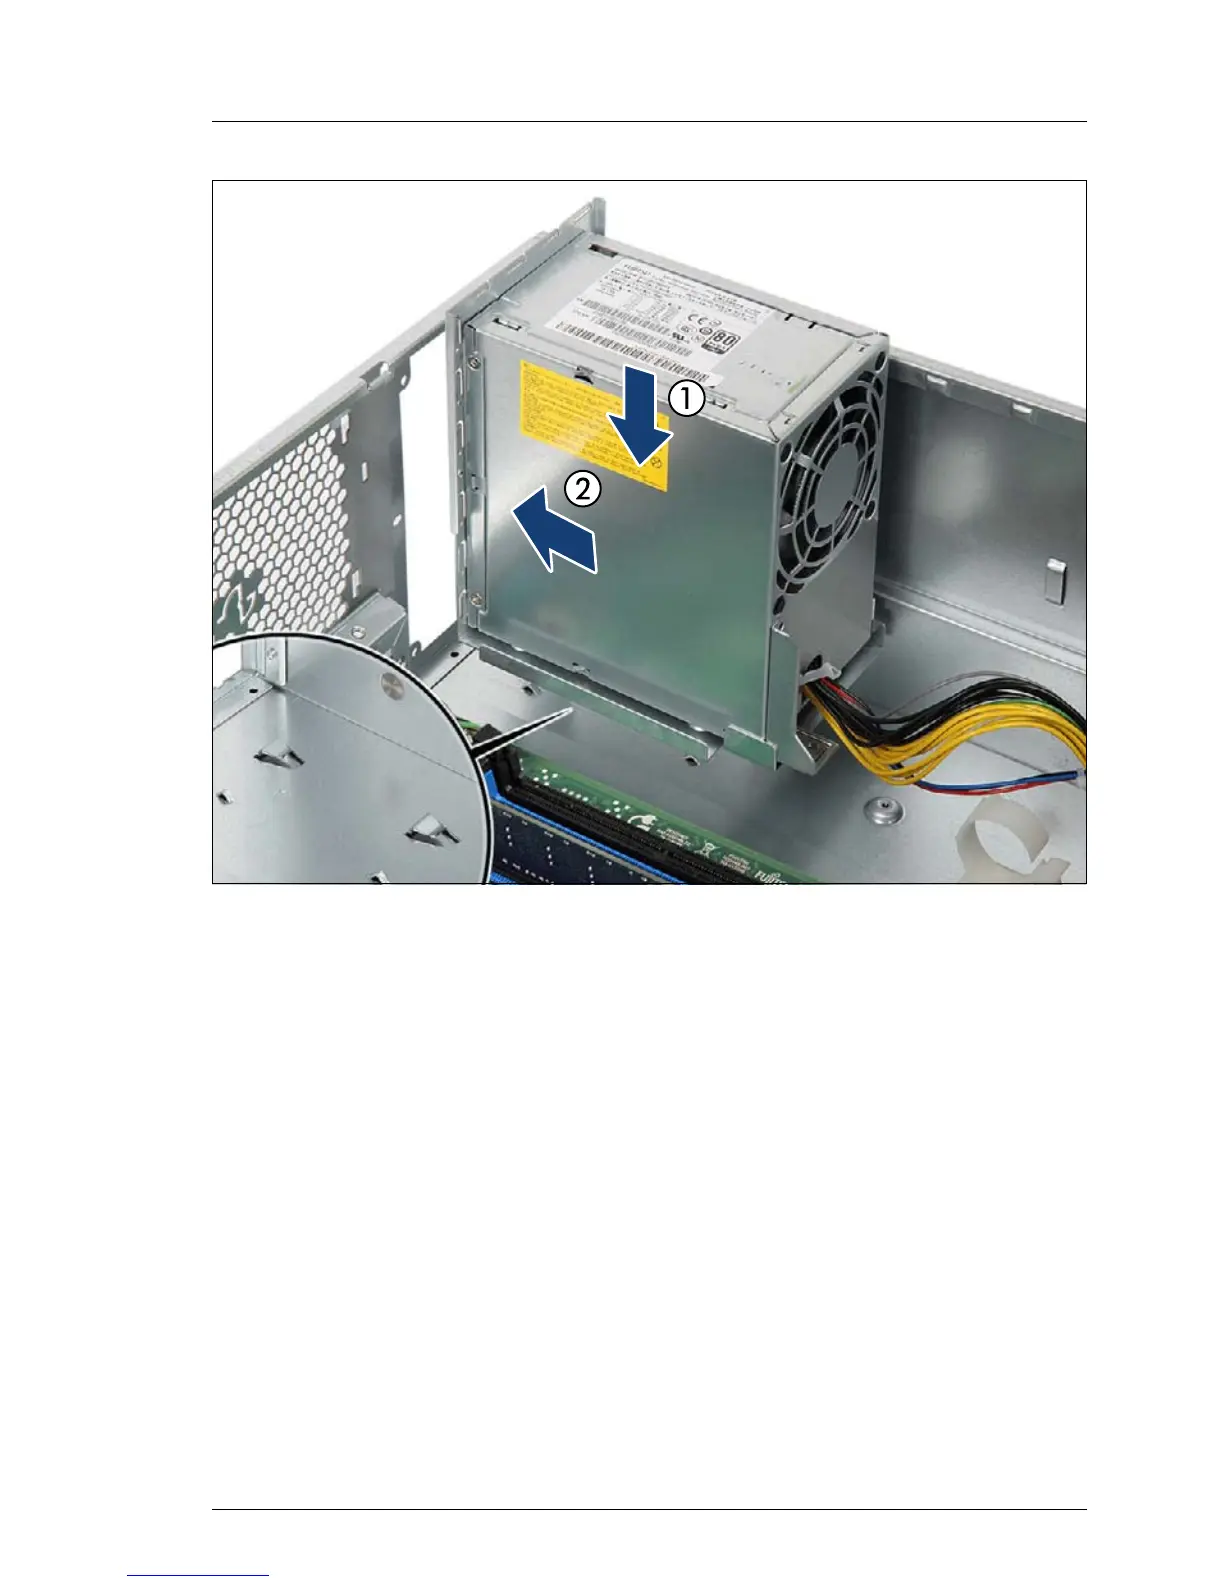
Figure 33: Installing the standard power supply unit
Ê Lower the power supply unit into the chassis so that the two hooks on the
server floor (see close-up) rest in the recesses in the installation frame (1).
Ê Slide the power supply unit towards the rear of the chassis (2).
Ê Secure the power supply unit to the chassis with five screws (see figure 27).
Ê Connect the ATX power supply connector to system board connector
"PWR1" (see section "Cabling plans" on page 301).
Ê Run the power cable through the power cable clamp (see figure 25).
Close the power cable clamp.
Ê Connect the power management connector to system board connector
"PC2009" (see section "Cabling plans" on page 301).
Ê Run the power cable through the cable clamp (see figure 26).
Close the cable clamp.

 Loading...