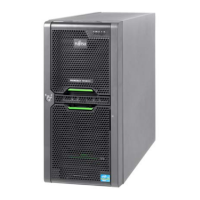
TX140 S2
Upgrade and Maintenance Manual 141
Hard disk drives / solid state drives
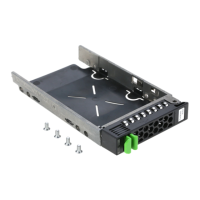
7.3.5.2 Removing a 3.5-inch HDD module
Ê Remove the HDD module to be replaced from the server as described in
section "Removing a 3.5-inch HDD module" on page 138.
7.3.5.3 Installing a 3.5-inch HDD module
Ê Install the new HDD module into the empty drive bay as described in section
"Installing 3.5-inch HDD modules" on page 134.
7.3.5.4 Concluding steps
Ê If applicable, "Installing the HDD bay cover" on page 64
Ê "Performing a RAID array rebuild" on page 91
7.3.6 Replacing the 3.5-inch HDD SAS backplane
7.3.6.1 Preliminary steps
Ê "Locating the defective server" on page 43
Ê "Disabling BitLocker functionality" on page 69
Ê "Shutting down the server" on page 46
Ê "Disconnecting the server from the mains" on page 46
Ê If applicable, "Removing the HDD bay cover" on page 55
Ê Remove all HDD modules from the server as described in section
"Removing 3.5-inch HDD modules" on page 137.
V CAUTION!
Ensure that all hard disk drives are uniquely identified so that you can
reinsert them into their original bays after replacing the SAS
backplane.
Field Replaceable Unit
(FRU)
Hardware: 10 minutes
Tools: Phillips PH2 / (+) No. 2 screw driver

 Loading...