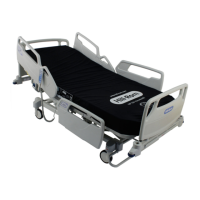
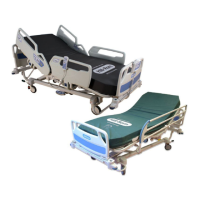
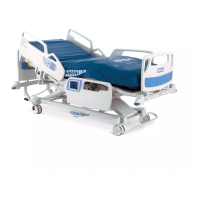
Bed Frame Features
28 Centrella® Smart+ Bed Instructions for Use (193587 REV 10)
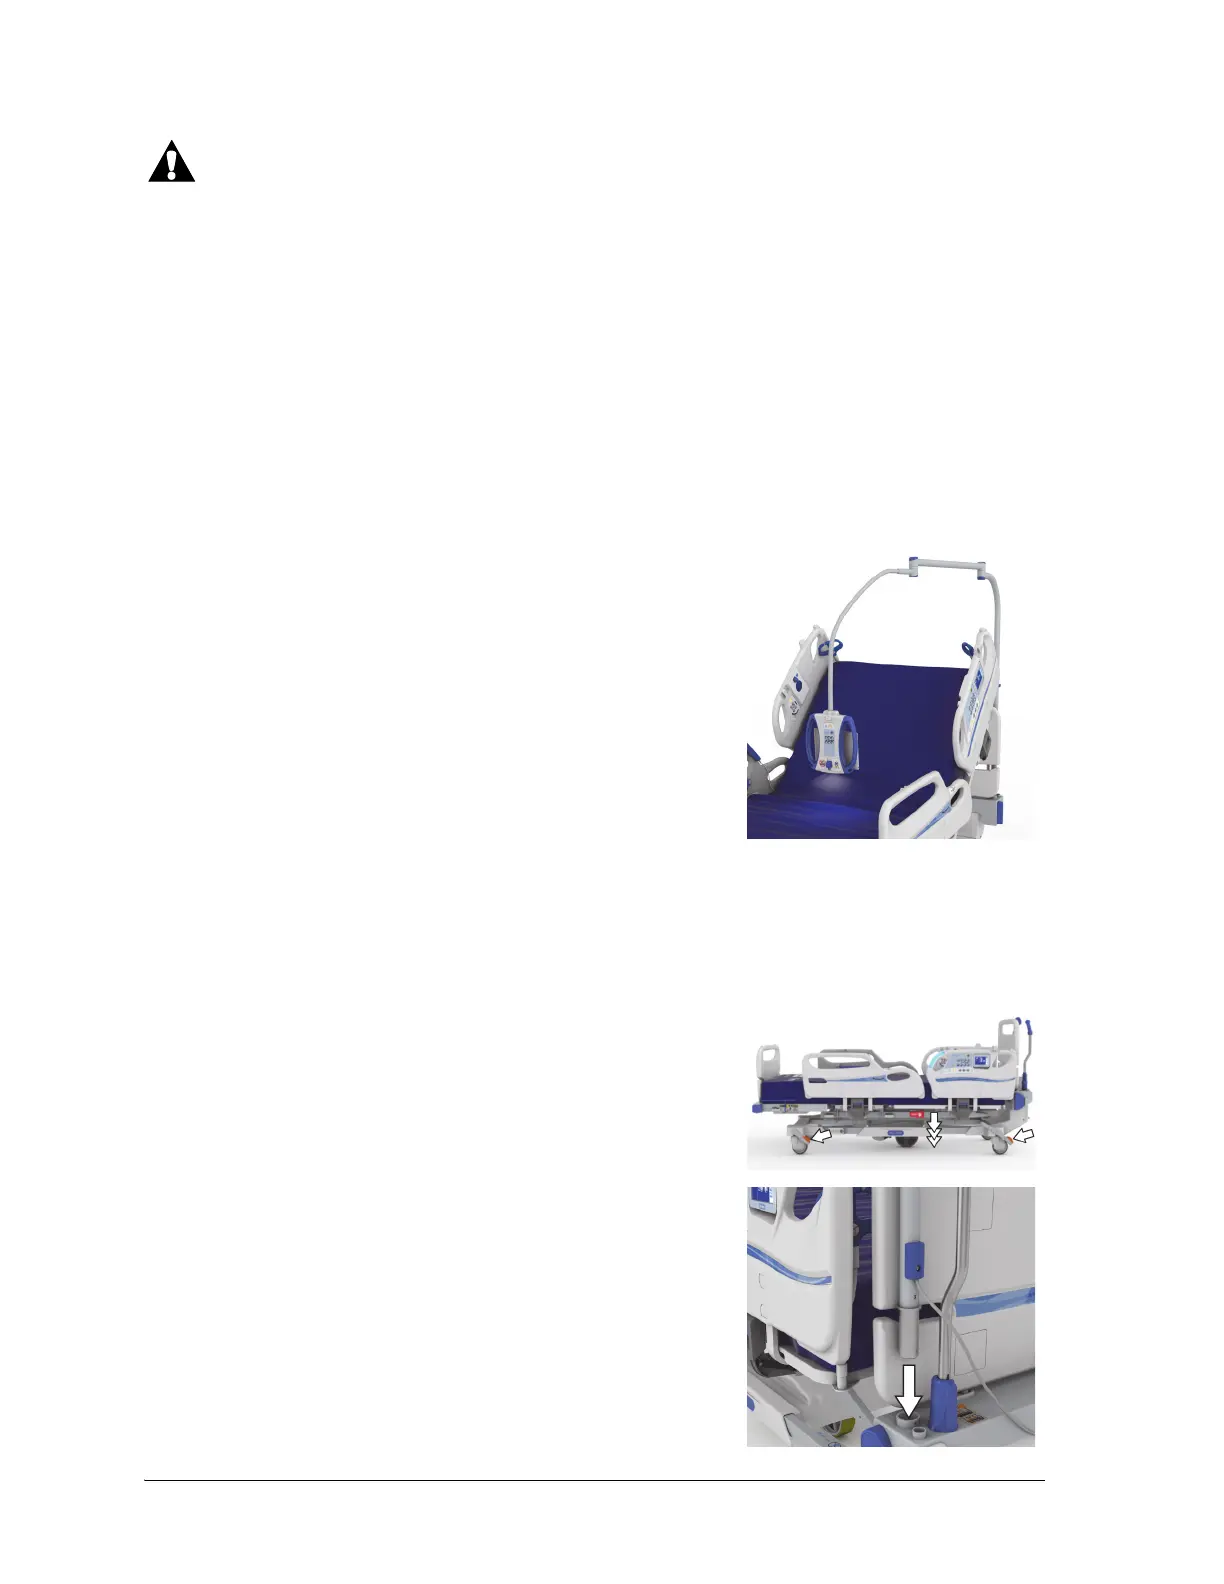
To help prevent injury and/or equipment damage, obey these warnings:
• Warning—Do not exceed the 1 kg (2.2 lb) load capacity of the Overhead Arm.
• Warning—Do not remove or install the Overhead Arm assembly while it is in a position over a
patient.
• Warning—Stay clear of pinch points and moving parts when putting the Overhead Arm in the
transport position.
• Warning—Put the Overhead Arm in the transport position prior to transport (see Step 3 on
page 30).
• Warning—Instruct patients to never use the Overhead Arm to assist them when they get in or
out, or reposition themselves in the bed.
• Warning—When the Overhead Arm is installed and you adjust the bed and/or head section
height, be careful that the arm does not contact the patient.
With the Experience Pod® Device, you can—
• Articulate the bed (optional)
• Send a Nurse Call if the bed is connected to a Nurse Call
System (optional)
• Charge a PED
• Put your PED in the PED holder (see above for the PED
dimensions supported)
• Store the PED charging cord
• Turn on/off the reading light (optional)
• Adjust the Experience Pod® Device for optimal use
The USB port is not designed for devices that require less than 170 mA of power such as USB reading
lights, but supports up to 2.4 A of current.
To Install
1. Make sure the bed’s brake is set, and a patient is not in the bed.
2. Lower the bed to its lowest position.
3. Install the Experience Pod® Device into the accessory socket at
the head end of the bed. Make sure the arm assembly is fully
inserted into the socket.