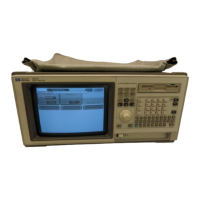
To remove and replace the disk drive
11 Using previous procedures, remove the following assemblies:
•
Handle
•
Rear Feet
•
Cover
22
Disconnect the disk drive cable from the rear of the disk drive.
33 Remove the two screws that attach the disk drive bracket to the power supply.
44 Slide the disk drive toward the rear of the instrument, then lift it up and out.
55 Remove the disk drive bracket.
To remove the disk drive bracket, remove the four screws that attach the disk drive bracket
to the disk drive.
66
Reverse this procedure to install the disk drive.
Check that the following assemblies are properly installed before installing the disk drive:
•
Monitor
•
Front Panel
•
Switch Actuator
•
CPU Board
•
Power Supply
Replacing Assemblies
To remove and replace the disk drive
6–6

 Loading...