1212 Press the blue shift key, then press the Run key. If 2 - 4 acquisitions are obtained
without the "Stop Condition Satisfied" message appearing, then the test passes.
Press Stop to halt the acquisition. Record the Pass or Fail results in the performance
test record.
1313 Test the next clock.
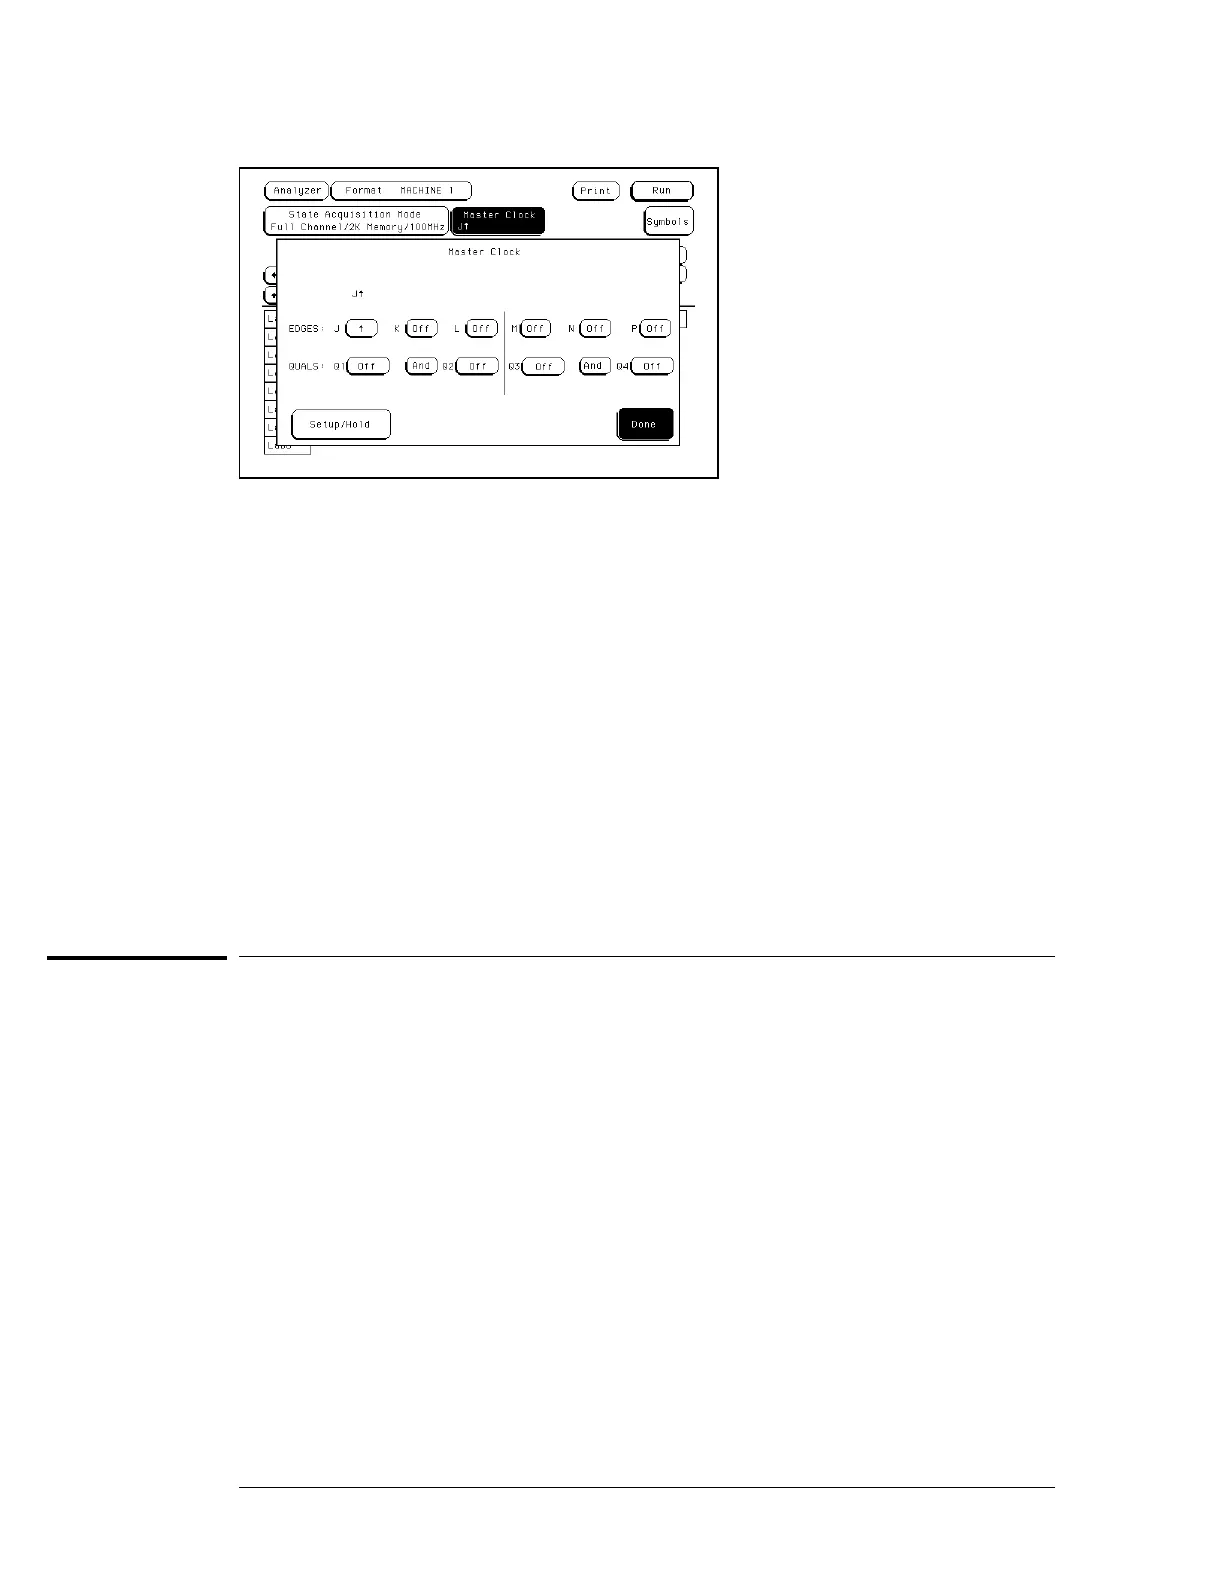
aa Press the Format key, then select Master Clock.
bb Turn off and disconnect the clock just tested.
cc Repeat steps 11, 12, and 13 for the next cl ock edge listed in the table in step 10, until
all listed clock edges have been tested.
1414
Test the next setup/hold combination.
aa In the logic analyzer Format menu, press Master Clock.
bb Turn off and disconnect the clock just tested.
cc Repeat steps 1 through 14 for the next setup/hold combination listed in step 1 on
page 3–30, until all listed setup/hold combinations have been tested.
When aligning the data and clock waveforms using the oscilloscope, align the waveforms
according to the setup time of the setup/hold combination being tested, +0.0 ps or − 100 ps.
Test the next channels
Connect the next combination of data channels and clock channels, then test them.
Start on page 3–26, "Connect the logic analyzer," connect the next combination, then
continue through the complete test.
Testing Performance
To test the single-clock, single-edge, state acquisition (logic analyzer)
3–34

 Loading...