Intel
®
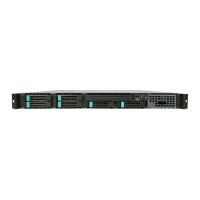
Server Chassis P4304XXMFEN2/P4304XXMUXX Product Family System Integration and Service Guide
xii
List of Figures
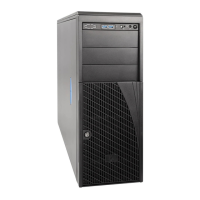
Figure 1. Intel® Server Chassis P4304XXMFEN2 – Features overview ................................................................................... 2
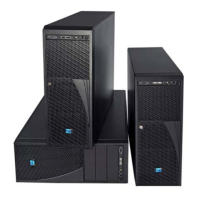
Figure 2. Intel® Server Chassis P4304XXMUXX – Optional Redundant Power Supplies ............................................... 3
Figure 3. Removing the Chassis Side Cover ...................................................................................................................................... 4
Figure 4. Installing the Chassis Side Cover ........................................................................................................................................ 5
Figure 5. Installing the Air Duct 4/4 ...................................................................................................................................................... 6
Figure 6. Installing the Air Duct 1/4 ...................................................................................................................................................... 7
Figure 7. Installing the Air Duct 2/4 ...................................................................................................................................................... 8
Figure 8. Installing the Air Duct 3/4 ...................................................................................................................................................... 8
Figure 9. Installing the I/O Shield .......................................................................................................................................................... 9
Figure 10. Standoff Positions on Chassis ........................................................................................................................................ 10
Figure 11. Bumper Position on Server Board ................................................................................................................................ 11
Figure 12. Server Board Installation .................................................................................................................................................. 12
Figure 13. Installing 750W Power Supply ...................................................................................................................................... 13
Figure 14. PDB Location for 750W PSU .......................................................................................................................................... 14
Figure 15. PDB Location for 1600W PSU ........................................................................................................................................ 14
Figure 16. Installing 1600W Power Supply .................................................................................................................................... 15
Figure 17. Connecting Power Cables - S2600CW Server Board Family ............................................................................ 15
Figure 18. Connecting System Fan Cables ..................................................................................................................................... 16
Figure 19. Connecting Front Panel Cables - S2600CW Board Family ................................................................................ 17
Figure 20. Connecting Front Panel - S2600ST Board Family ................................................................................................. 17
Figure 21. Processor Heatsink Removal .......................................................................................................................................... 19
Figure 22. Processor Installation – Open the Socket Lever .................................................................................................... 20
Figure 23. Processor Installation – Open the Load Plate ......................................................................................................... 20
Figure 24. Processor Installation – Install the Processor ......................................................................................................... 21
Figure 25. Processor Installation – Remove the Socket Cover .............................................................................................. 21
Figure 26. Processor Installation – Close the Load Plate ......................................................................................................... 22
Figure 27. Processor Installation – Latch the Locking Lever ................................................................................................... 22
Figure 28. Processor Heatsink Installation ..................................................................................................................................... 23
Figure 29. Processor Heat Sink Module (PHM) and Processor Socket Reference Diagram ....................................... 24
Figure 30. Processor Reference Diagram - Top and Bottom Views of Processor .......................................................... 25
Figure 31. Processor Heat Sink ........................................................................................................................................................... 26
Figure 32. Alignment Features .......................................................................................................................................................... 27
Figure 33. Processor Carrier Clip Assembly ................................................................................................................................... 28