X75HD/X75SD Installation and Operation Manual 263
Appendix C: Servicing
Installing a Frame-Mounted Local Control Panel
To remove a blank front panel and replace it with a frame-mounted
local control panel, follow these steps:
1. Remove all power from the X75HD/X75SD unit, disconnect all
cabling, and then remove the mounted unit from the rack.
2. Remove the two screws located at the back of each mounting ear
that secure the blank front panel to the chassis.
Retain the screws.
3. Remove the screws along the top and bottom of the blank front
panel that hold it to the frame.
Retain the screws.
4. Pull the blank front panel from the unit.
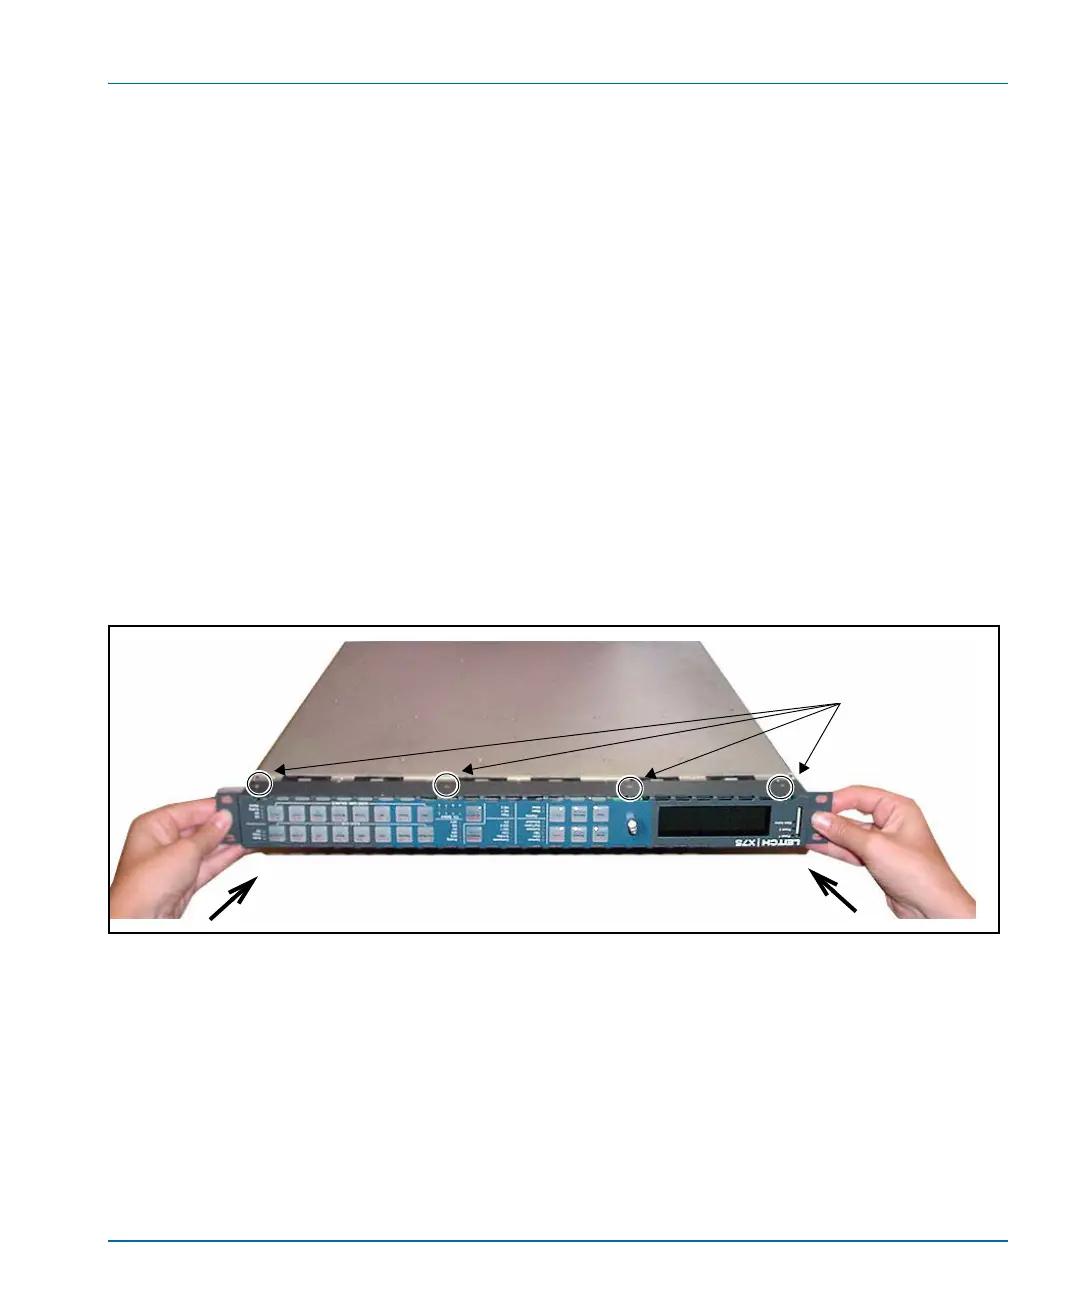
5. Replace the front panel with the new frame-mounted local control
panel, and secure it to the unit using the screws removed in step 3.
(See Figure C-3.)
Figure C-3. Removing the Front Panel
6. Replace the mounting ear screws removed in step 2, and then return
the unit to the rack.
7. Reconnect all cabling, and restore power.
Replacing the front panel
Location of panel screws
Secure panel along top and
bottom of chassis.