268 X75HD/X75SD Installation and Operation Manual
Appendix C: Servicing
Removing an Existing Module
If you must remove an existing audio synchronizer module from a unit,
follow these steps:
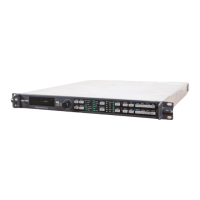
1. Remove the screws along the back edge and each side of the X75’s
chassis cover (see Figure C-2 on page 261), and then slide the cover
off.
Retain the screws for later use.
2. Remove the three rear connector screws that secure the module to
the frame.
See Figure C-9 on page 267 to locate these screws.
3. Remove the three screws that secure the module to the main board.
See Figure C-8 on page 267 to locate these screws.
4. Gently lift the module off of the main board.
Be sure to lift the module off evenly to prevent the stacker
connector pins from bending or breaking.
5. Inspect the connectors on the module and main board to ensure that
all pins are straight.
6. Store the board in a protective bag to protect it from damage or
ESD.