5 Disconnect the redrive cable from the controller board.
6 Remove the redrive assembly.
Fuser removal
Note: For a video demonstration, see Fuser removal.
1 Remove the scanner rear cover. See “Scanner rear cover removal” on page 294.
2 Remove the rear cover. See “Rear door and cover removal” on page 295.
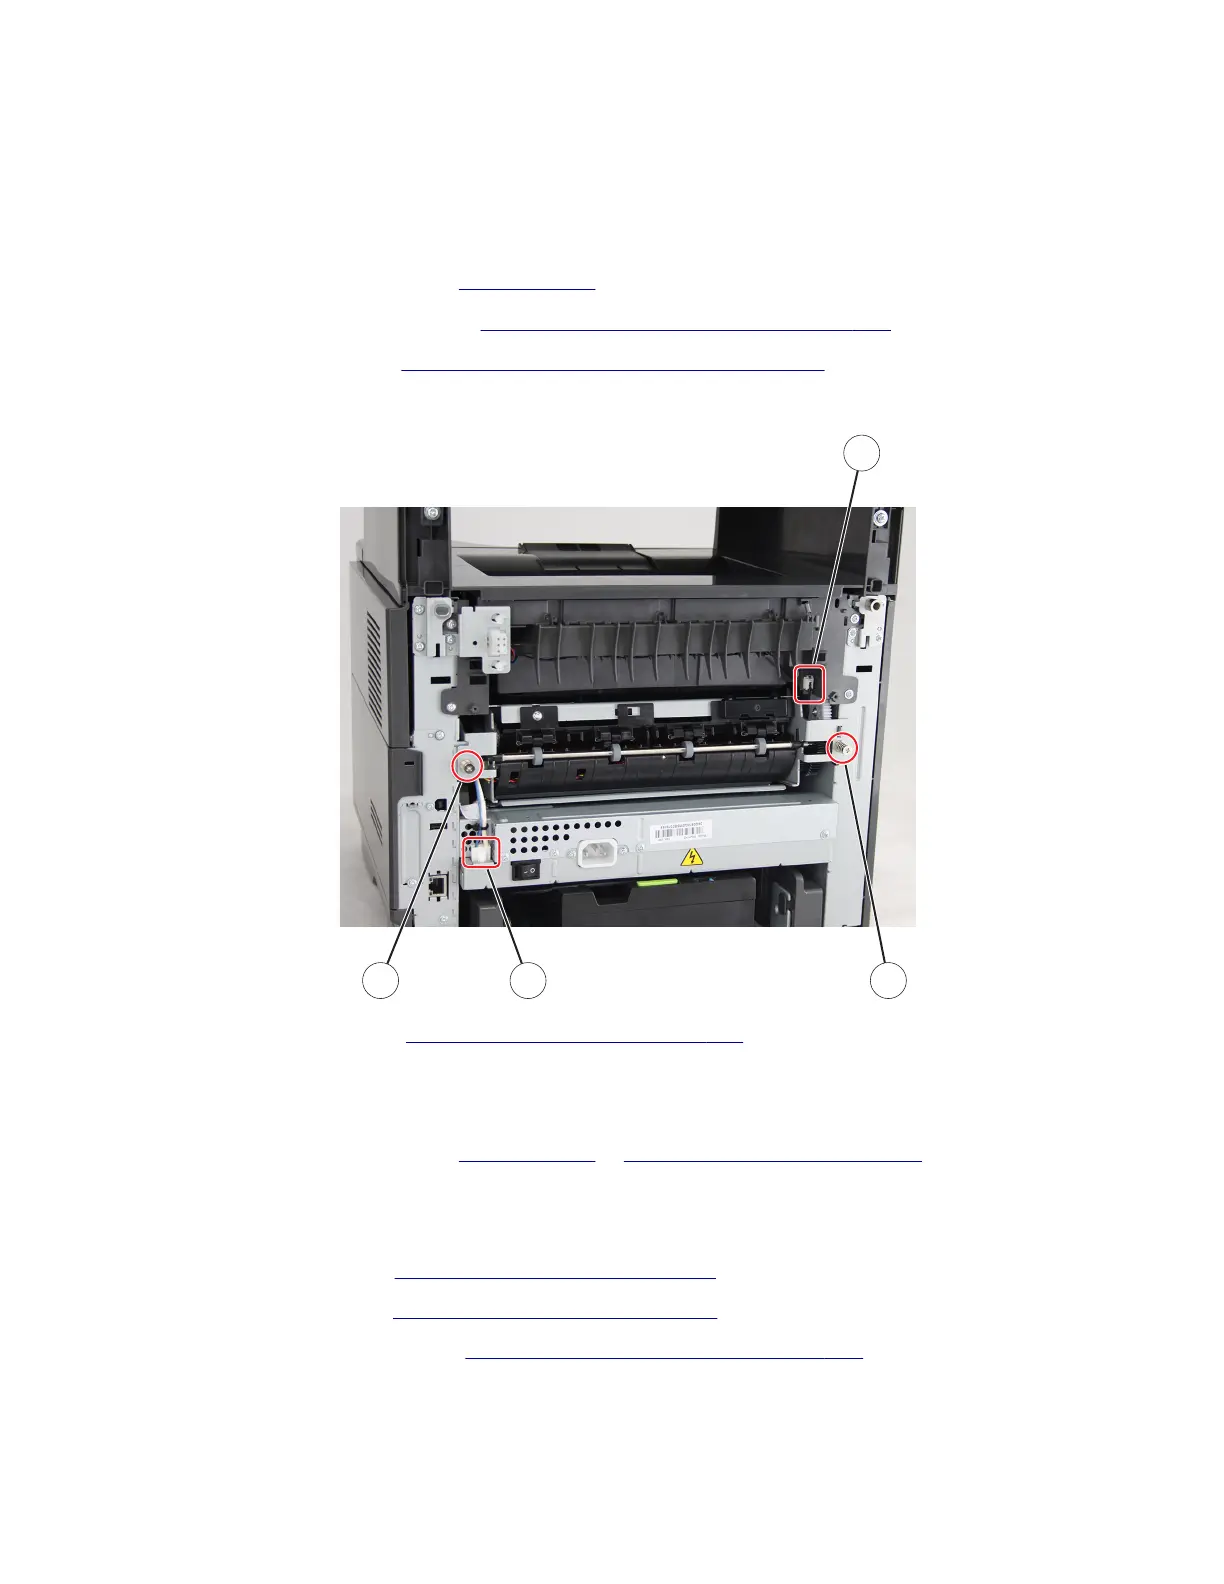
3 Disconnect the two cables (A), and then remove the two screws (B).
A
B A B
4 Remove the right cover. See “Right cover removal” on page 237.
5 Disconnect the fuser cable from the controller board.
6 Remove the fuser.
Note: For a video demonstration, see
Fuser removal at infoserve.lexmark.com/ids/sma.
Redrive gear assembly removal
1 Remove the top cover. See “Top cover removal” on page 297.
2 Remove the left cover. See “Left cover removal” on page 226.
3 Remove the redrive assembly. See “Redrive assembly removal” on page 295.
4 Remove the two screws (A), and then detach the reverse solenoid.
Note: Do not disconnect the reverse solenoid cable from the controller board.
7018
Parts removal
296
 Loading...


