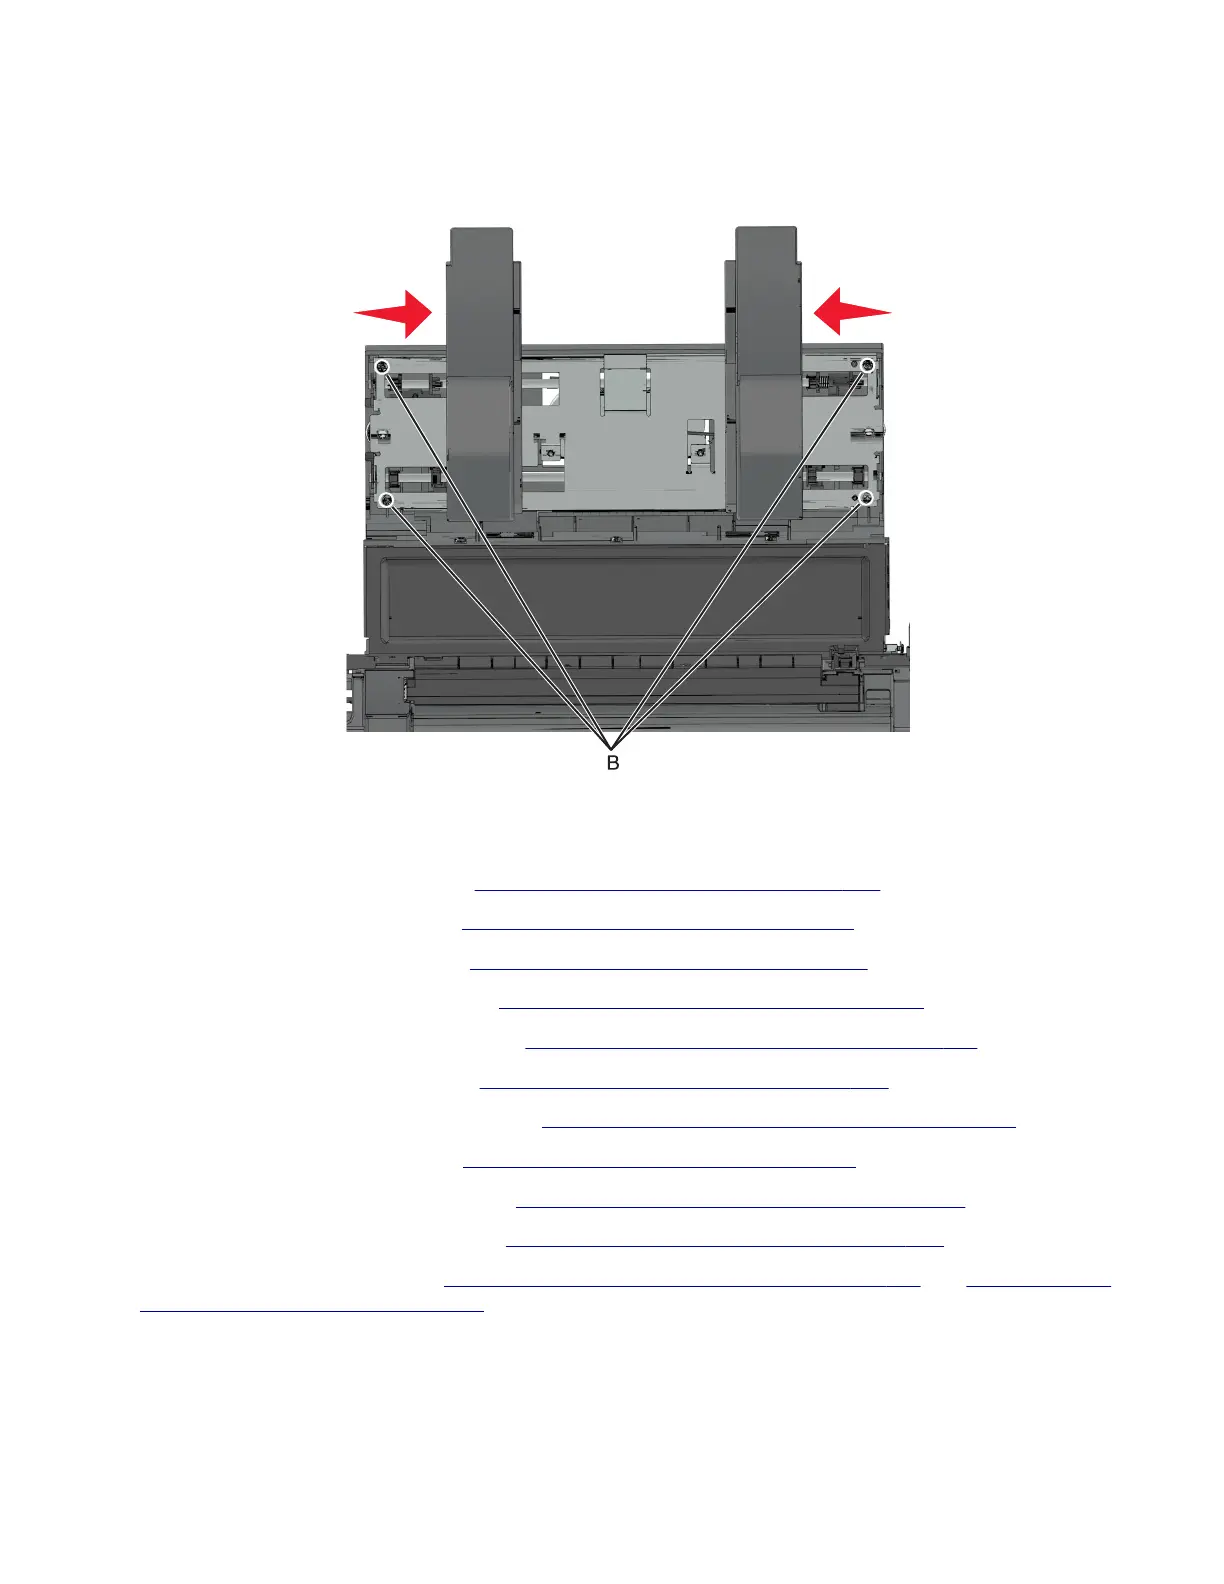
12 Remove the four screws (B), and then remove the sub-assembly.
Tamper drive belt removal
1 Remove the stapler right cover. See “Stapler right cover removal” on page 328.
2 Remove the stapler left cover. See “Stapler left cover removal” on page 329.
3 Remove the stapler rear cover. See “Stapler rear cover removal” on page 337.
4 Remove the stapler service cover. See “Stapler service cover removal” on page 341.
5 Remove the stapler controller board. See “Stapler controller board removal” on page 341.
6 Remove the stapler cooling fan. See “Stapler cooling fan removal” on page 345.
7 Remove the stapler power supply unit. See “Stapler power supply unit removal” on page 345.
8 Remove the stapler top cover. See “Stapler top cover removal” on page 349.
9 Remove the tamper main assembly. See “Tamper main assembly removal” on page 359.
10 Remove the tamper sub-assembly. See “Tamper sub-assembly removal” on page 360.
11 Remove the tamper motors. See “Motor (stapler left tamper) removal” on page 341 and “Motor (stapler
right tamper) removal” on page 342.
7018
Parts removal
362
 Loading...


