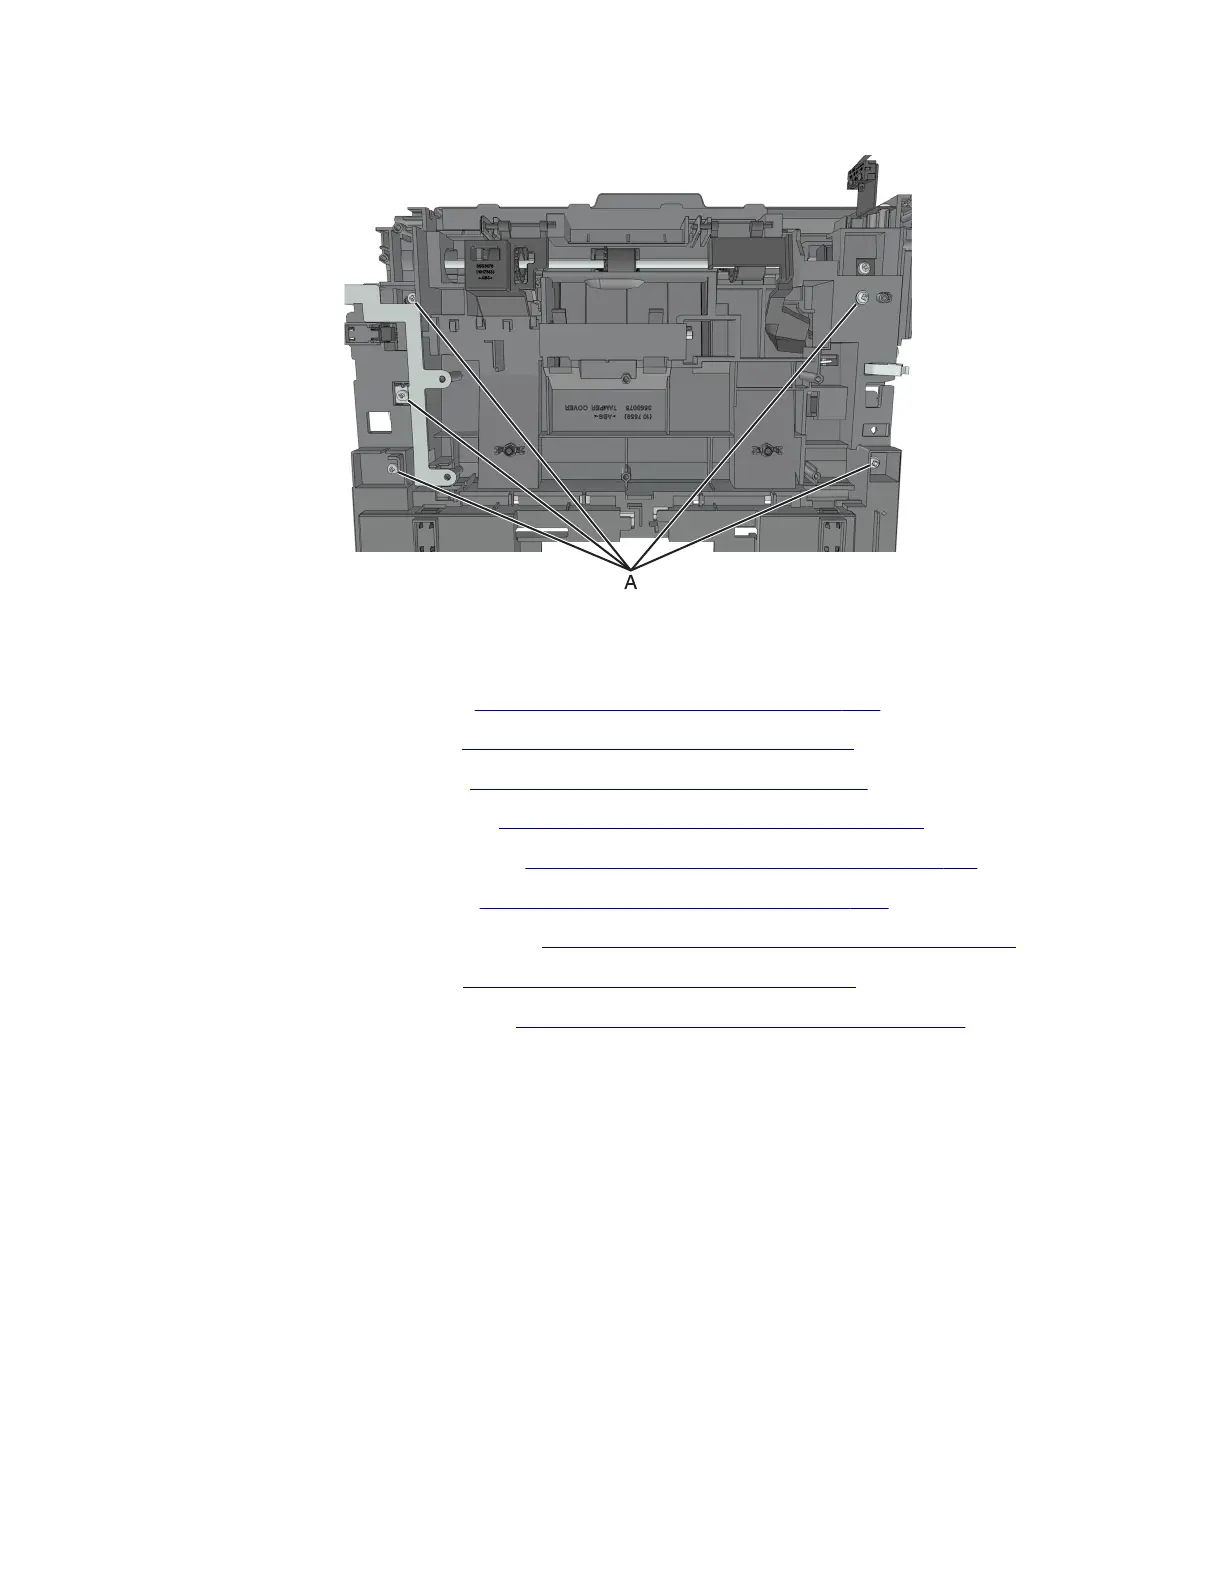
9 Remove the five screws (A), and then remove the tamper main assembly.
Tamper sub-assembly removal
1 Remove the stapler right cover. See “Stapler right cover removal” on page 328.
2 Remove the stapler left cover. See “Stapler left cover removal” on page 329.
3 Remove the stapler rear cover. See “Stapler rear cover removal” on page 337.
4 Remove the stapler service cover. See “Stapler service cover removal” on page 341.
5 Remove the stapler controller board. See “Stapler controller board removal” on page 341.
6 Remove the stapler cooling fan. See “Stapler cooling fan removal” on page 345.
7 Remove the stapler power supply unit. See “Stapler power supply unit removal” on page 345.
8 Remove the stapler top cover. See “Stapler top cover removal” on page 349.
9 Remove the tamper main assembly. See “Tamper main assembly removal” on page 359.
7018
Parts removal
360
 Loading...


