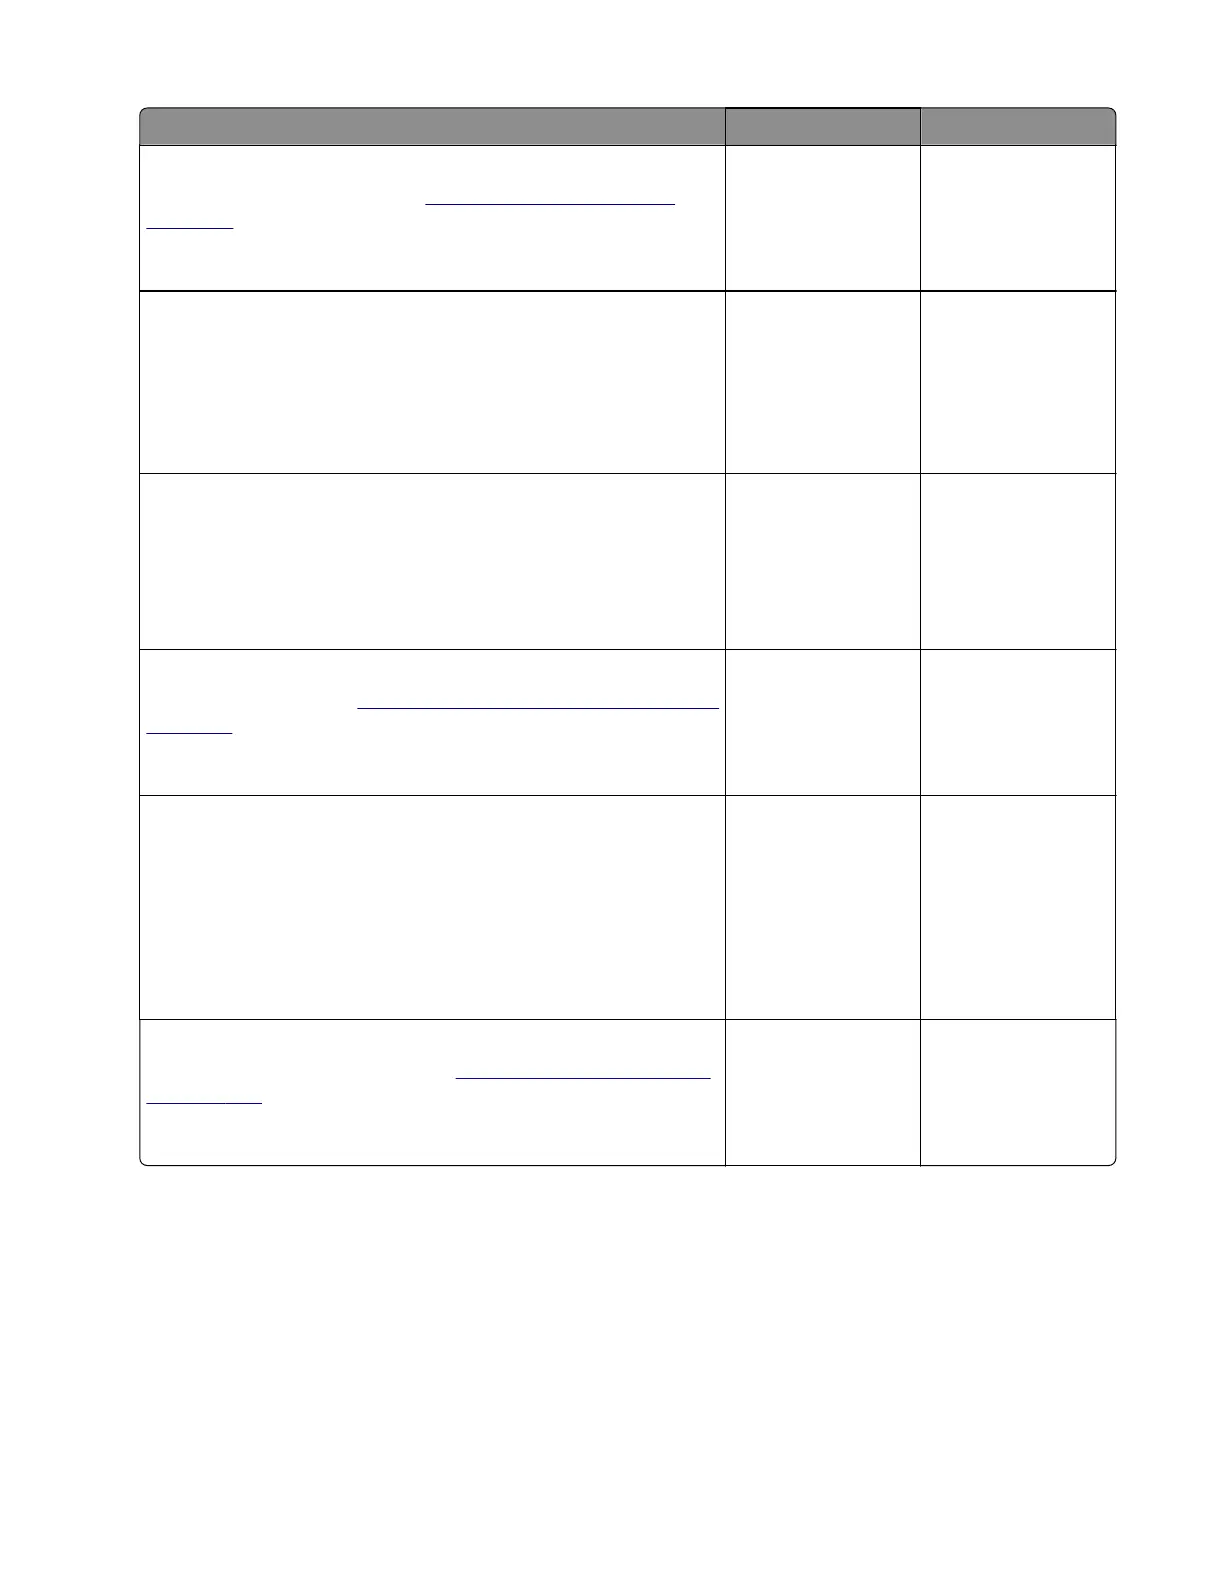
Action Yes No
Step 9
Replace the MPF solenoid. See
“MPF solenoid removal” on
page 235.
Does the problem remain?
Go to step 10. The problem is
solved.
Step 10
a Enter the Diagnostics menu, and then navigate to:
Printer diagnostics and adjustments > Sensor tests
b Find the sensor (Input).
Does the sensor status change while toggling the sensor?
Go to step 13. Go to step 11.
Step 11
a Reseat the sensor cable from the controller board.
b Check the sensor and its actuator for improper installation and
damage.
Is the sensor properly installed and free of damage?
Go to step 13. Go to step 12.
Step 12
Replace the sensor. See
“Sensors (duplex and input) removal” on
page 278.
Does the problem remain?
Go to step 13. The problem is
solved.
Step 13
a Check the jam access cover for obstructions along the paper
path.
b Check if the jam access cover components are functional and
free of damage.
Are the jam access cover and its components functional and free
of damage?
Contact the next
level of support.
The problem is
solved.
Step 14
Replace the jam access cover. See
“Jam access cover removal”
on page 264.
Does the problem remain?
Contact the next
level of support.
The problem is
solved.
7018
Diagnostics and troubleshooting
76

 Loading...


