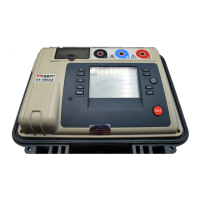
Using Baker DX Non-Test Functions
36 Baker DX 71-030 User Guide EN V10 www.megger.com
utility program, connect a USB flash drive or other portable USB memory device to your
computer.
3. Click on the Load Logo Bitmap button. Browse to and select the logo file from your
computer, click Open, and then click the Create DX Logo button.
Figure 38. Using DX Utility software to load logo bitmap.
4. The file will be named “Logo” and stored in the root directory on your computer’s C:/
drive. Copy or move the image file to the USB drive, then remove the drive and insert it
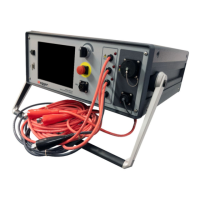
into the USB port on the front panel of the Baker DX. Go to the Reports screen and
wait for the transfer to complete.
NOTE: Depending on how security is set up on your computer, you might need to run the DX Utility software
(DXUtility.exe) as an administrator to permit creating the logo file in the root directory on your C:/ drive.
5. Now touch the Report icon then the Logo icon.
6. Remove the USB drive and connect a USB printer to the port.
7. Touch the Print icon then check the printout to see if the logo was included.
NOTE: Whenever information is re-entered in the report header form, be sure that the logo box is checked
before pressing Done if you want to include a logo.