Using Baker DX Non-Test Functions
megger.com 35
Exporting Data
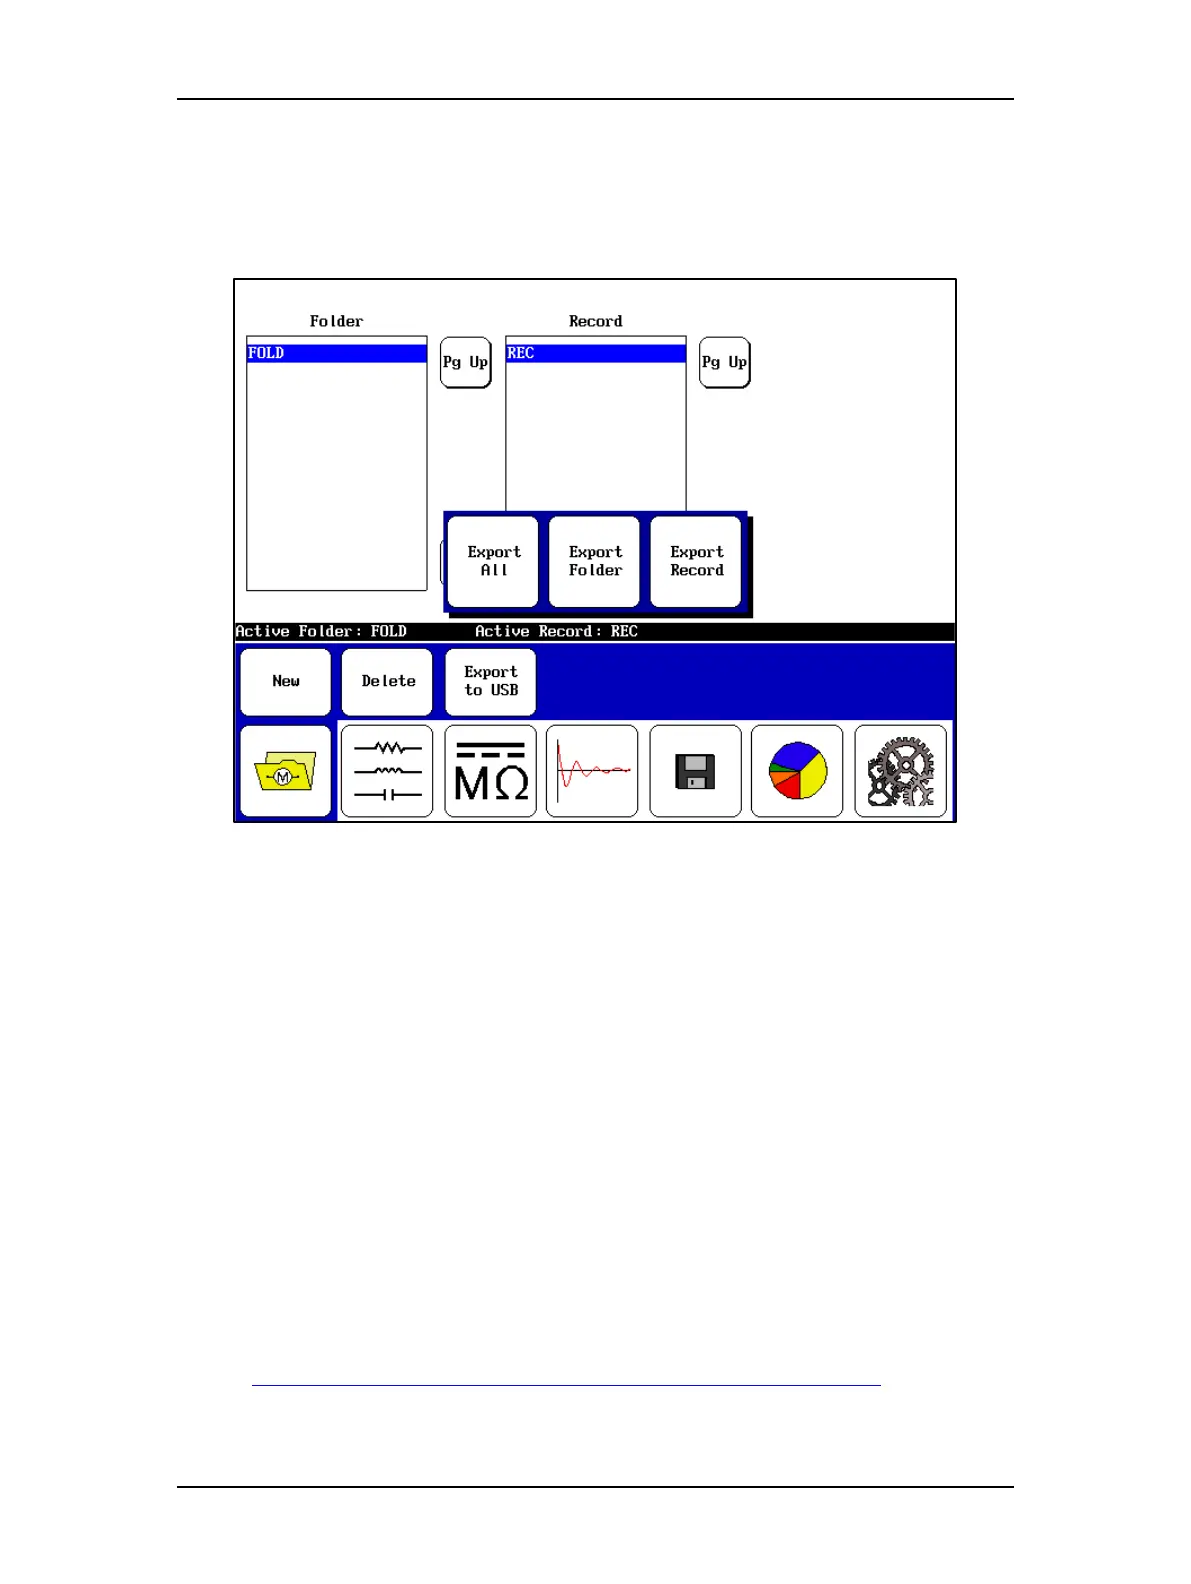
Touching the Export to USB icon saves the data for the current test to the storage device
connected to the USB port. The popup menu shown below appears so you can select the data
you want to export.
Figure 37. Exporting data to the USB port.
Managing Report Printing Operations
Most reports are essentially screen captures with additional information included (such as the
pulse counter) and potentially additional tables depending on the test conducted.
You can also include a logo in your report along with header information. The best practice for
generating reports involves adding the logo to the system (if desired) then defining the header
information you will want to use. When these preparations have been completed, all reports you
generate will include these elements.
Inserting a Logo in Reports
The Baker DX can store a logo for printing on test reports. To include a logo in a report, you will
check the Include Logo box in the report header form described below.
1. Acquire the logo file and save it on a computer. The logo must be 100 pixels wide by
100 pixels high, so you might need to resize the logo or add space before you can use it.
Resize or edit a logo using a photo editor of your choice.
2. If you haven’t done so already, load the DX Utility software (which you can obtain from
the Baker DX documentation CD, or from the Megger website:
https://us.megger.com/static-electric-motor-analyzer-baker-dx-1#software and save it in
an easily accessible location on your computer. After you have loaded and opened the