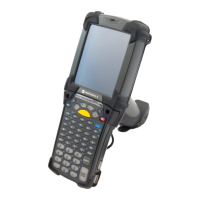
Data Capture 4 - 5
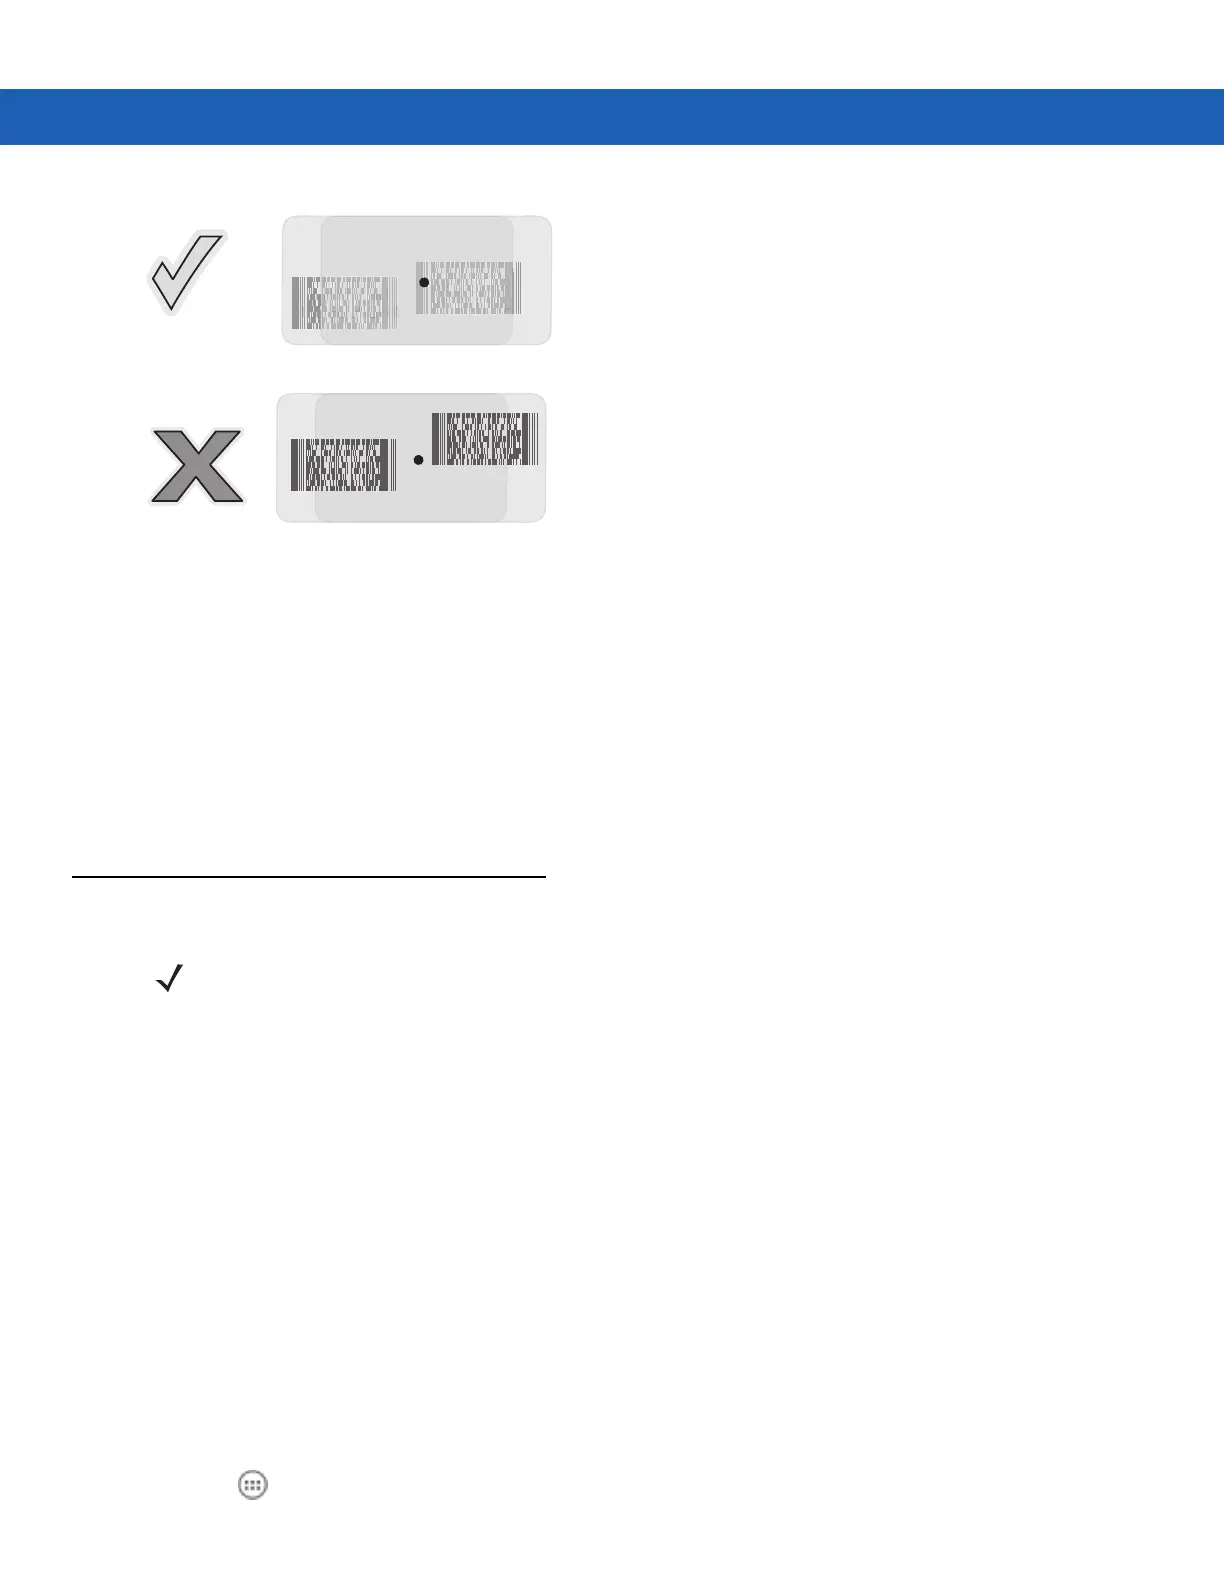
Figure 4-5
Long Range Pick List Mode with Multiple Bar Codes
4. Release the scan button.
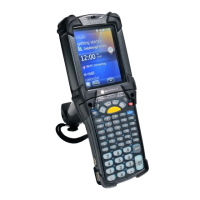
Image Capture
To capture an image, an image capture application is required.
1. Launch an image capture application.
2. Point the exit window on the top of the MC92N0-G toward the object to capture.
3. Press the trigger or scan button. The captured image appears on the screen.
DataWedge
NOTE DataWedge can also be accessed from the desktop on Windows CE configurations or on the Home
screen on Windows Embedded Handheld configurations.
Enable DataWedge
To enable DataWedge on Windows CE or Embedded Handheld devices:
1. On Windows CE devices, double-tap the icon on the desktop or tap Start > Settings > Control Panel >
DataWedge, or on Windows Embedded Handheld devices, tap Start > Settings > System > DataWedge.
2. Tap Basic configuration > 1. Barcode input.
3. Tap 1. 1D Scanner Driver, 1. Block Buster Imager or 2. Bluetooth SSI Scanner Driver.
4. Ensure that a check mark is next to 1. Enabled. If not, tap 1. Enabled.
5. Tap OK.
6. Tap Running to start the DataWedge process. The DataWedge Status changes to Ready.
7. Tap OK.
To enable DataWedge on Android devices:
1. Touch .
 Loading...