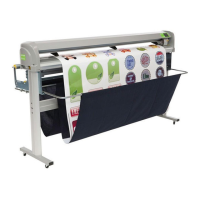
User’s Guide Kona cutting plotter
Operation panel
AP-75380 - Revision 1.2 103
4
Follow the procedure below to the velocity and force:
Step 1: Press the following buttons in order:
Settings
2x next page
Cut through
Step 2: Set the values for the velocity and force.
Step 3: Enter the desired values and confirm with
Step 4: Set the values for the tool up and tool down distance.
Go to the next sub page
Select Up Dist. and/or Down. Dist.
Step 5: Enter the desired values and confirm with
Step 6: Press the test key to verify the quality of the through cutting settings.
Step 7: The following pattern will be cut.
Step 8: Check if it is easy to push out the cut patterns. If not, try to increase the force and
knife depth or to decrease the tool down distance.
Refer to Force on page82
and Adjusting the knife depth on page44
Step 9: Be sure to perform a sheet-off after the test because the pushed-out squares/circles
will uncover the paper sensor which could lead to an error.
Refer to Swap alert on page100
to know how to use the single and multi-tool possibility
throughcutting.