Chapter 3 pH MEASUREMENT
3.2 Open pH Measurement Screen
32 HORIBA
Function key features in the CAL screen
●
CAL SETUP:To go to the CAL SETUP screen "3.4 Calibration Setting" page 44
●
CHECK:To perform periodical check"3.4.7 Periodical check" page 50
●
CAL DATA:To refer to the previous calibration status" ● Calibration data display"
page 56
●
CAL CLEAR: Clears the previous calibration record.
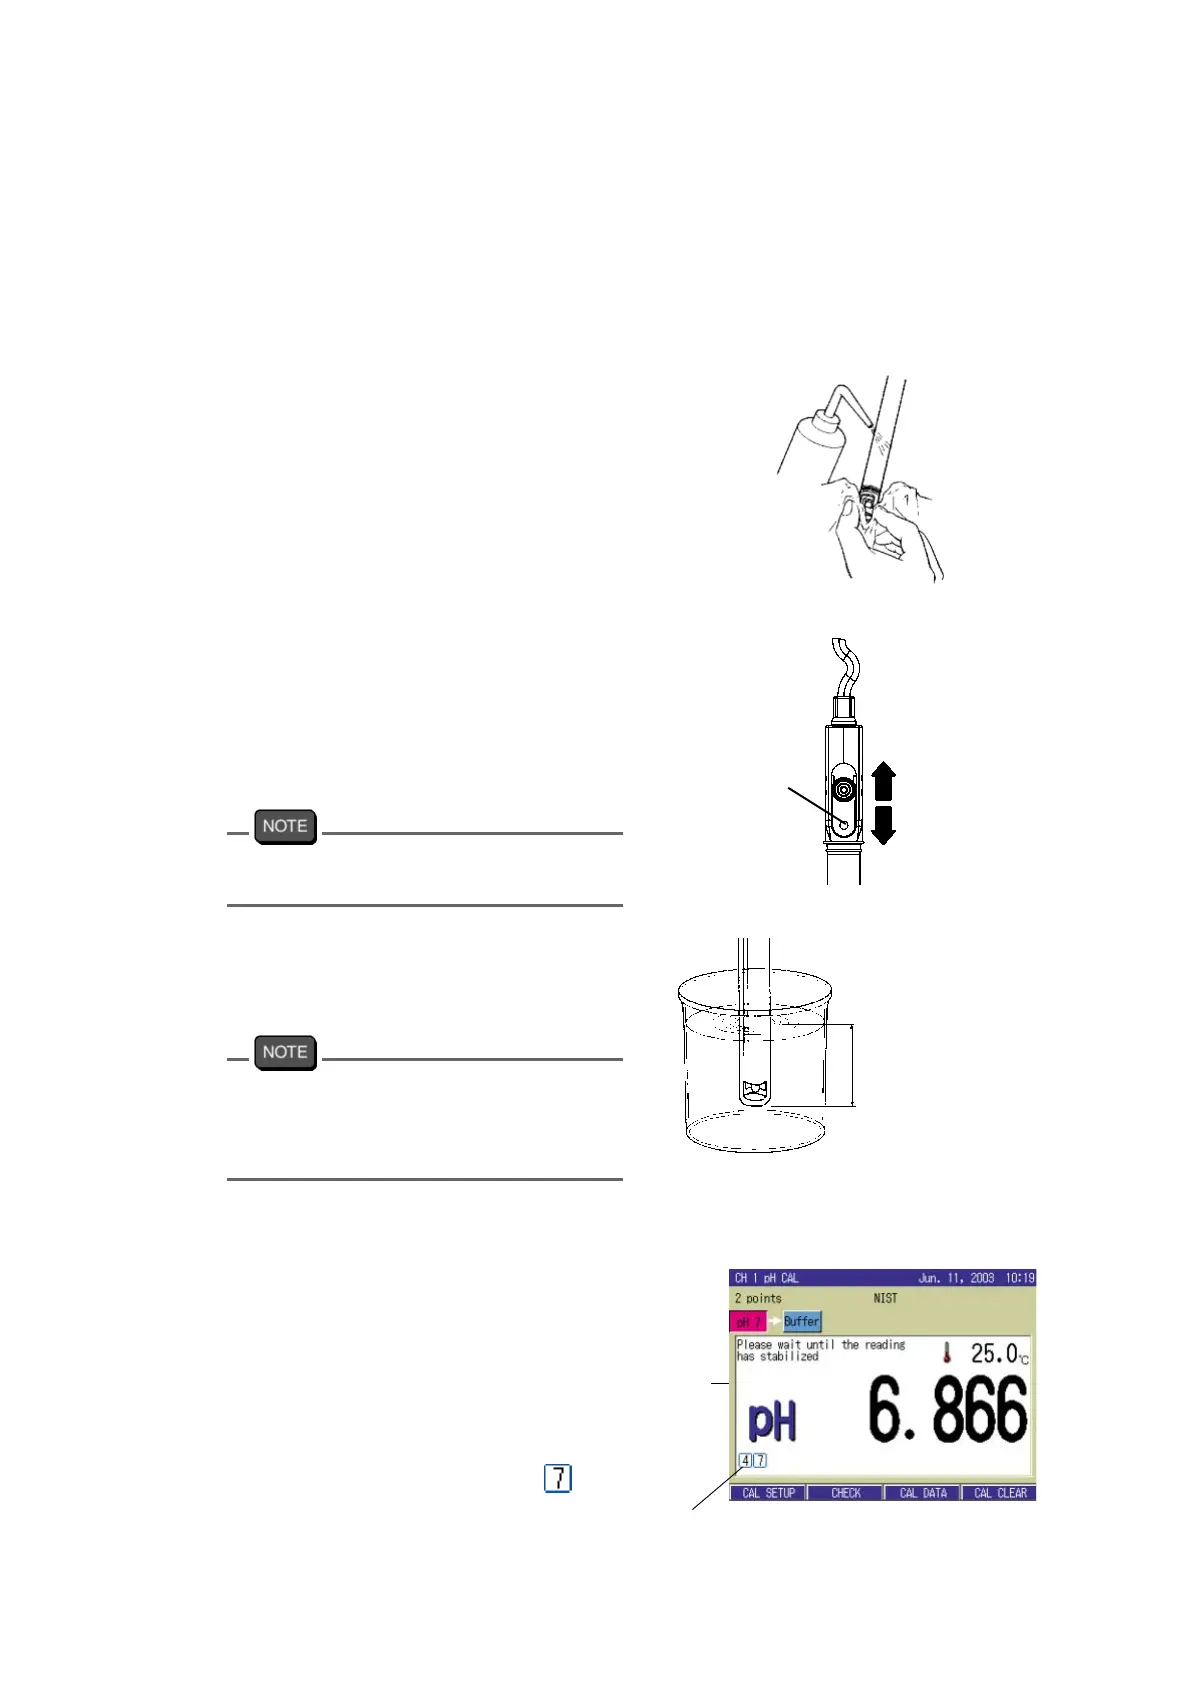
3. Wash the electrode with pure
water (ion exchange water), and
wipe it off by filter paper or tissue
paper.
4. Open the filler port of the internal
solution.
During the calibration, the filler port
should be kept open.
The fill port configuration depends on the
electrode type.
5. Immerse the electrode in the bea-
ker with standard solution of pH7.
For accurate measurement, immerse the
electrode into the solution deeper than 3 cm
from the tip (For details, refer to the instruc
-
tion manual of the electrode.)
6. Start the calibration of the 1st point
by CAL key.
The measurement value is displayed,
and HOLD display starts blinking
until the indication stabilizes.
When the indication value is stabi-
lized, the calibration value is held, and
the calibration status display
appears. This shows the calibration is
completed for pH 7.
Open
Close
Filler port
Deeper
than 3 cm
Blinking
Calibration status display