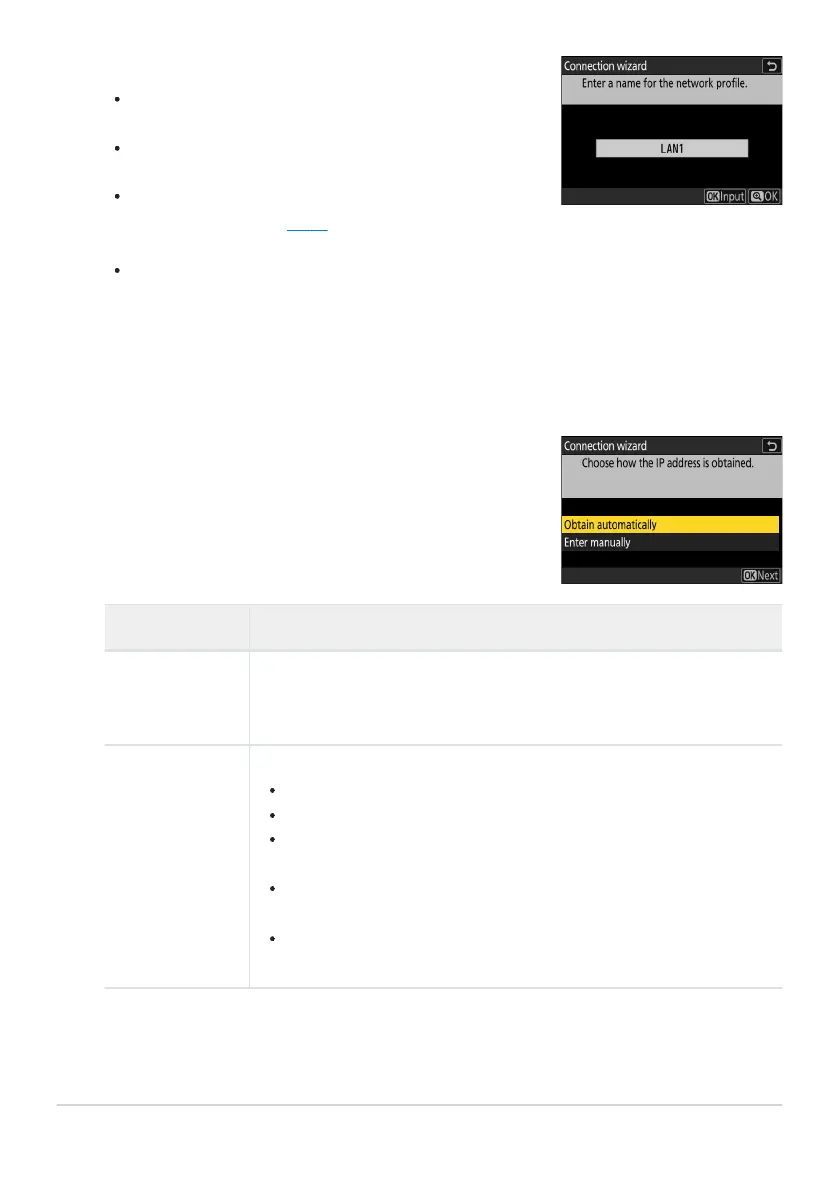
Name the new profile.
To pr
oceed to the next step without changing the default
name, press X.
Whatever name you choose will appear in the network
menu [Connect to FTP server]> [Network settings] list.
To rename the profile, press J. For information on text
entry, see “Text Entry” (
0 67). Press X to proceed after
entering a name.
There may be a delay before the camera detects the USB-
to-Ethernet adapter. If the camera is unable to detect an
Ethernet connection, the wizard will be configured to begin
creation of a wireless LAN profile with the default name
“WLAN1”. Tap Z or press 4 to return to Step 4, wait about
10 seconds, and then try again.
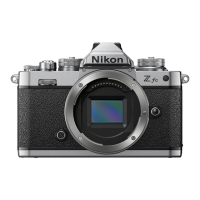
Obtain or select an IP address.
Highlight one of the following options and pr
ess J.
Option Description
[Obtain
automatically]
Select this option if the netw
ork is configured to supply the IP address
automatically. A “configuration complete” message will be displayed
once an IP address has been assigned.
[Enter manually]
Ent
er the IP address and sub-net mask manually.
Press
J; you will be prompted to enter the IP address.
Rotate the main command dial to highlight segments.
Press 4 or 2 to change the highlighted segment and press J to save
changes.
Next, press X; a “configuration complete” message will be displayed.
Press X again to display the sub-net mask.
Press 1 or 3 to edit the sub-net mask and press J; a “configuration
complete” message will be displayed.
Press J
to proceed when the “configuration complete” message is displayed.
354
F
TP Servers: Connecting via Ethernet
6
7
8