User’s Manual of WGSW-20160HP/WGSW-24040HP series
2.2 Install the Switch
This section describes how to install your Managed Switch and make connections to the Managed Switch. Please read the
following topics and perform the procedures in the order being presented. To install your Managed Switch on a desktop or shelf,
simply complete the following steps.
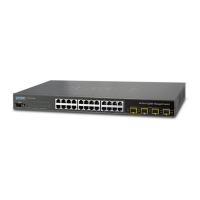
As the WGSW-20160HP, WGSW-24040HP and WGSW-24040HP4 have the same installation
procedures, the WGSW-20160HP is picked to be an example for describing hardware
installation.
2.2.1 Desktop Installation
To install the Managed Switch on desktop or shelf, please follow these steps:
Step1: Attach the rubber feet to the recessed areas on the bottom of the Managed Switch.
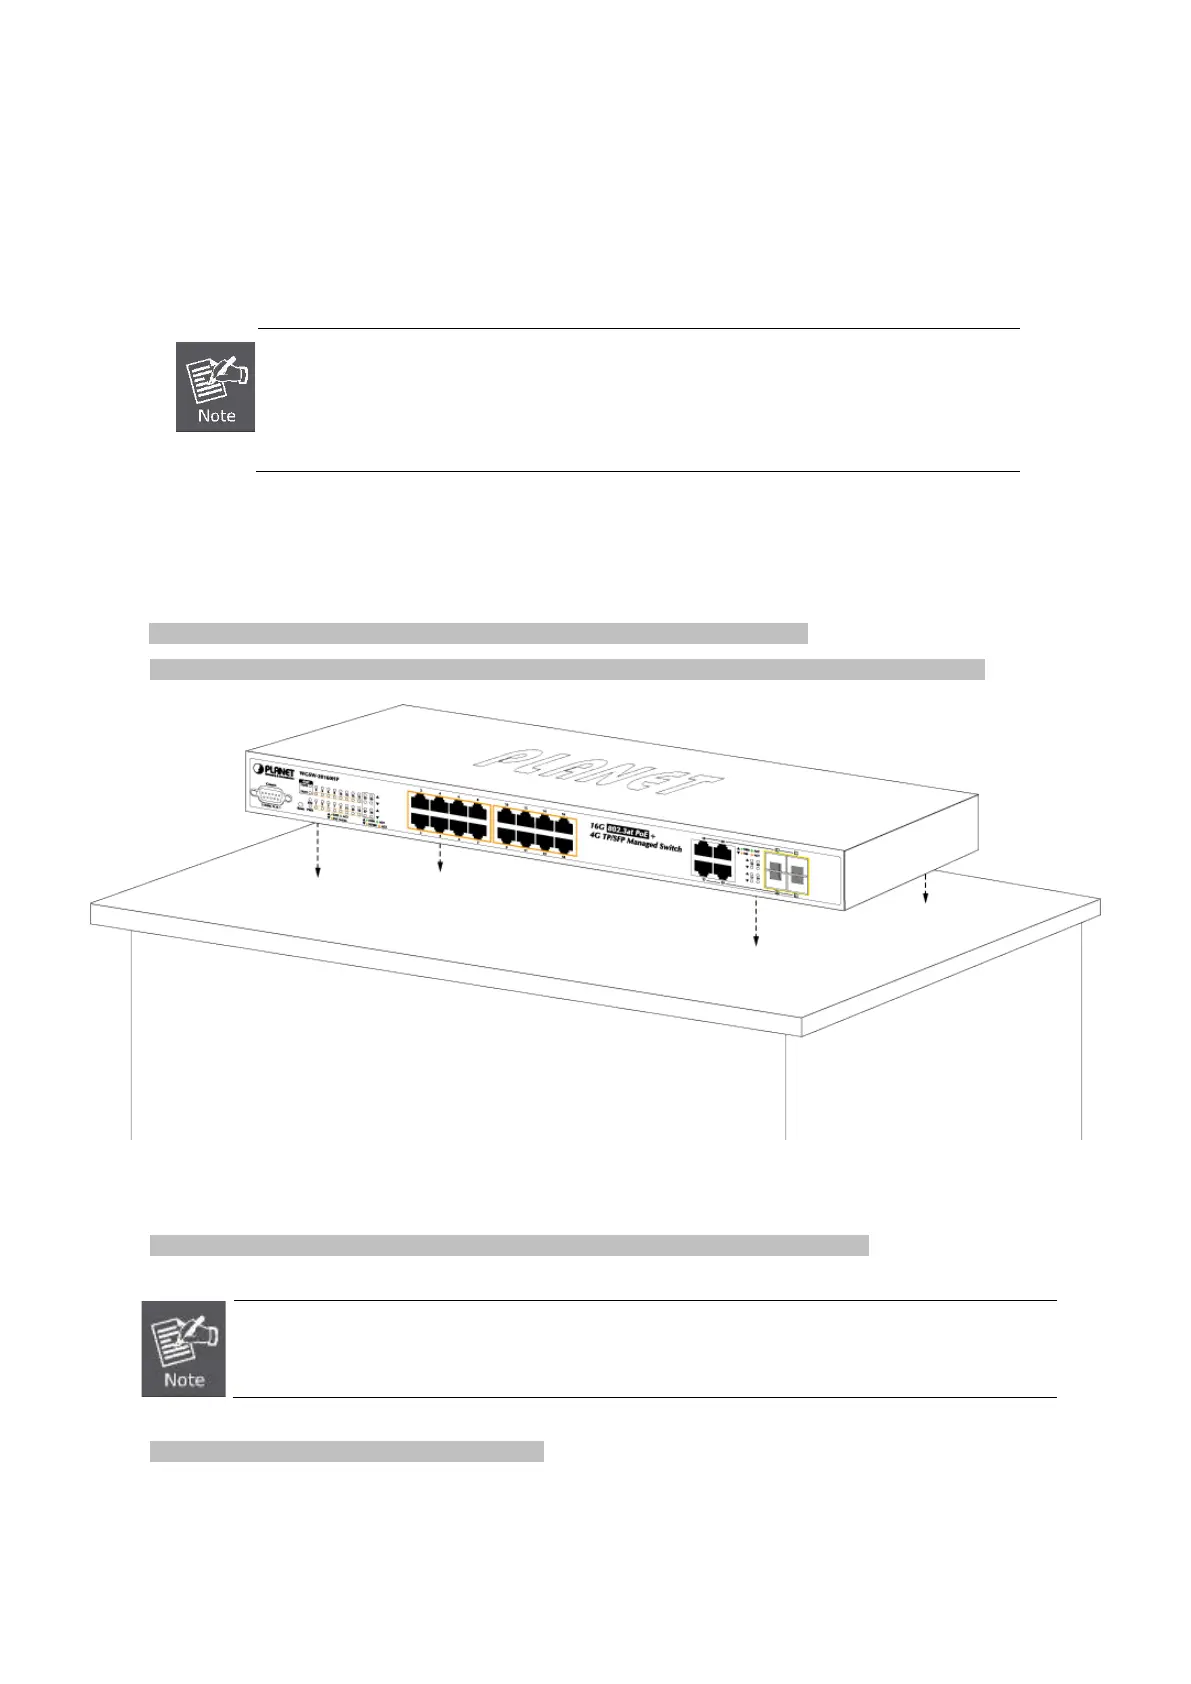
Step2: Place the Managed Switch on the desktop or the shelf near an AC power source, as shown in Figure 2-4.
Figure 2-4: Place the Managed Switch on the Desktop
Step3: Keep enough ventilation space between the Managed Switch and the surrounding objects.
When choosing a location, please keep in mind the environmental restrictions discussed in
Section 4, and specifications.
Step4: Connect the Managed Switch to network devices.
Connect one end of a standard network cable to the 10/100/1000 RJ-45 ports on the front of the Managed Switch.
Connect the other end of the cable to the network devices such as printer server, workstation or router.
 Loading...