Section 18: BODY
PA1562
68
16.3 REPAIR OF A WELDED JOINT
NOTE
In wintertime, condensation and cold temperature may greatly influenced bonding parameters. Working
area must be at a temperature sufficient to prevent reaching condensation point. Mechanically preheat
working area (heat lamp or heat gun) or wait until vehicle reaches room temperature.
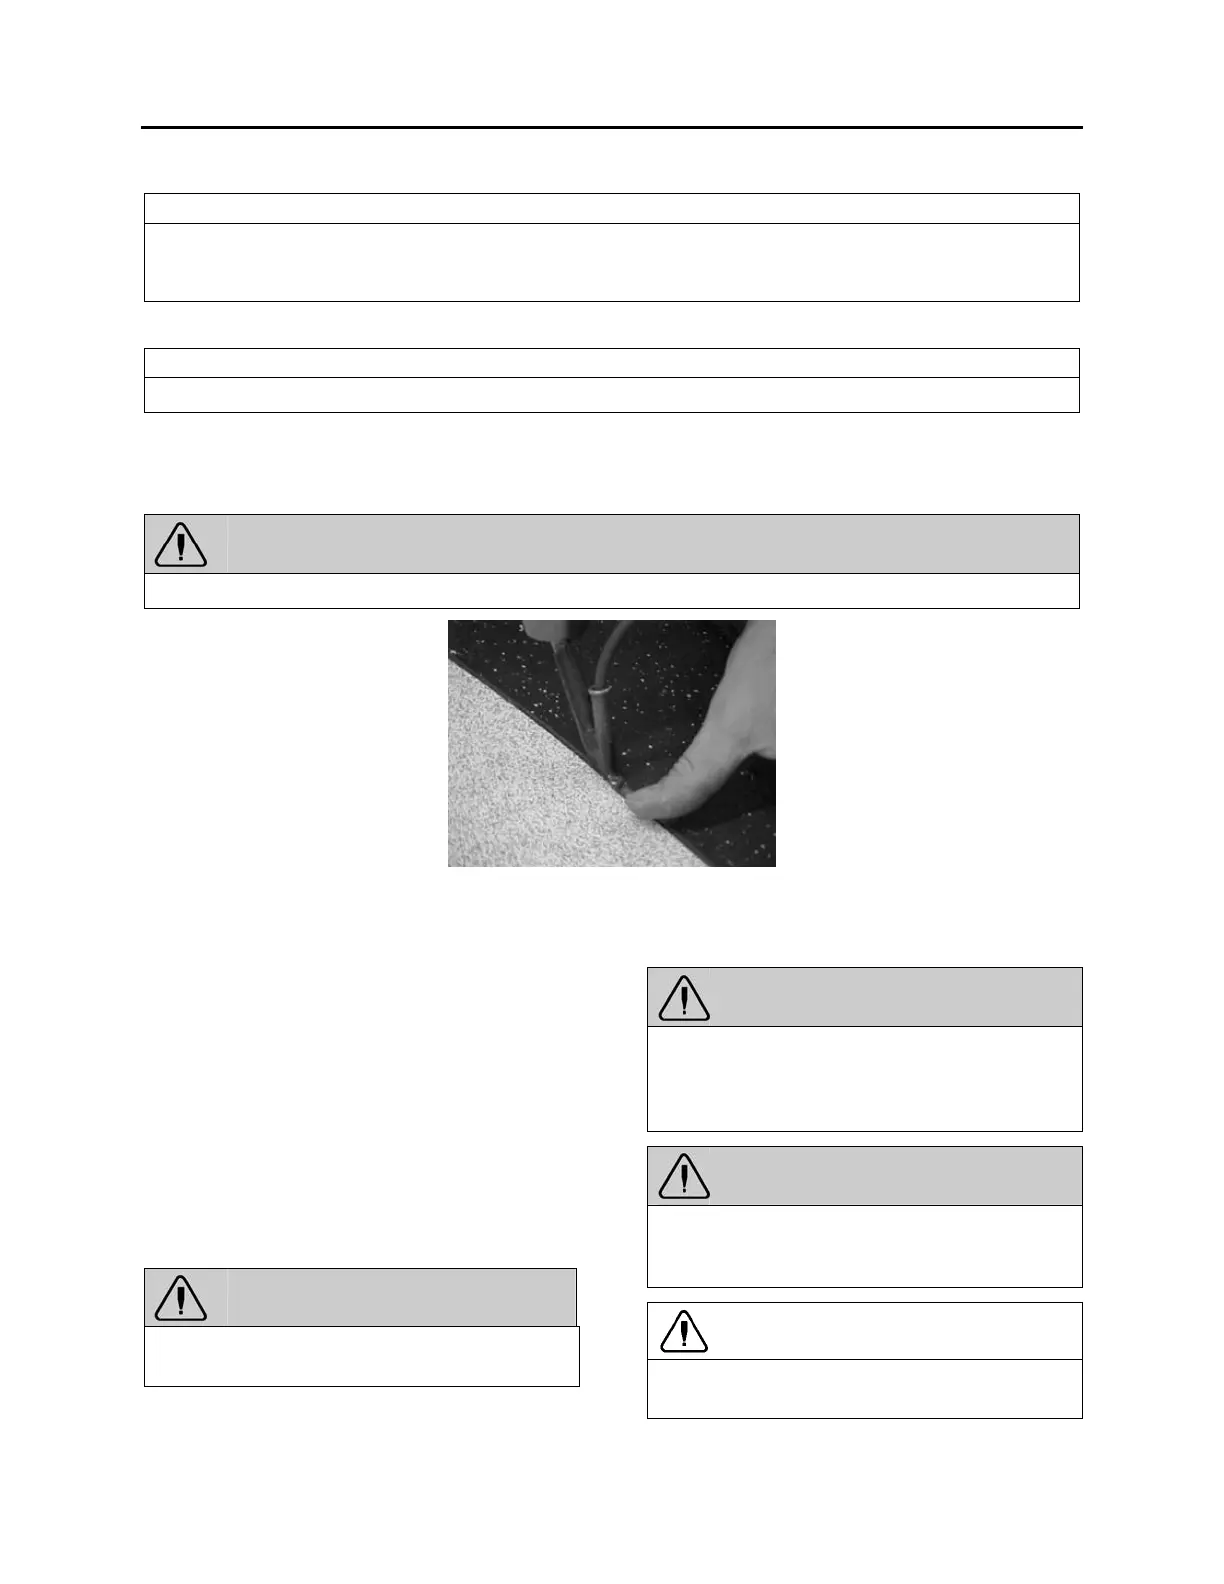
1. Using a knife, remove portion of joint to be repaired.
NOTE
Loss of adhesion may be local. If this is the case, repair may also be local.
2. Chamfer the joint again as indicated in paragraph 12.2, Section: WELDING OF JOINT BETWEEN
WHITE SAFETY STRIP AND “TARABUS” FLOOR COVERING.
3. Re-weld the joint as indicated in paragraphs 6, 7 and 8. Use your thumb to hold the filler bead end.
WARNING
Nozzle is hot.
4. Always add an extra inch of filler bead at the beginning and at the end of repair.
5. Perform steps indicated in paragraphs 9, 10 and 11.
17 VEHICLE JACKING POINTS
The vehicle can be lifted by applying pressure
under body jacking points or front end and drive
axle jacking points. When it is necessary to lift
the vehicle, care should be taken to ensure that
the pressure is applied only on the specified
areas. Equipment for lifting the front of the
vehicle must have a combined lifting capacity of
at least 20,000 lb. (9 100 kg). Equipment for
lifting the rear of the vehicle must have a
combined lifting capacity of at least 40,000 lb.
(18 200 kg).
WARNING
DO NOT tow or jack vehicle with people on
board.
WARNING
When it is necessary to raise the vehicle, care
should be taken to ensure that pressure is
applied only at the points indicated in figures
47 to 53.
WARNING
Extra lift capacity may be required if luggage
or any other type of load are onboard the
vehicle.
CAUTION
The suspension of the vehicle must be in the
normal ride position before jacking.