GX-6000 Operator’s Manual Included Accessories • 14
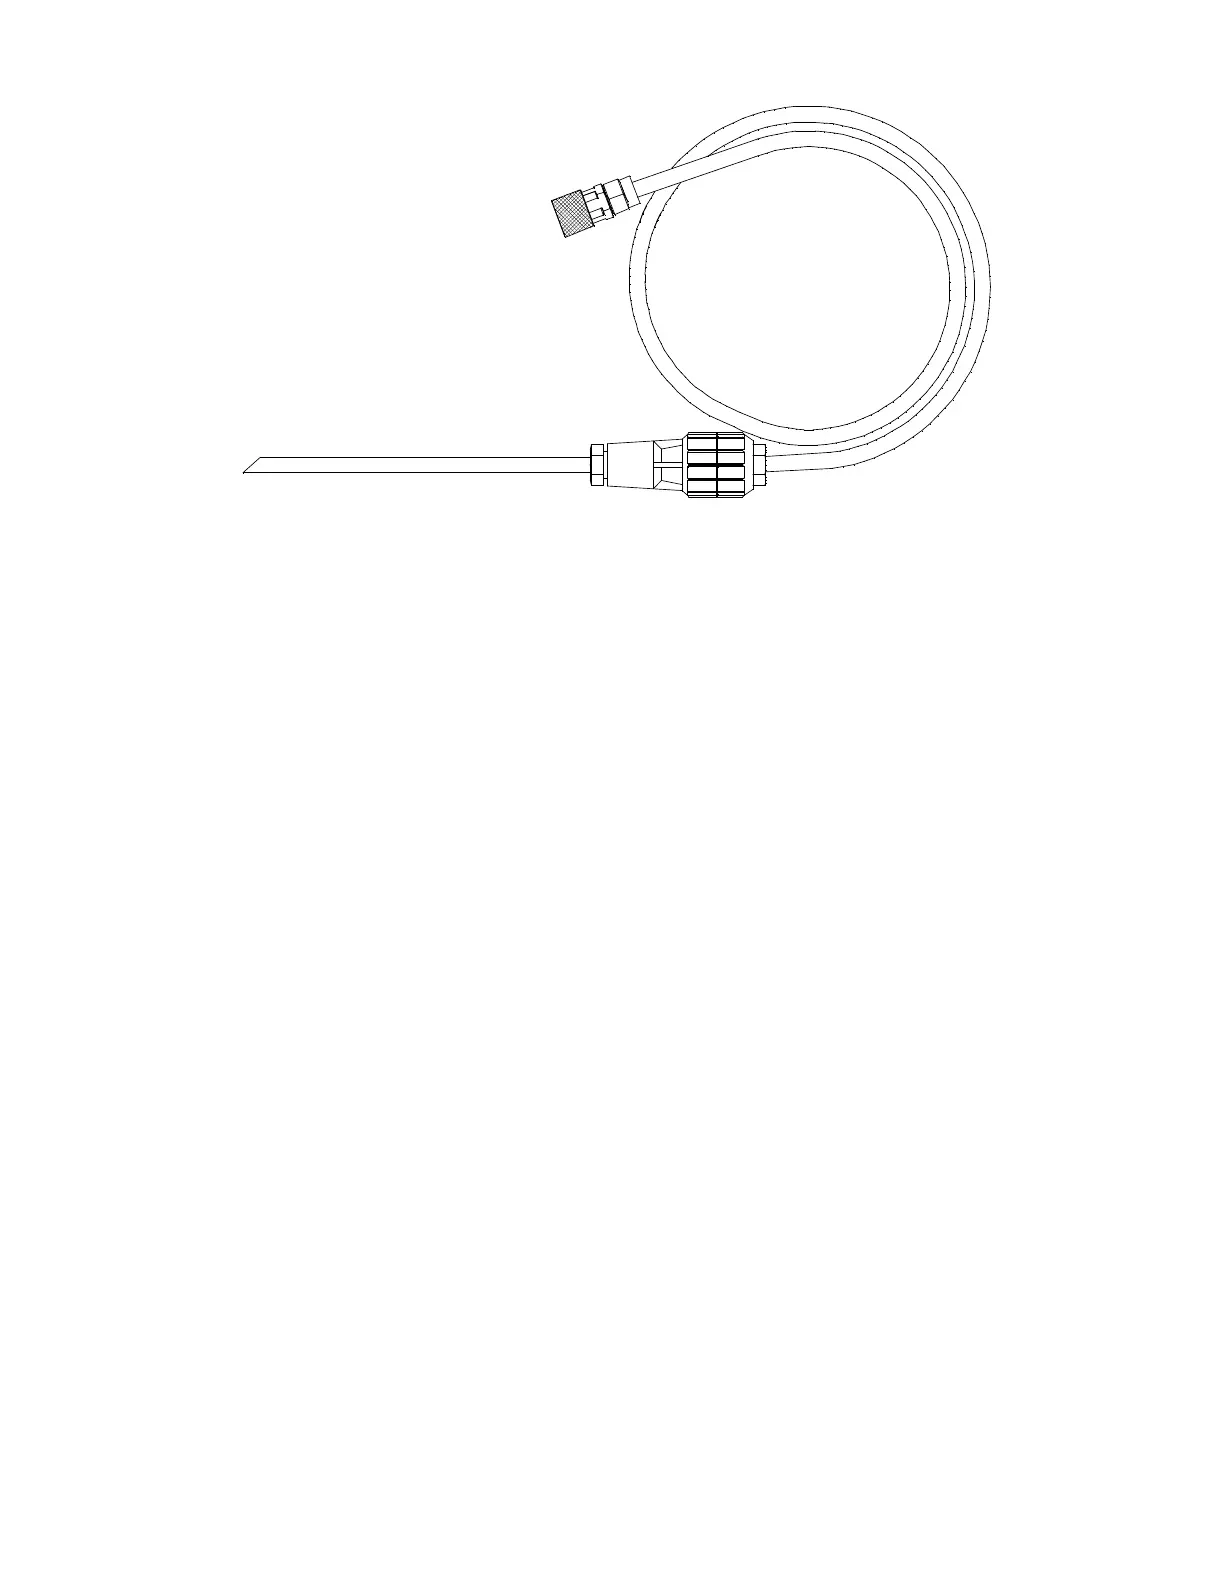
Figure 2: Sample Hose and Probe
Screen Protector
The clear screen protector can be installed over the GX-6000’s LCD to
prevent it from getting scratched.
1 . Remove the GX-6000’s rubber boot.
2 . Orient the GX-6000 so that the LCD is as horizontal as possible.
3 . Clean the LCD with rubbing alcohol.
4 . Place 1 drop of water in the center of the LCD.
5 . Grasp the tab at the top of the screen protector’s backing and pull it away
from the screen protector.
6 . Use needle-nose pliers or tweezers to handle the screen protector.
7 . Align the top of the screen protector with the top of the “RKI GX-6000”
logo.
8 . Press down on the center of the screen protector. Water should spread out
along the entire surface of the screen protector between the screen
protector and the LCD. Some of the water may come out the edges.
9 . If you are unhappy with the initial placement of the screen protector, lift
the screen protector up from a corner. Quickly rearrange the screen
protector and set it back down on the LCD.
10 . Use a small, stiff piece of plastic and, working your way out from center,
remove any air bubbles. The screen protector may shift during this
process so be sure to hold it securely with your other hand.
11 . Allow enough time for the water between the screen protector and the
LCD to dry before handling the GX-6000.

 Loading...


