115 • Replacing the Probe’s Particle Filter and Hydrophobic Filter Disk GX-6000
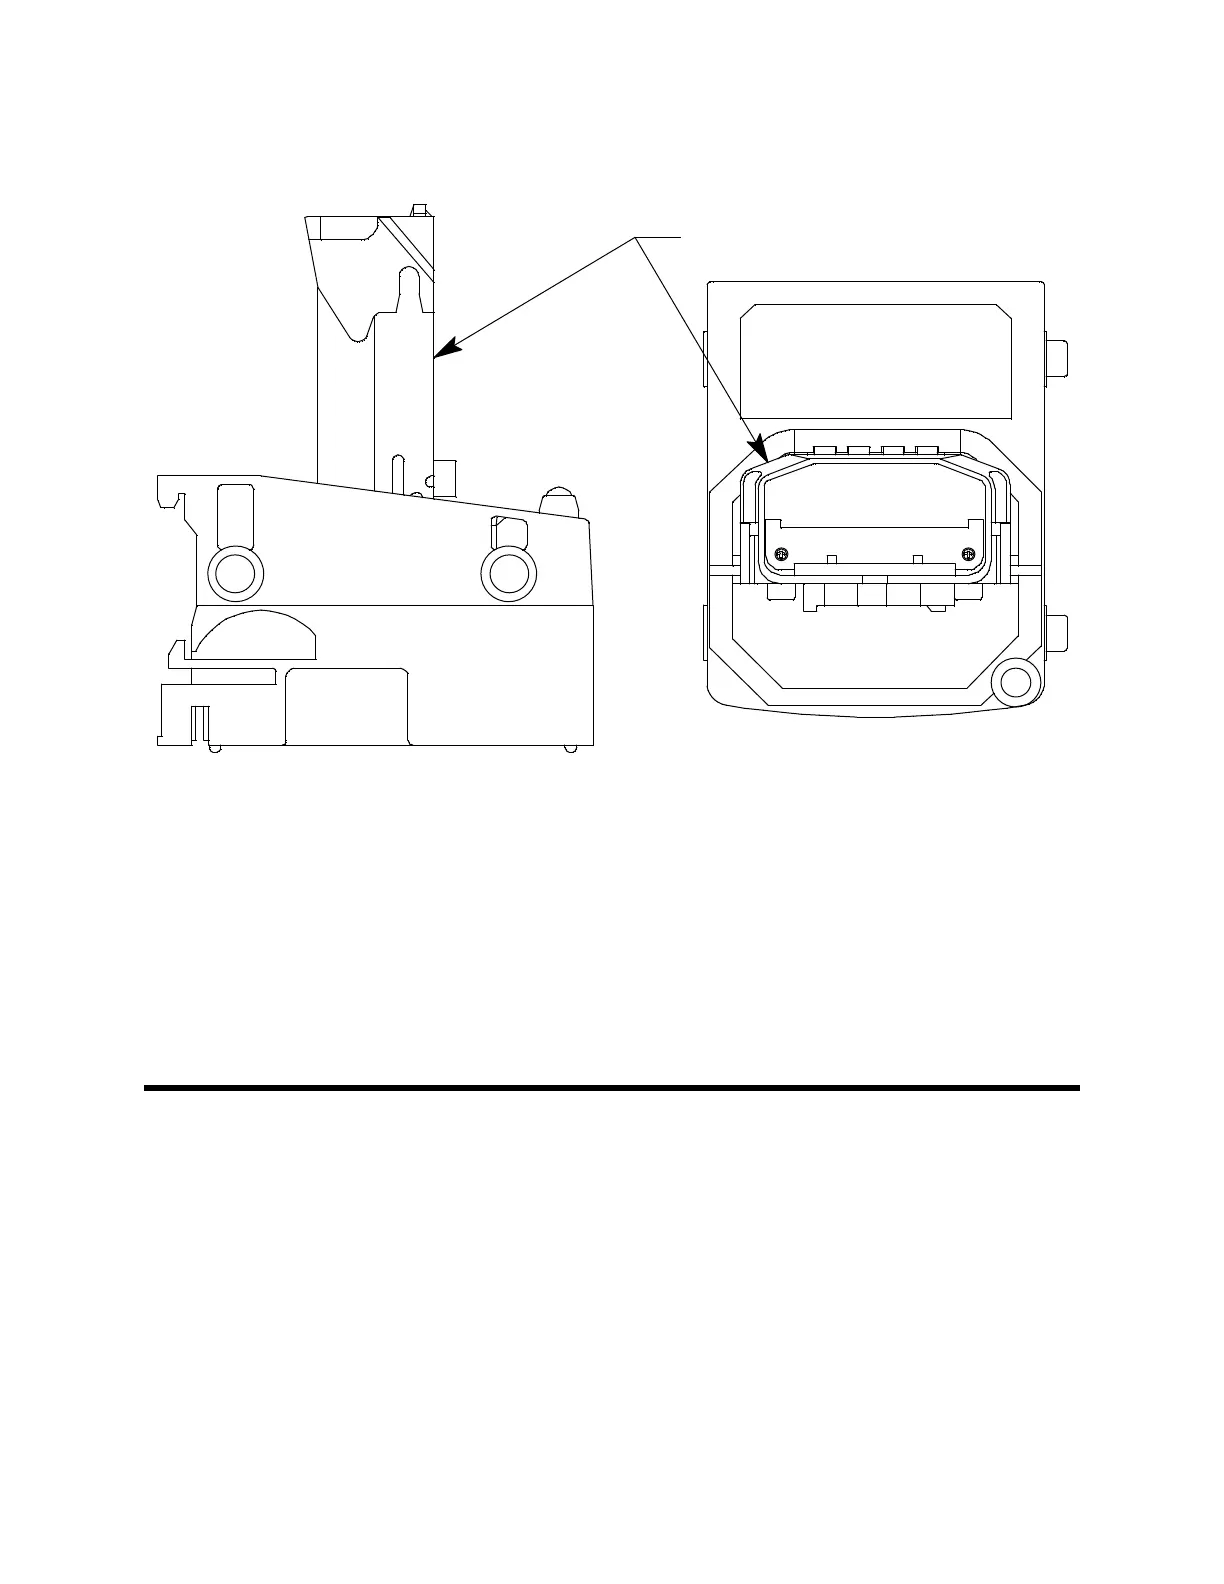
5 . Insert the battery pack into the charging station as shown in Figure 21
below so that the metal contacts on the back of the battery pack come
into contact with the metal contacts in the charging station. When proper
contact has been made, the red LED on the charging station will turn on.
Figure 21: Putting the Battery Pack into the Charging Station
6 . When a full charge has been reached, approximately 3 hours, the red
LED on the charging station will turn off. Remove the battery pack from
the charging station and unplug the charging station’s power cord from
the AC outlet.
7 . If necessary, reinstall the battery pack as described in Step 7 - Step 8 of
“Replacing the Lithium Ion Battery Pack” on page 108.
Replacing the Probe’s Particle Filter and
Hydrophobic Filter Disk
Inspect the probe’s internal components if you notice that the GX-6000’s
pump sounds bogged down or if an unexplained low flow alarm occurs.
Replace the particle filter and hydrophobic filter disk if they appear dirty or
saturated with liquid. Replace the gasket in the probe if it appears damaged.
1 . Hold the sample hose and probe assembly so that the probe tip is
pointing up.
Side View Top View
Battery Pack

 Loading...


