2-10
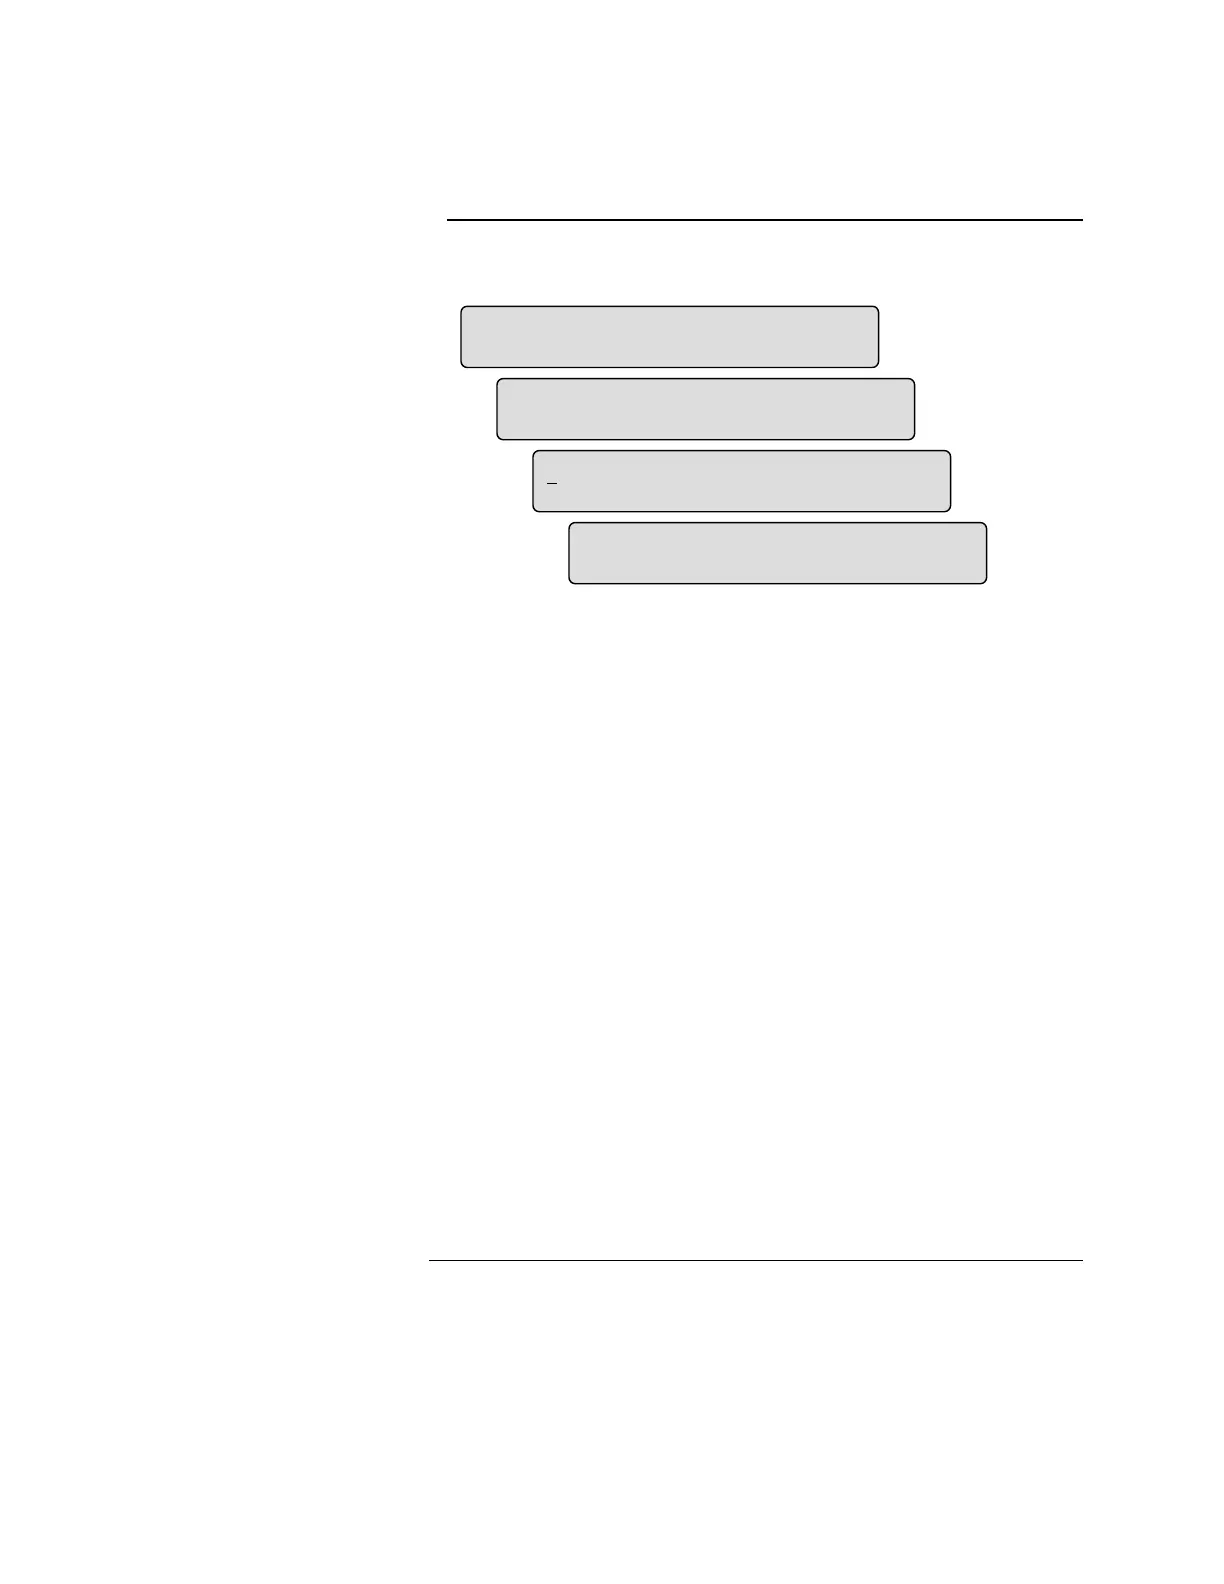
6. Press <Next> or <Previous> to scroll through the points until the point
you wish to edit is displayed (E) and then press <Function>.
E.
F.
G.
H.
Figure 2-9. Additional Typical Screens Used to Edit a Label
7. Press <Next> or <Previous> to scroll through the menus until
[
(GLW3RLQW/DEHO] is displayed (F) and then press <Enter>.
The first editable character of the label is underlined (G).
8. Press <Next> or <Previous> to scroll through the character set until the
desired character is displayed. Press <ö> and <ì> to move the
underline to the character in the label you wish to edit.
Pick a label that best suits the location or function of the point (H).
The available characters are as follows :
Digits: 0-9
Alpha: A-Z and a-z
Punctuation: space comma period & ‘ ) ( * + – / : #
Note: Press <Menu> to toggle between Upper and Lower Case
characters. Press <Disable/Enable> to insert a blank space.
9. Press <Enter> once the label reads correctly. Press <Enter> again to
confirm the change to the label. ** Operation Complete ** is
displayed.
Note: To save all changes, refer to the Saving Editing Changes section
later in this chapter.
Editing a Point Label, Continued
Editing a Point Label
(Continued)
,2&DUG,QSXW
0RQLWRU=RQH
,2&DUG,QSXW
&RQWURO>(GLW3RLQW/DEHO@
,2&DUG,QSXW
0RQLWRU=RQH
)LUVW)ORRU(DVW:LQJ 5RRP
6PRNH'HWHFWRU
Technical Manuals Online! - http://www.tech-man.com