2-39
To set the 4005’s time and date follow the steps below.
1. Log in to the 4005.
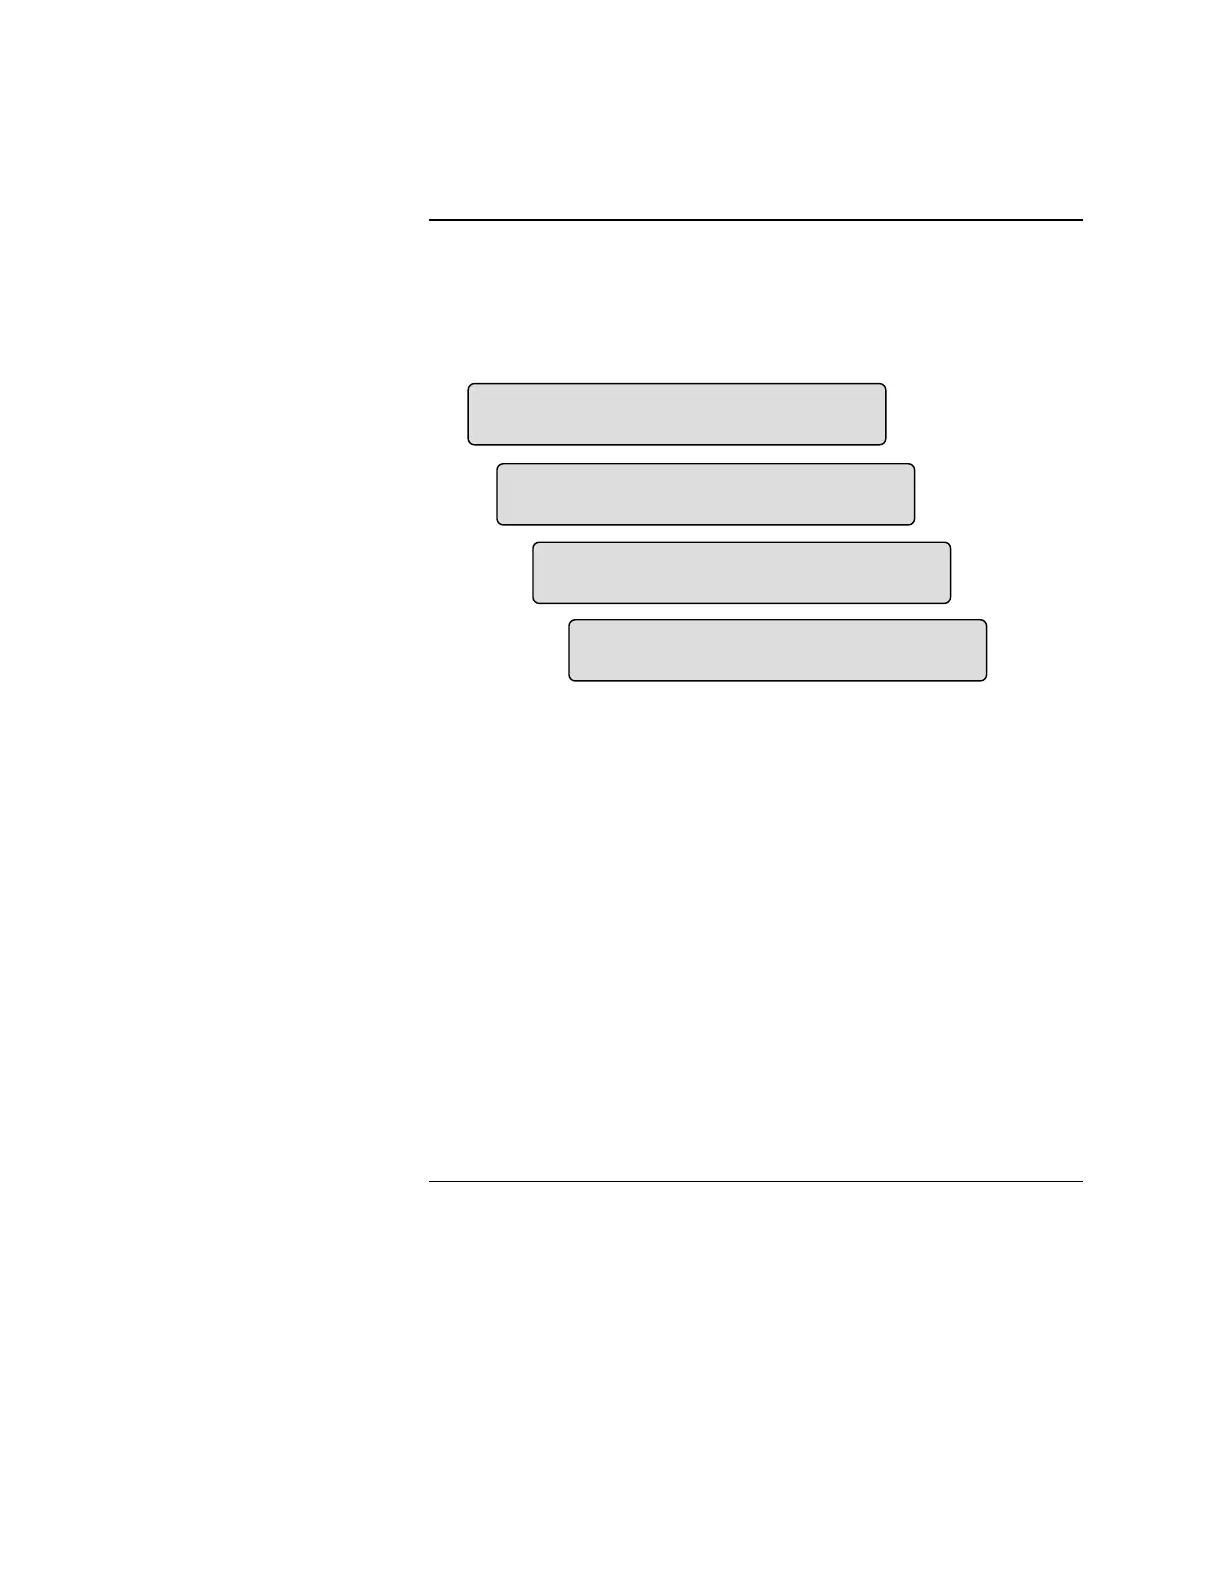
2. Press <Menu> (A).
A.
B.
C.
D.
Figure 2-36. Typical Screens Used to Set
the Time and Date
3. Press <Next> or <Previous> to scroll through the menus until
[
7LPH'DWH] is displayed (B), and then press <Enter>.
The focus brackets ( [ ] ) appear around the Hours in the time field (C).
4. Press <Next> or <Previous> to scroll through the numbers for the hours.
Note: Pay attention to AM or PM when setting the time in 12-Hour
format. The AM/PM field can not be selected.
5. Press <ö> or <ì> to move the focus brackets to the Minutes in the time
field (D).
6. Press <Next> or <Previous> to scroll through the numbers for the
minutes.
7. Press <ö> or <ì> to move the focus brackets to the Date in the date
field (E).
Continued on next page
Setting the Time and Date
Setting the Time and Date
),5( 683(59,625< 7528%/(
0HQX >9LHZ3RLQW@
),5( 683(59,625< 7528%/(
0HQX>6HW7LPH'DWH@
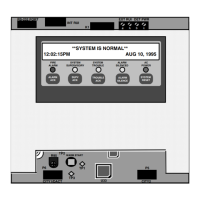
6HW6\VWHP7LPH
>@SP6XQ2FW
6HW6\VWHP7LPH
>@SP6XQ2FW
Technical Manuals Online! - http://www.tech-man.com