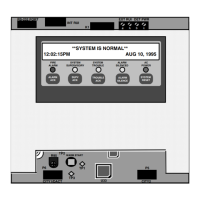
2-40
E.
F.
G.
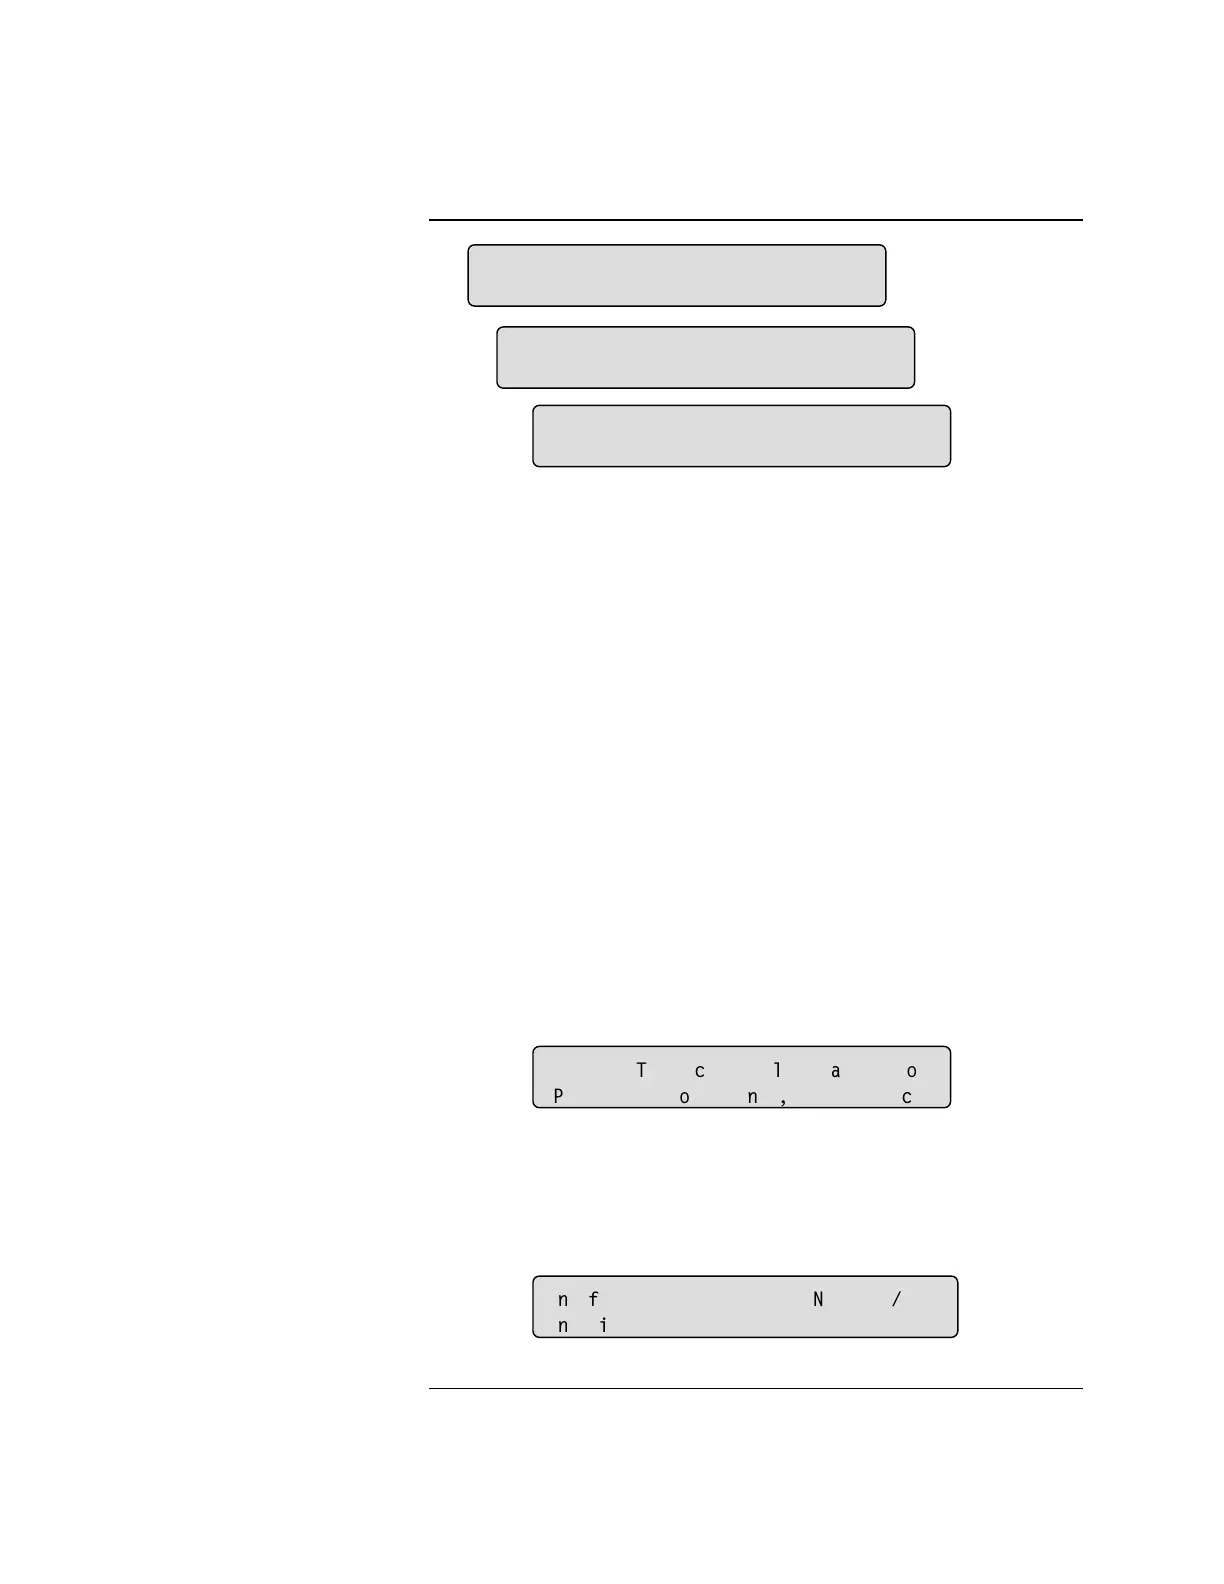
Figure 2-37. Additional Screens Used to Set
the Time and Date
8. Press <Next> or <Previous> to scroll through the numbers for the date.
The 4005 will automatically pick which day the date falls on when setting
the date is complete.
9. Press <ö> or <ì> to move the focus brackets to the Month in the date
field (F).
10. Press <Next> or <Previous> to scroll through the months.
11. Press <ì> or <ö> to move the focus brackets to the Year in the date
field (G).
12. Press <Next> or <Previous> to scroll through the numbers for the year
and then press <Enter>.
“Time and Date are updated” is displayed.
Notes: 1) If you set the time and date before the time of the last
logged event, and you have sufficient access to clear the logs,
the warning shown in Figure 2-38 is displayed. If you then
press <Enter>, the logs are cleared.
Figure 2-38. Log Clearing Warning
2) If you set the time and date before the time of the last
logged event, and you DO NOT have sufficient access to clear
the logs, the warning shown in Figure 2-39 is displayed. The
4005 then returns to the Set Time Date screen.
Figure 2-39. Insufficient Access Level Warning
Setting the Time and Date, Continued
Setting the Time and Date
(continued)
F
6HW6\VWHP7LPH
SP6XQ>@2FW
6HW6\VWHP7LPH
SP6XQ>2FW@
6HW6\VWHP7LPH
SP6XQ2FW>@
:$51,1*
7KLV
DFWLRQ
ZLOO
FOHDU
WKH
ORJV
3UHVV
(17(5
WR
FRQWLQXH
(;,7
WR
FDQFHO
,QVXIILFLHQW
$FFHVV
OHYHO
1HZ
7LPH'DWH
,QYDOLGDWHVWKHKLVWRULFDOORJV
Technical Manuals Online! - http://www.tech-man.com