2-16
5. Press <Next> or <Previous> to choose the Card Address.
6. Press <ö> to move the focus brackets to the Card Type field of the
display (D).
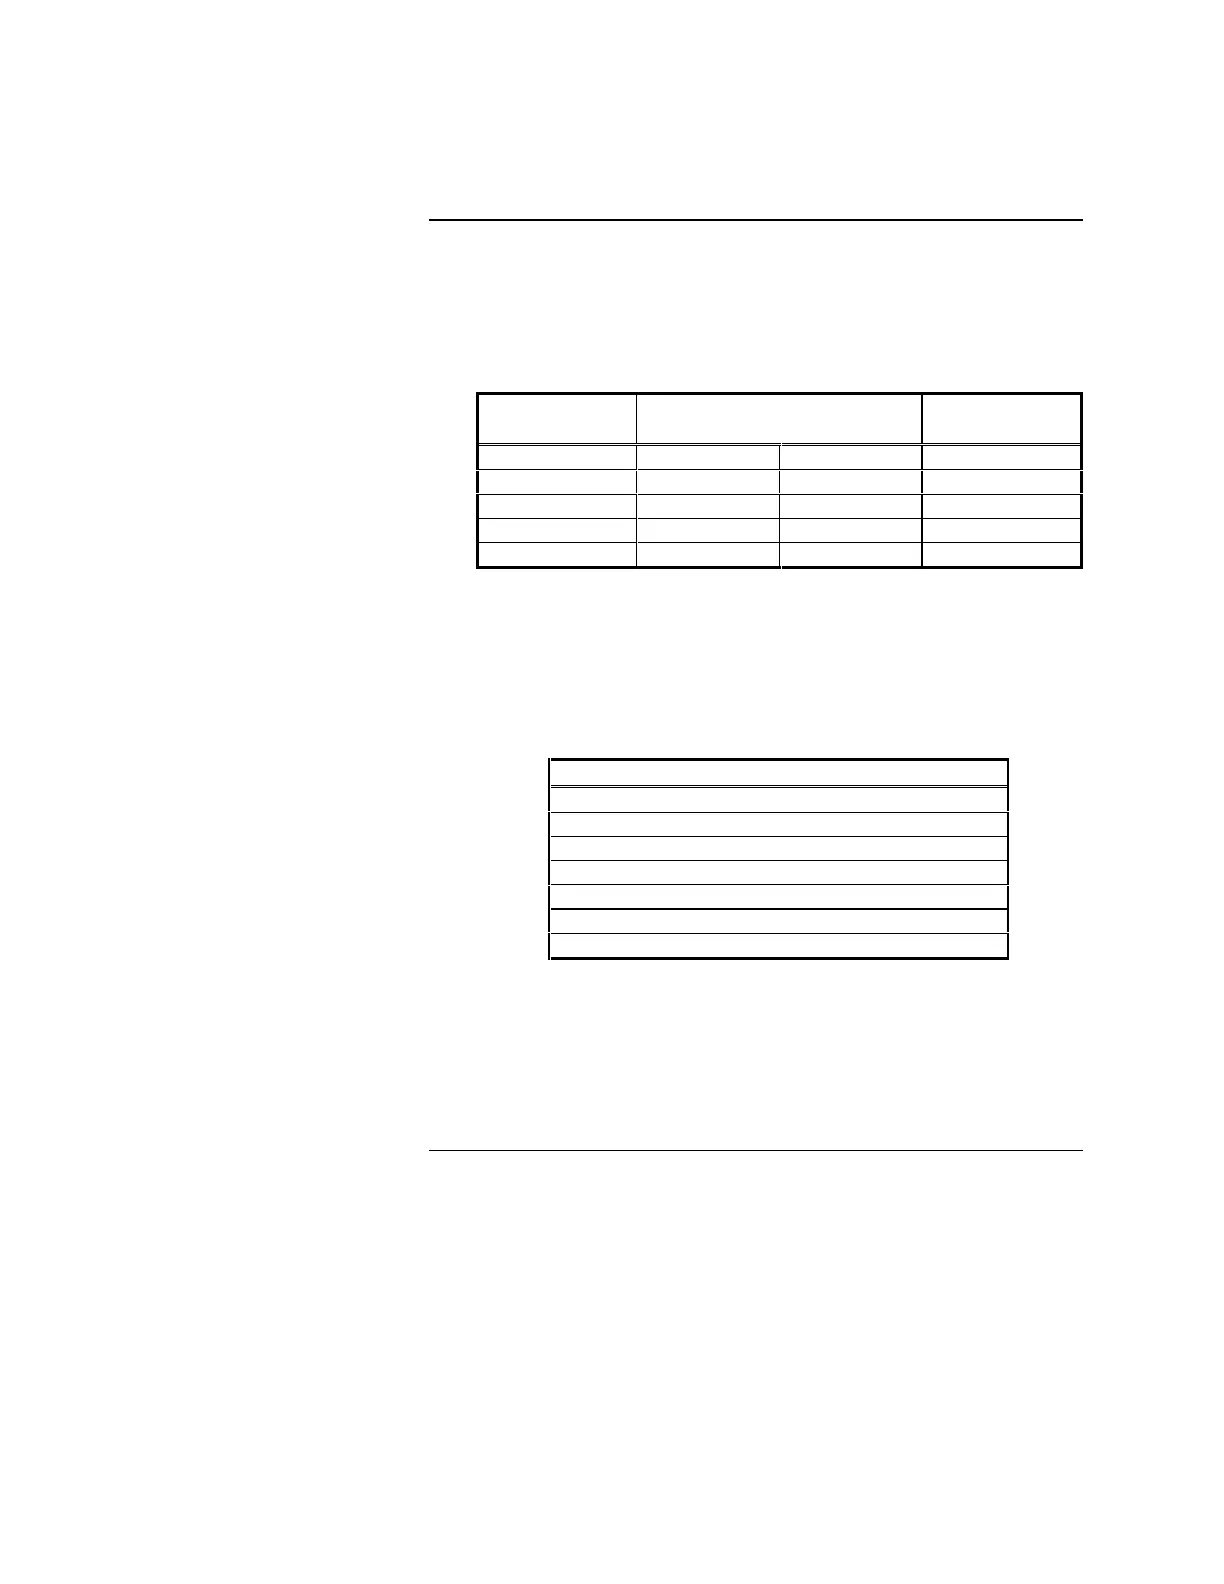
Table 2-4. Address Information
Card Location
(Left)
Card Address Card Location
(Right)
10 27 18 1
9 26 19 2
8 25 20 3
7 24 21 4
6 23 22 5
7. Press <Next> or <Previous> to choose the Card Type (refer to Table 2-4)
and then press <Enter>.
When installing an I/O card with a Class A Adapter, choose the
appropriate card type that includes the Class A Adapter.
Table 2-5. I/O Card Types
I/O Card Types
4-Point Monitor
4-Point Monitor Class A
2-Input / 2-Output
2-Input / 2-Output Class A
8-Point Annunciator Card
4-Point NAC/Relay Card
4-Point NAC/Relay Card Class A
8. Press <Enter> to confirm your selection.
“ Configuring the card. . .” is displayed.
Note: “ **No Cards Found for this Action** ” is displayed when the
4005 does not recognize an empty slot.
Adding an Input/Output Card, Continued
Adding an Input/Output (I/O)
Card (Continued)
F
Technical Manuals Online! - http://www.tech-man.com