Return To Table of Contents
www.stryker.com 1900-009-002 REV B 1- 51
English
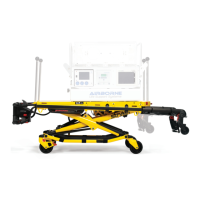
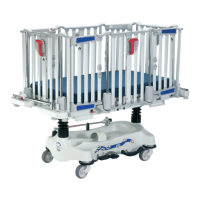
LITTER REMOVAL - HYDRAULIC BASE STRETCHER
TOOLS REQUIRED:
• #2 Phillips Screwdriver
• Rubber Hammer
• (2) 1/2 in. Combination Wrenches
• (2) Bungee Cords (or equivalent)
• (4) Sawhorses (or equivalent)
PROCEDURE:
1. Raise the rails to the highest position and apply the brakes.
2. Using a #2 Phillips screwdriver, remove the 18 screws holding the lower head and foot cover plates. Remove the
cover plates (see Figure 22, page 46).
3. Support each end of the litter frame using sawhorses (or equivalent).
CAUTION
Ensure the sawhorses are capable of supporting at least 200 lb (91 kg).
4. Using a 1/2 in. combination wrench, gently loosen and remove the bolt holding the litter support to the jack
actuator rod on both ends of the stretcher. Use a rubber hammer to remove the actuator rod from the litter frame
if necessary.
CAUTION
The bolts will break if too much force is applied.
5. Dispose of the bolts and replace them with p/n VB15A1O24-S.
WARNING
The two bolts must be replaced. The Scotch-Grip coating is less effective once the screw have been tightened and
removed thereafter.
6. Reverse the above steps to reinstall the litter frame.
7. Verify proper operation of the stretcher before returning it to service.
Service
 Loading...

