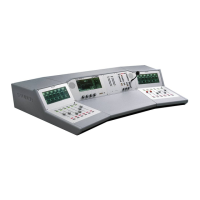
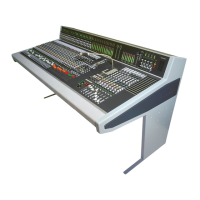
OnAir 2000M2 Digital Mixing Console
14-8 Diagnostics SW V 4.0 Date printed: 12.11.03
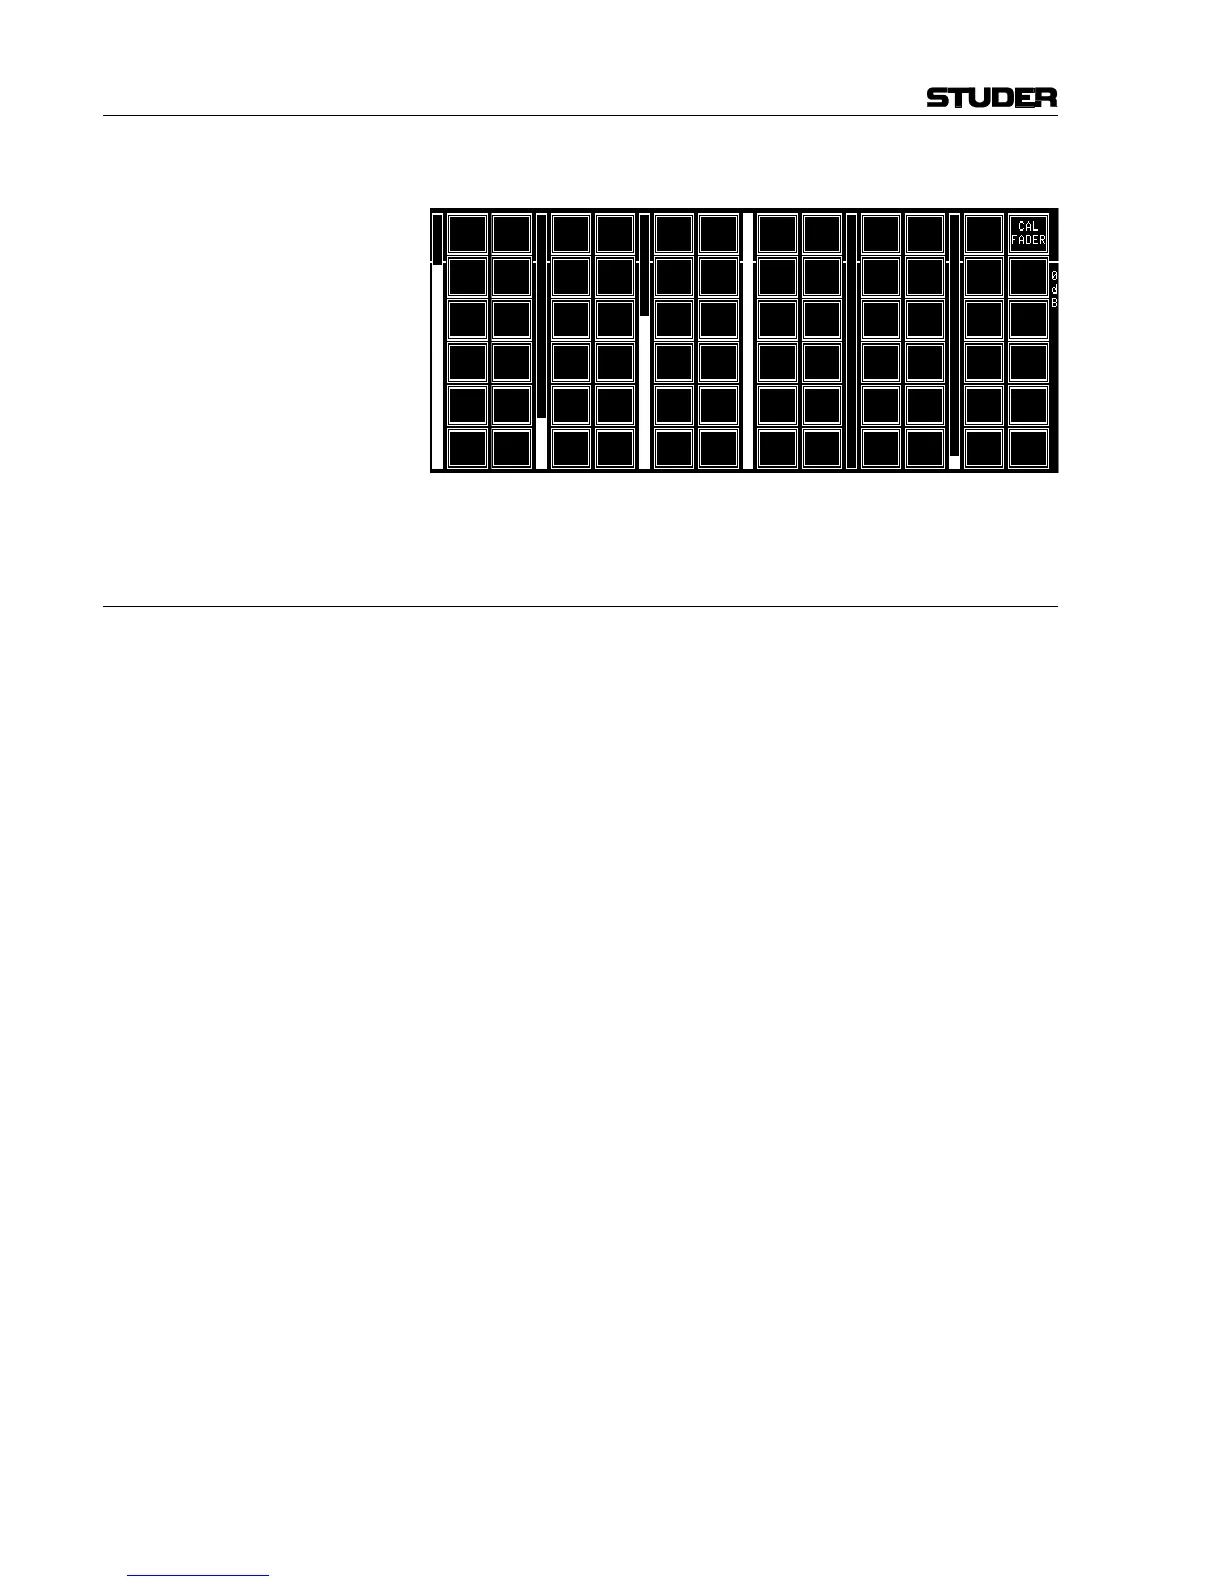
Channel Screen Test: If a field is touched on one of the channel screens, it is highlighted.
For each fader, a bar graph indicates the current position.
14.3.2 Fader Calibration
SW V1.0 through 2.01: For calibrating the fader's zero position, set all fader knobs to their “0”
mark and press the CAL FADER field (see screenshot above).
SW V2.02 and up: After having upgraded the channel front board software 1.942.920.21, it
might be possible that fader start is always active. In such a case, the fader
start trigger point needs to be calibrated. Please proceed as follows:
Fader Calibration: Enter the SYSTEM CONFIG. - SYSTEM TEST – BUTTONS/FADERS
menu (if using the service terminal, enter the commands printed
in italics).
0 dB Point: (always required!)
• Move all faders not to be calibrated to their –20 dB position (this posi-
tion is ignored during calibration).
• Move the fader(s) to be calibrated to the 0 dB position.
Note: We strongly recommend to perform this adjustment for all the faders at the
same time.
• Touch CAL FADER or, on the service terminal (only V2.0.1 and up),
enter: call all <return>.
Fader Start Trigger Point: The fader start trigger point must be calibrated only for two reasons:
1. If using the optional kit from Penny&Giles (allows a mechanical de-
tent when the fader is closed), or
2. In case of problems with the fader start control output signal, i.e. if
fader start is active even if the fader is completely closed.
• Move all faders not to be calibrated to their –20 dB position (this posi-
tion is ignored during calibration).
• Move the fader(s) to be calibrated, starting from the lower end, and set
them to a position about 1 to 2 mm above the lower end (or just above
the mechanical detent, if installed). This will be the point where the
fader start output gets active after calibration.
Note: We strongly recommend to perform this adjustment for all the faders at the
same time.