Lab 3
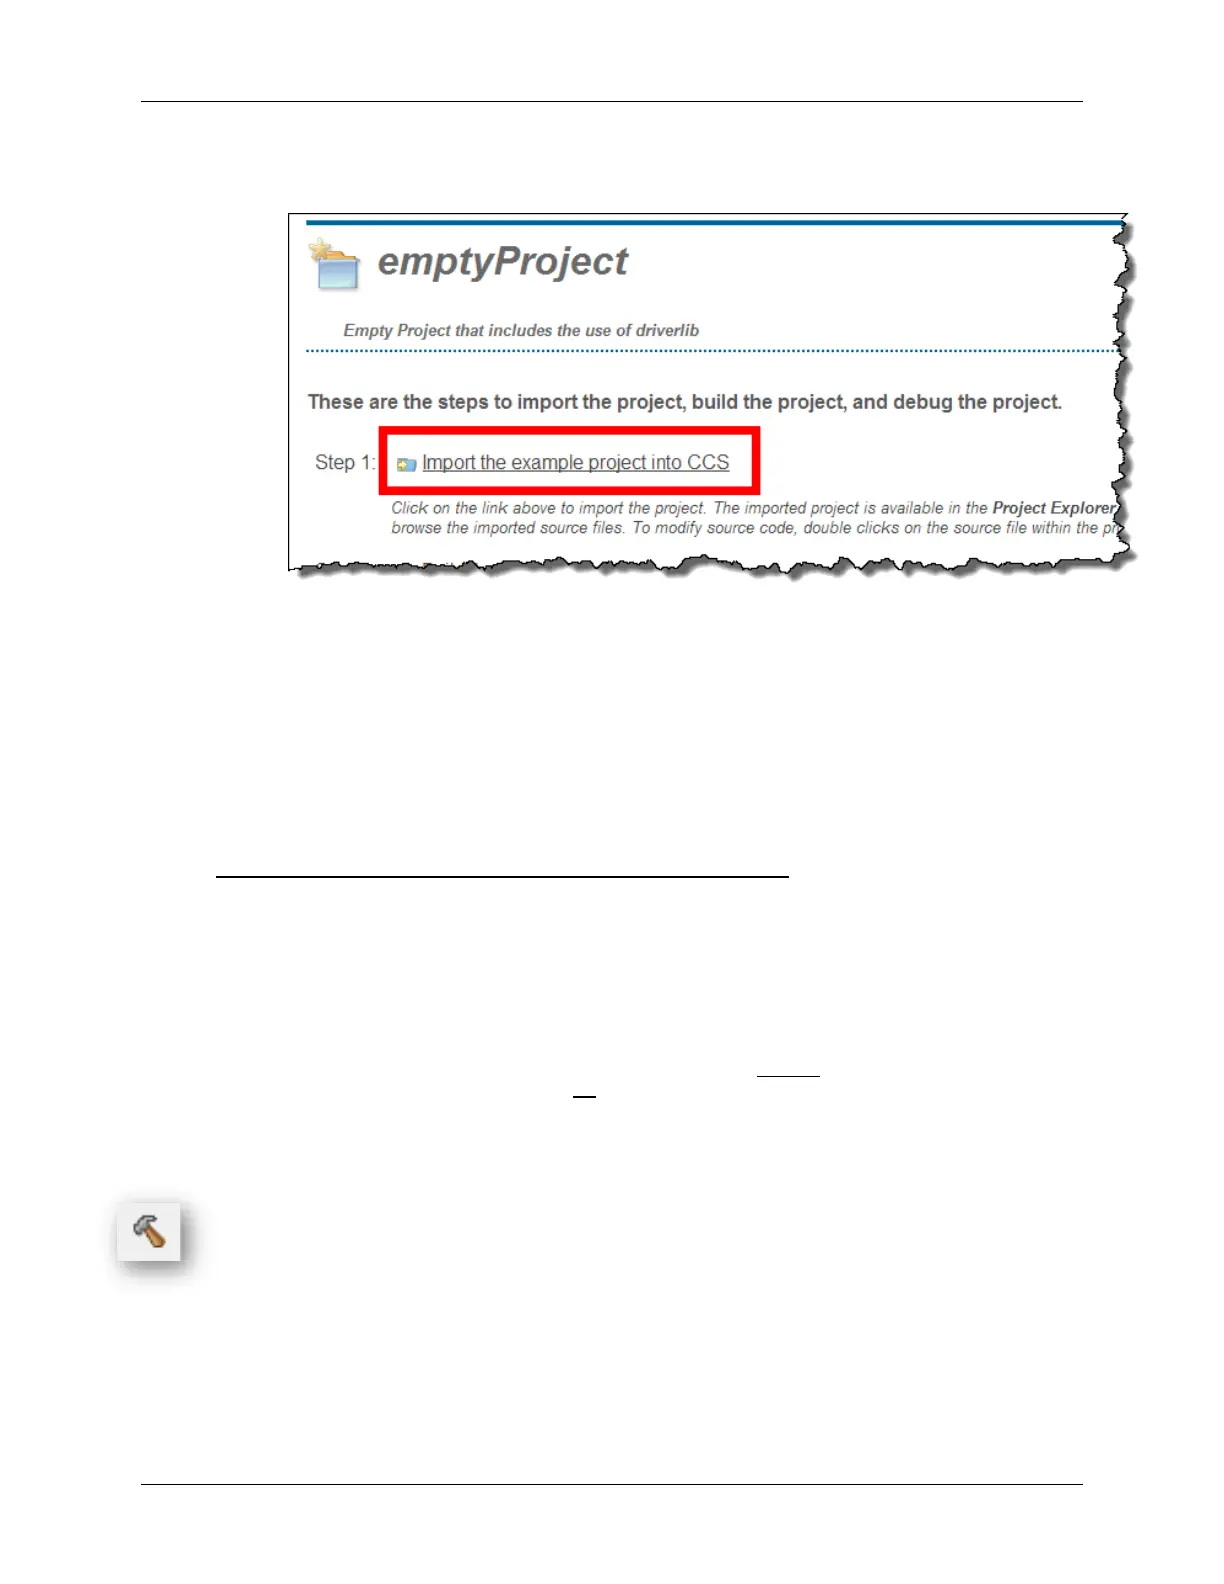
c) Click the link to “Import the example project into CCS”.
Once imported you can close the TI Resource Explorer, if you want to get it out of the way.
d) Rename the imported project to: lab_03b_button (Right-click on the project name
and select “Rename”)
2. Quickly examine the new lab_03b_button Project.
Looking at this project, you’ll see that it already has the DriverLib library imported into the
project. Also, the required #include search path entry has already been added to the project.
Copy our source project from the previous project
3. Delete the ‘empty’ main.c from the new project.
4. Copy/Paste main.c from lab_03a_gpio to lab_03b_button.
You can easily copy and paste files right inside the CCSv5 Project Explorer. Simply right-click
on the file (main.c) from the previous project and select “Copy” and then right-click on the
new project and select “Paste”.
(Alternatively, we could have just copied and pasted the main() function from our previous lab project,
but we found it easier to copy the whole file.)
5. Close the previous lab: lab_03a_gpio
As we’ve learned, this should close the .c source files associated with the project, which can
help us from accidentally editing the wrong file. (Believe us, this happens a lot.). Right-click
on the project and select “Close Project”.
6. Build the new lab, just to make sure everything was copied correctly.
MSP430 Workshop - Using GPIO with MSP430ware 3 - 31