Lab 8
8 - 24 Gettings Started with the MSP430 - Using Energia (Arduino)
Lab 8b – Pushing Your button
Next, let’s figure out how to use the button on the Launchpad. It’s not very difficult, but since
there’s already a sketch for that, we’ll go ahead and use it.
1. Open the Button sketch (i.e. program).
Load the Button example into the editor.
File Examples 2.Digial Button
2. Try out the sketch.
Before we even examine the code, let’s try it out. (You’re probably just like us … going to try
it out right away, too.)
When you push the button the (GREEN or RED) LED goes (ON or OFF)? ______________
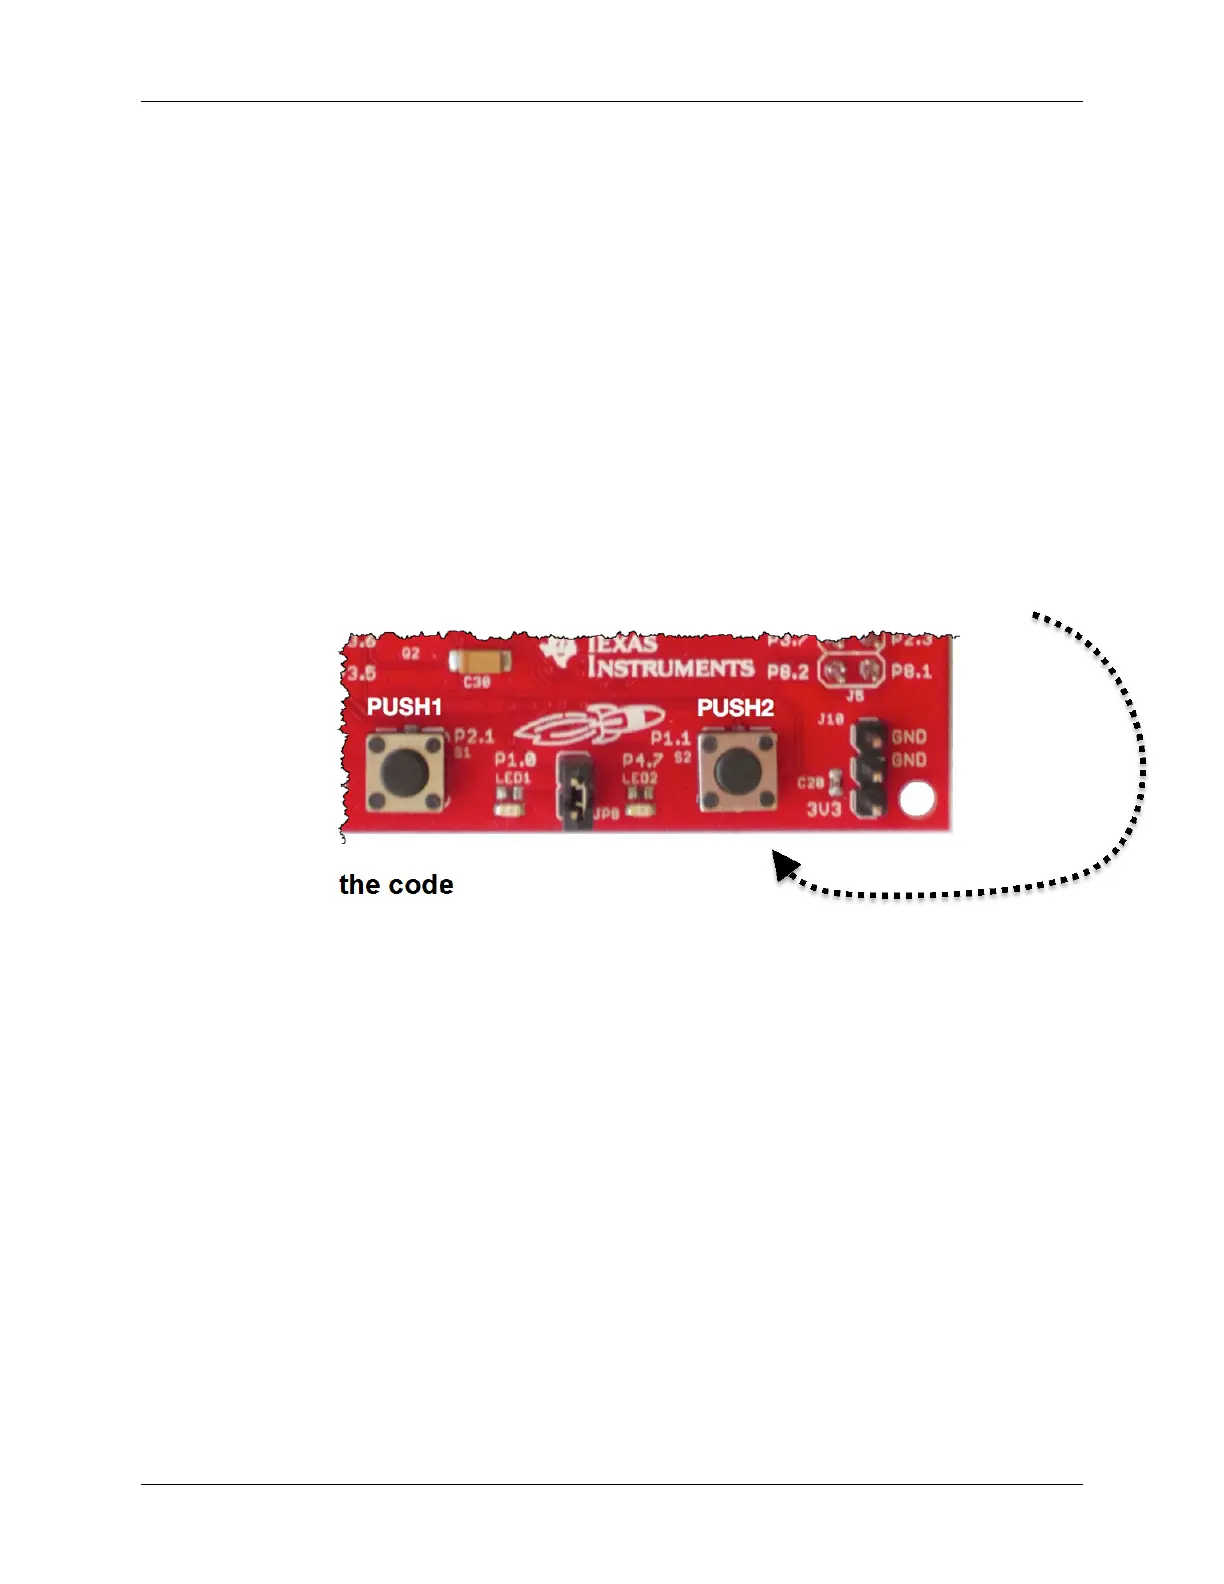
By the way, you probably know this already from earlier in the workshop, but which button are
we using? If you’re using the F5529 Launchpad, then the “user” buttons are called PUSH1
and PUSH2; the example uses PUSH2 (the board silkscreen says P1.1) as shown here:
Examine the code
3. The author of this sketch used the LED in a slightly different fashion.
How is the LED defined differently in the Button Sketch versus the Blink sketch?
_________________________________________________________________________
4. Looking at the pushbutton…
How is the pushbutton created/used differently from the LED? ________________________
_________________________________________________________________________
What “Energia” pin is the button connected to? ___________________________________
What is the difference between INPUT and INPUT_PULLUP? ________________________
_________________________________________________________________________